A closer look at the electrical systems and finished spaces behind the work. Have a similar project? Send us your photos and a quick description.
Power & electrical infrastructure
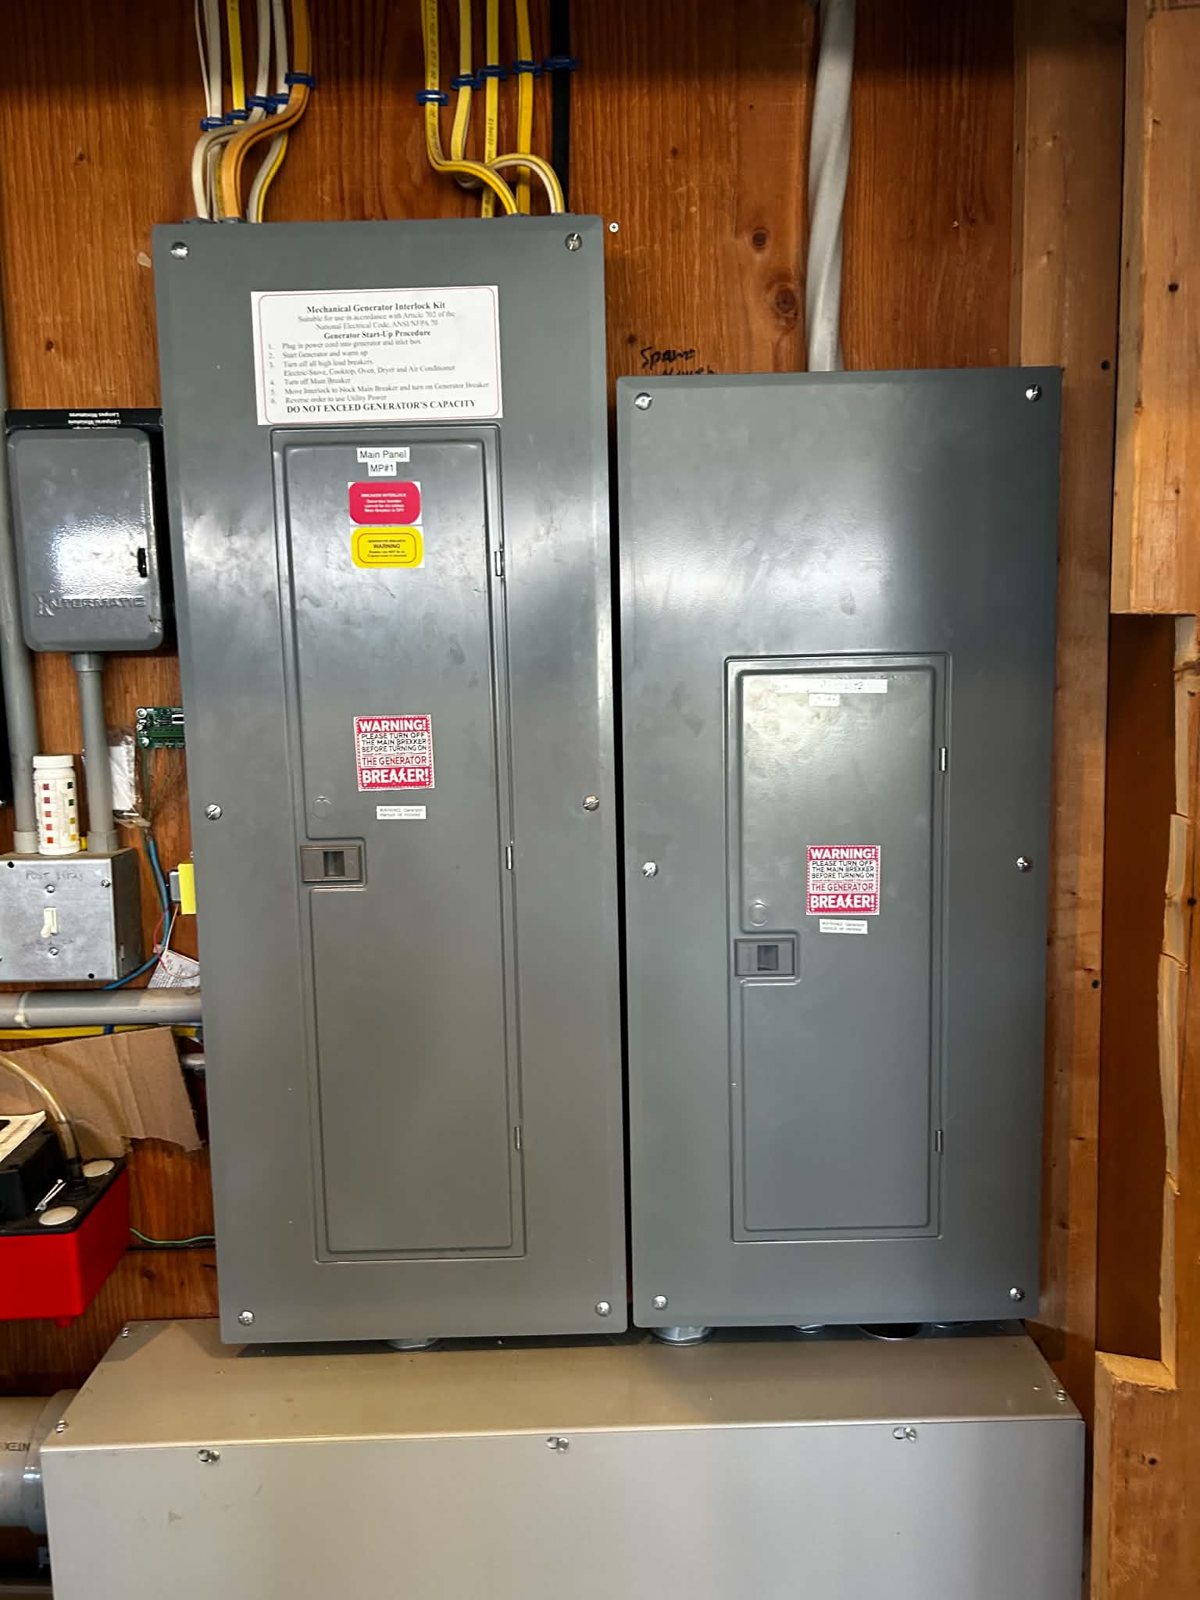
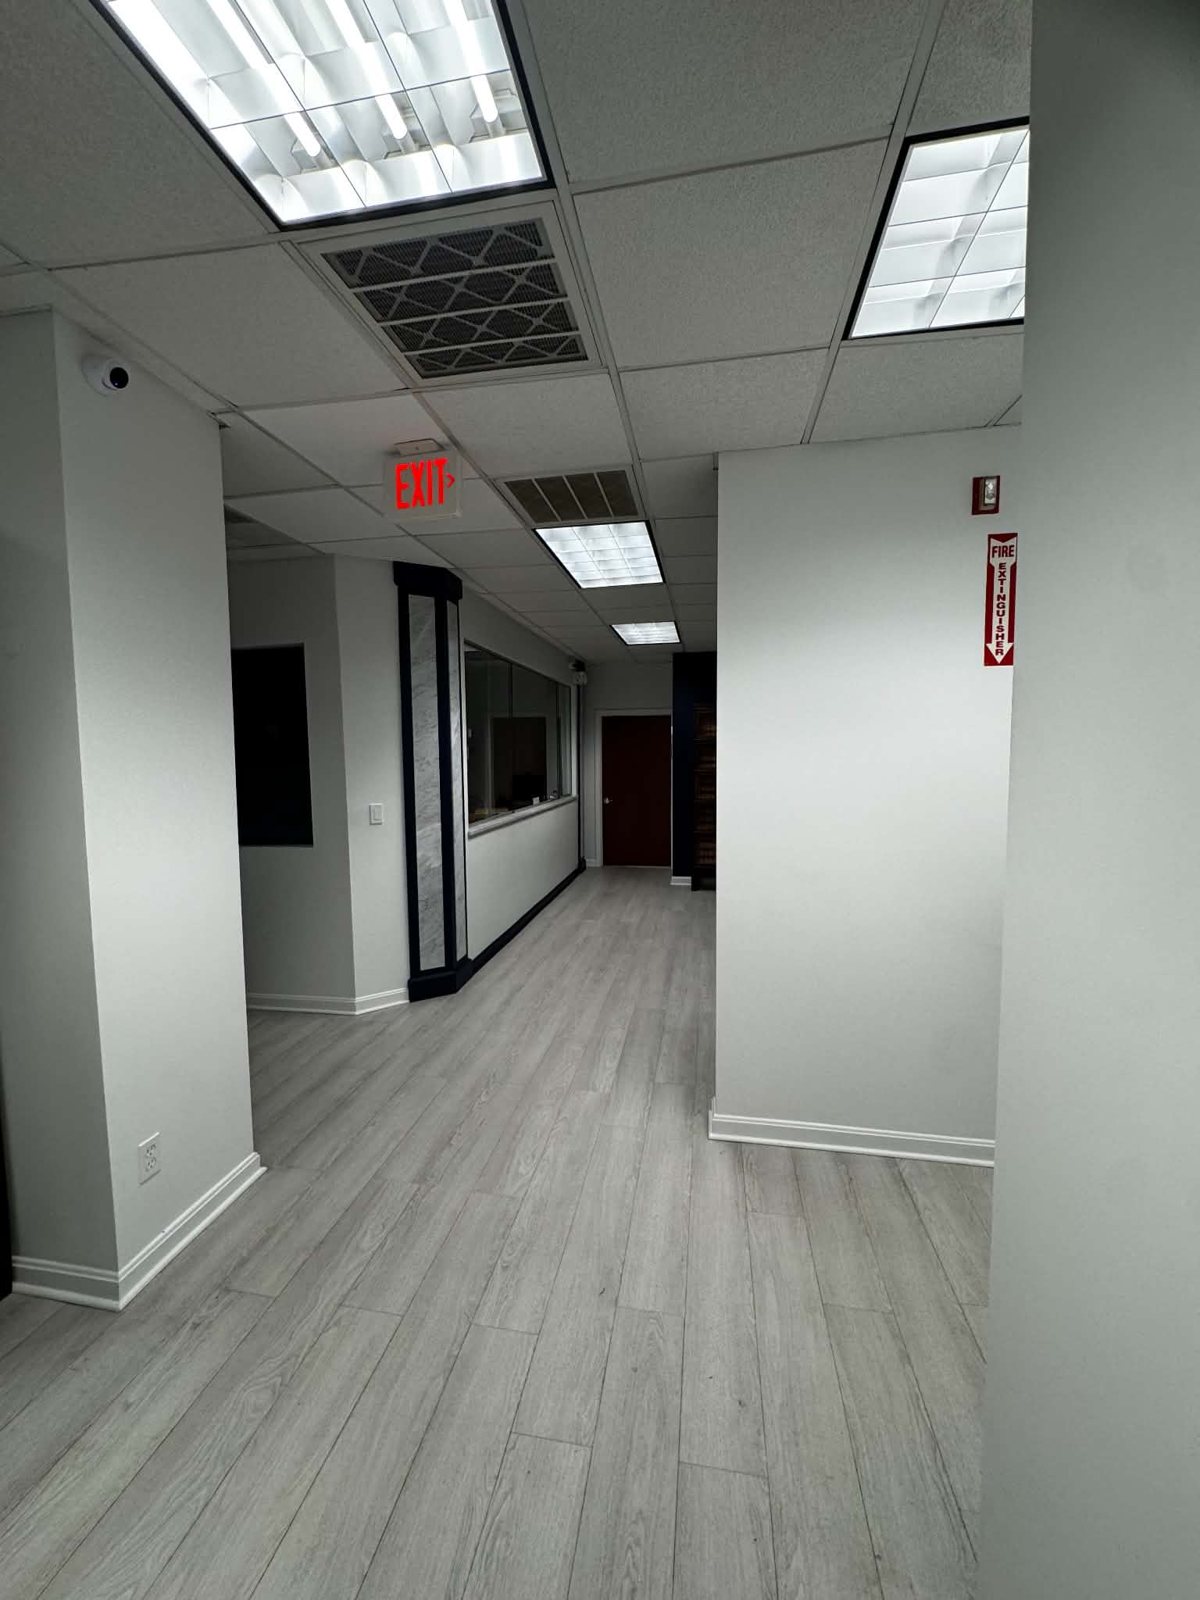
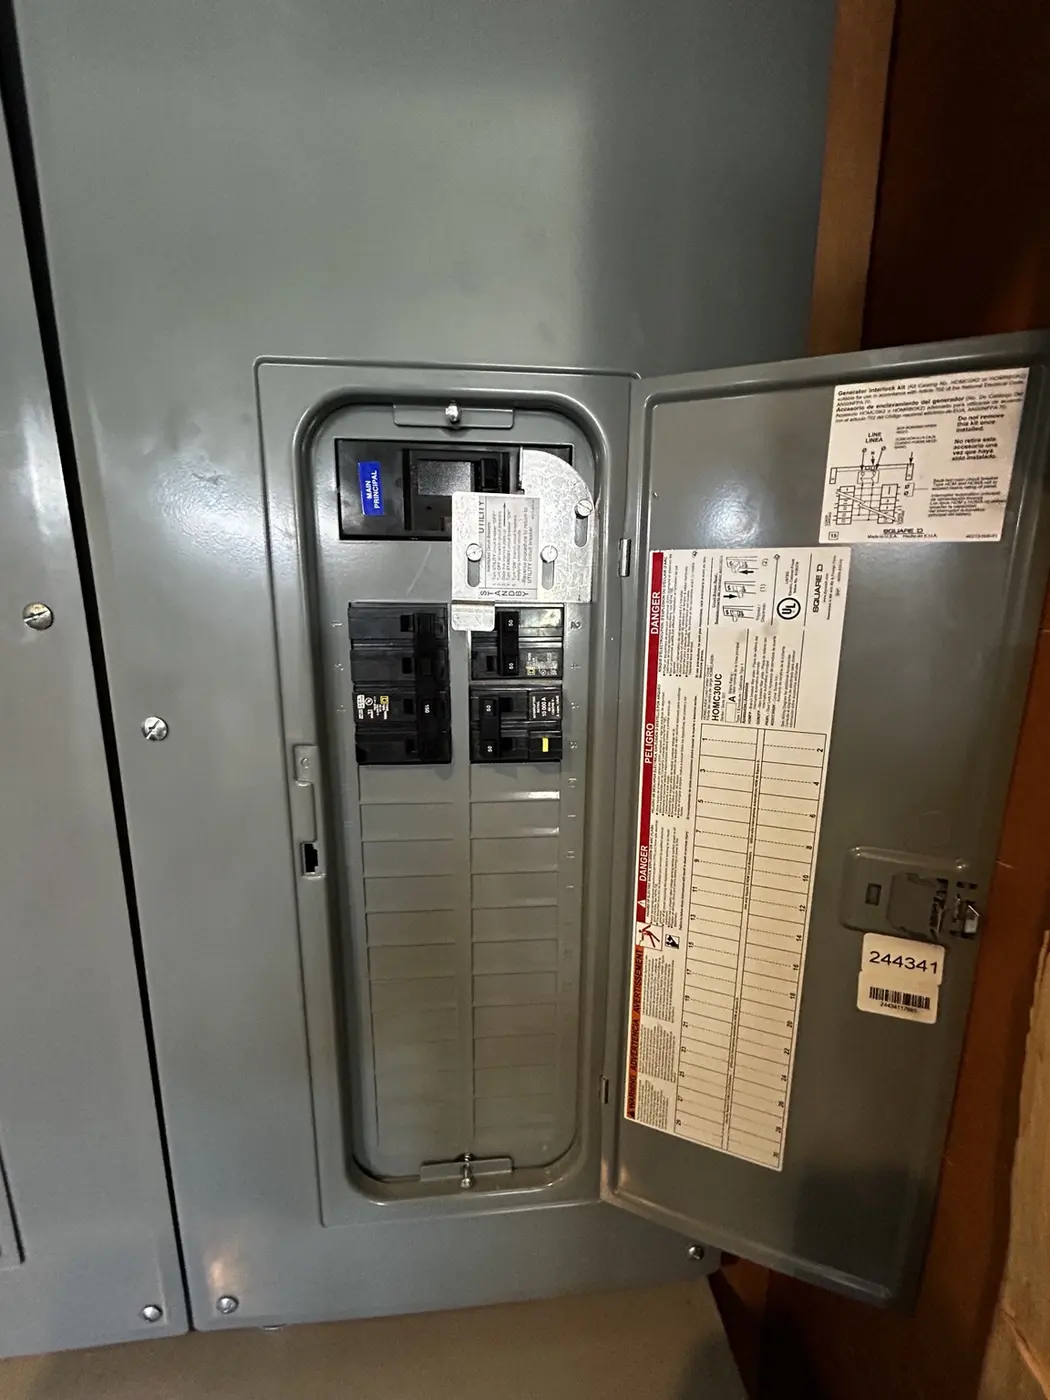
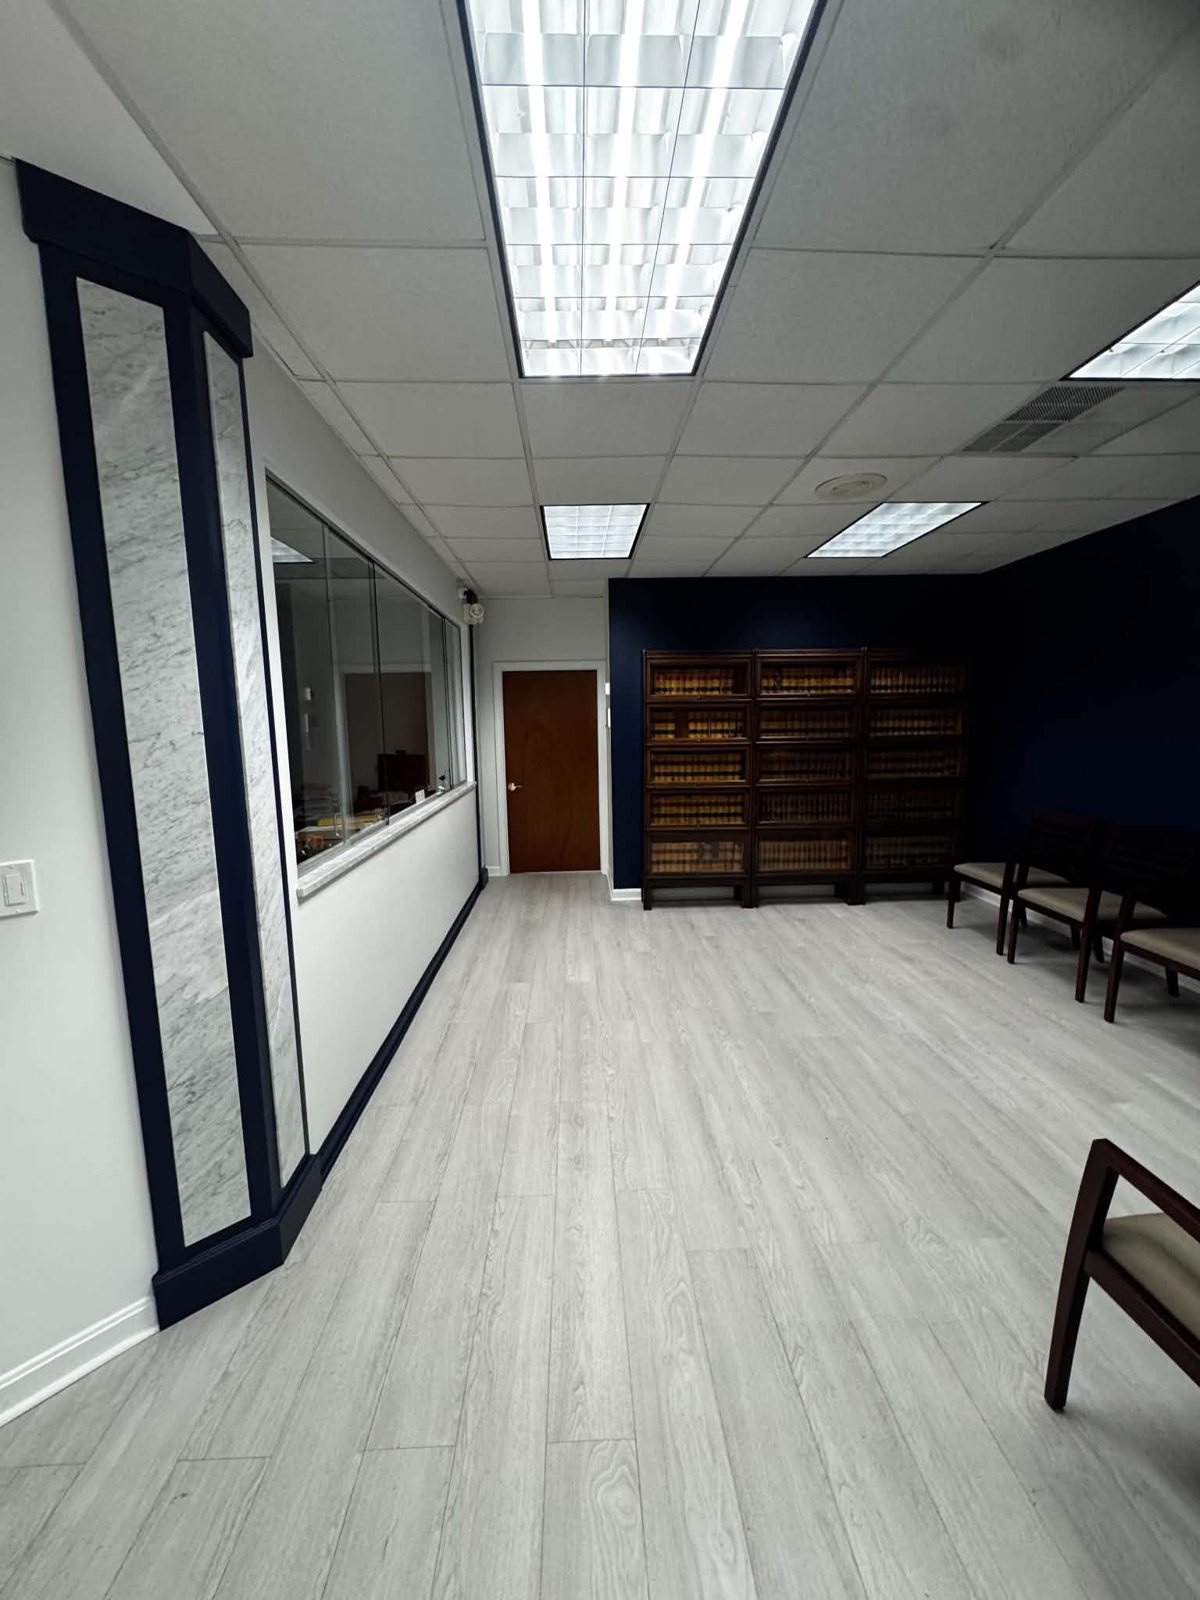
Service equipmentA close view of panel and service equipment. A project starts with understanding the existing distribution and available space.Commercial interior lightingA finished commercial room shows how even lighting helps make the space usable for staff and visitors.
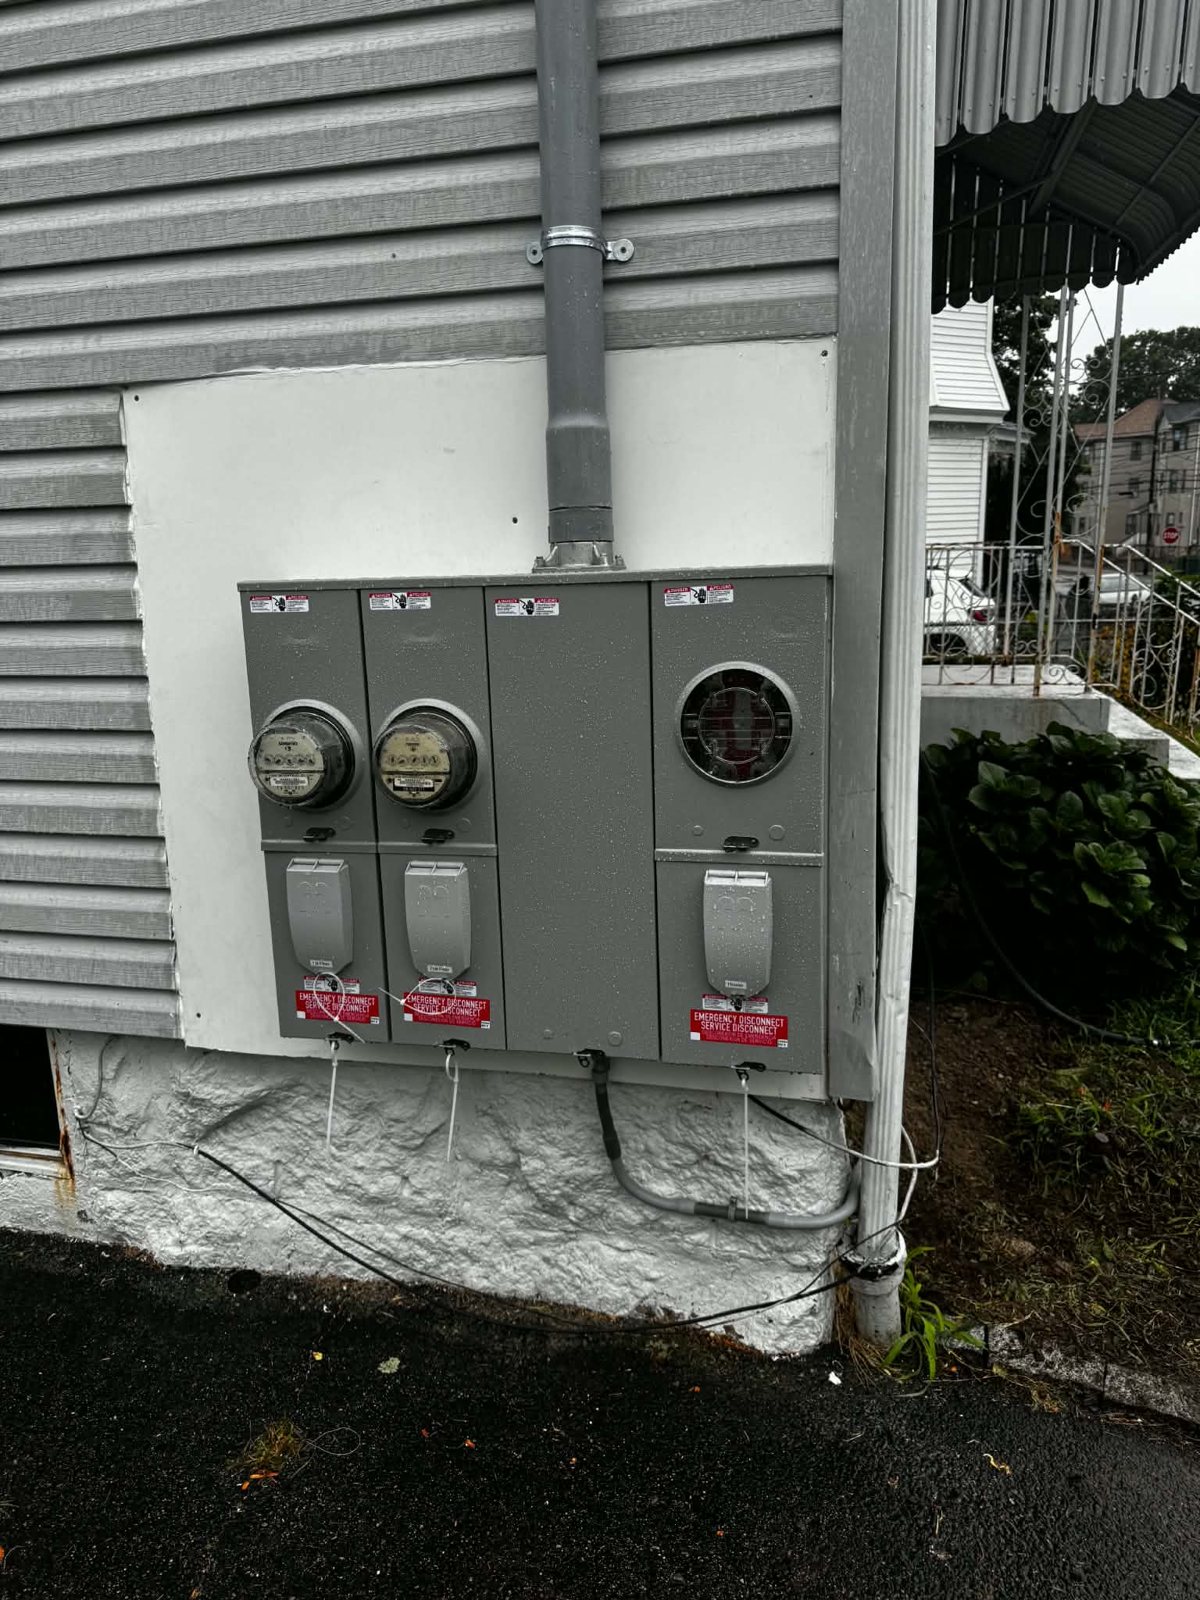
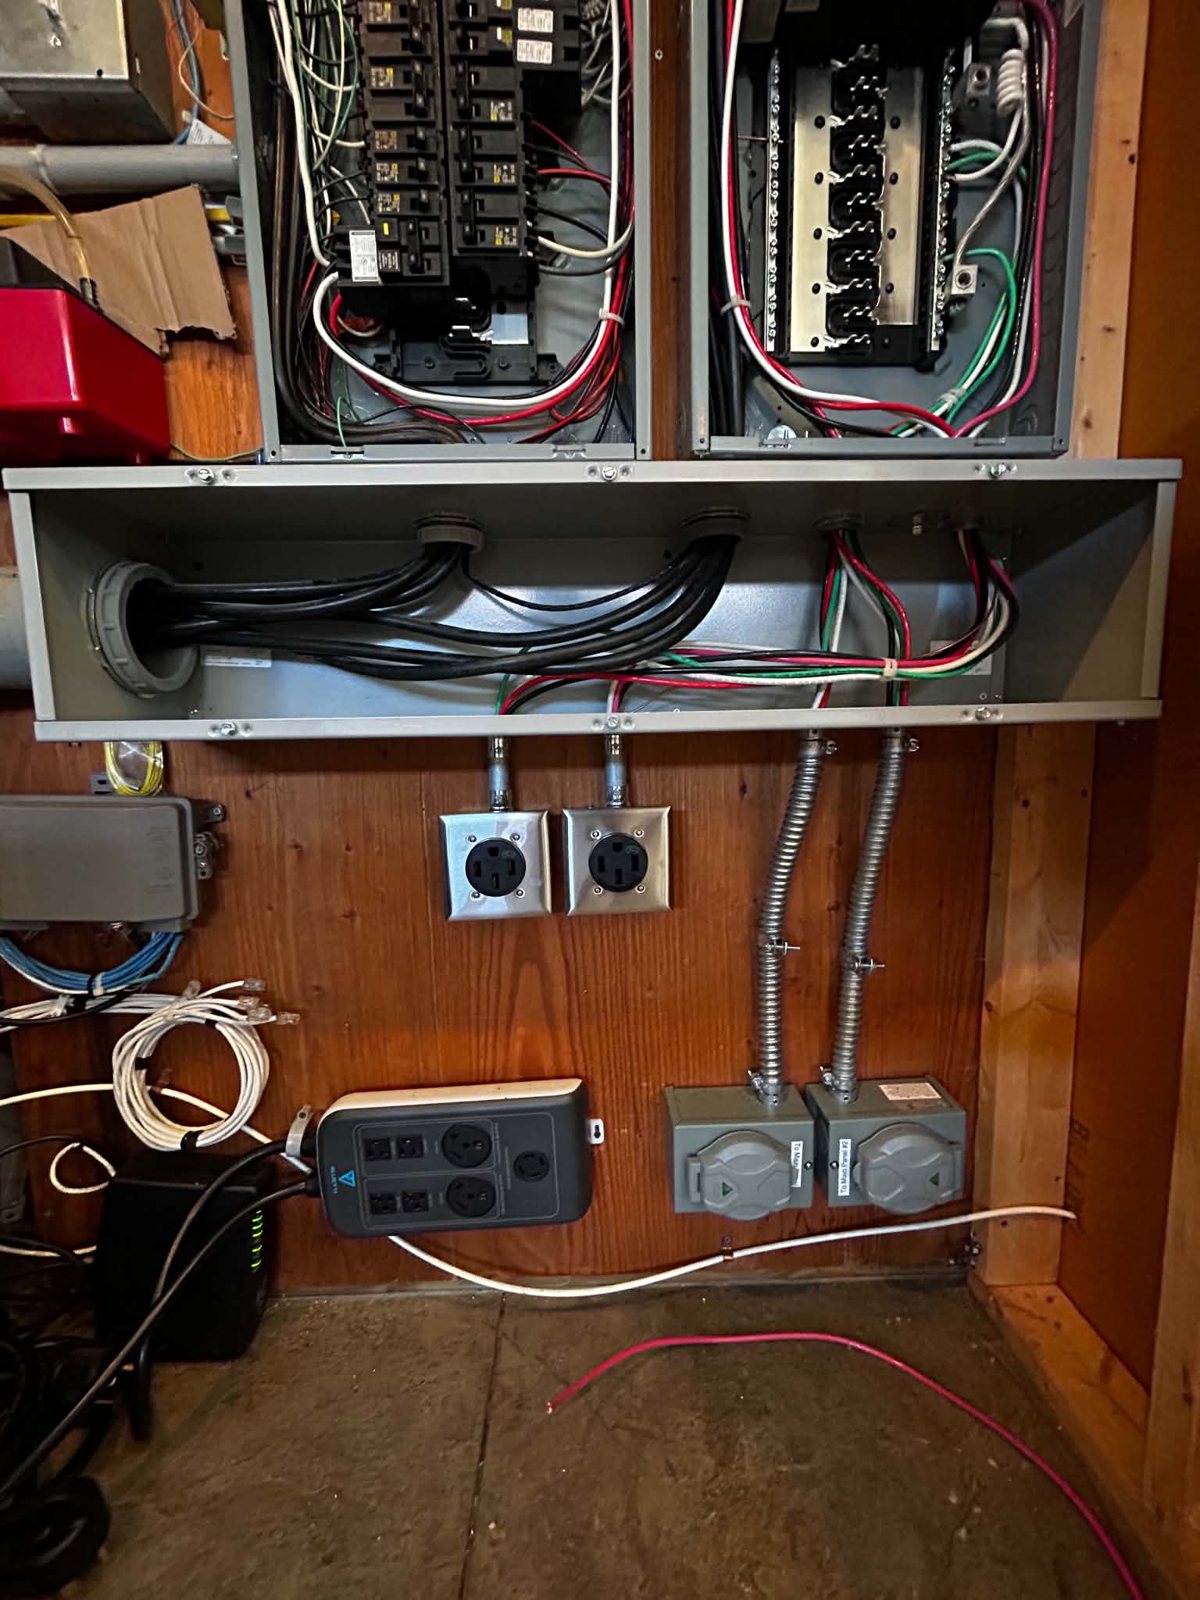
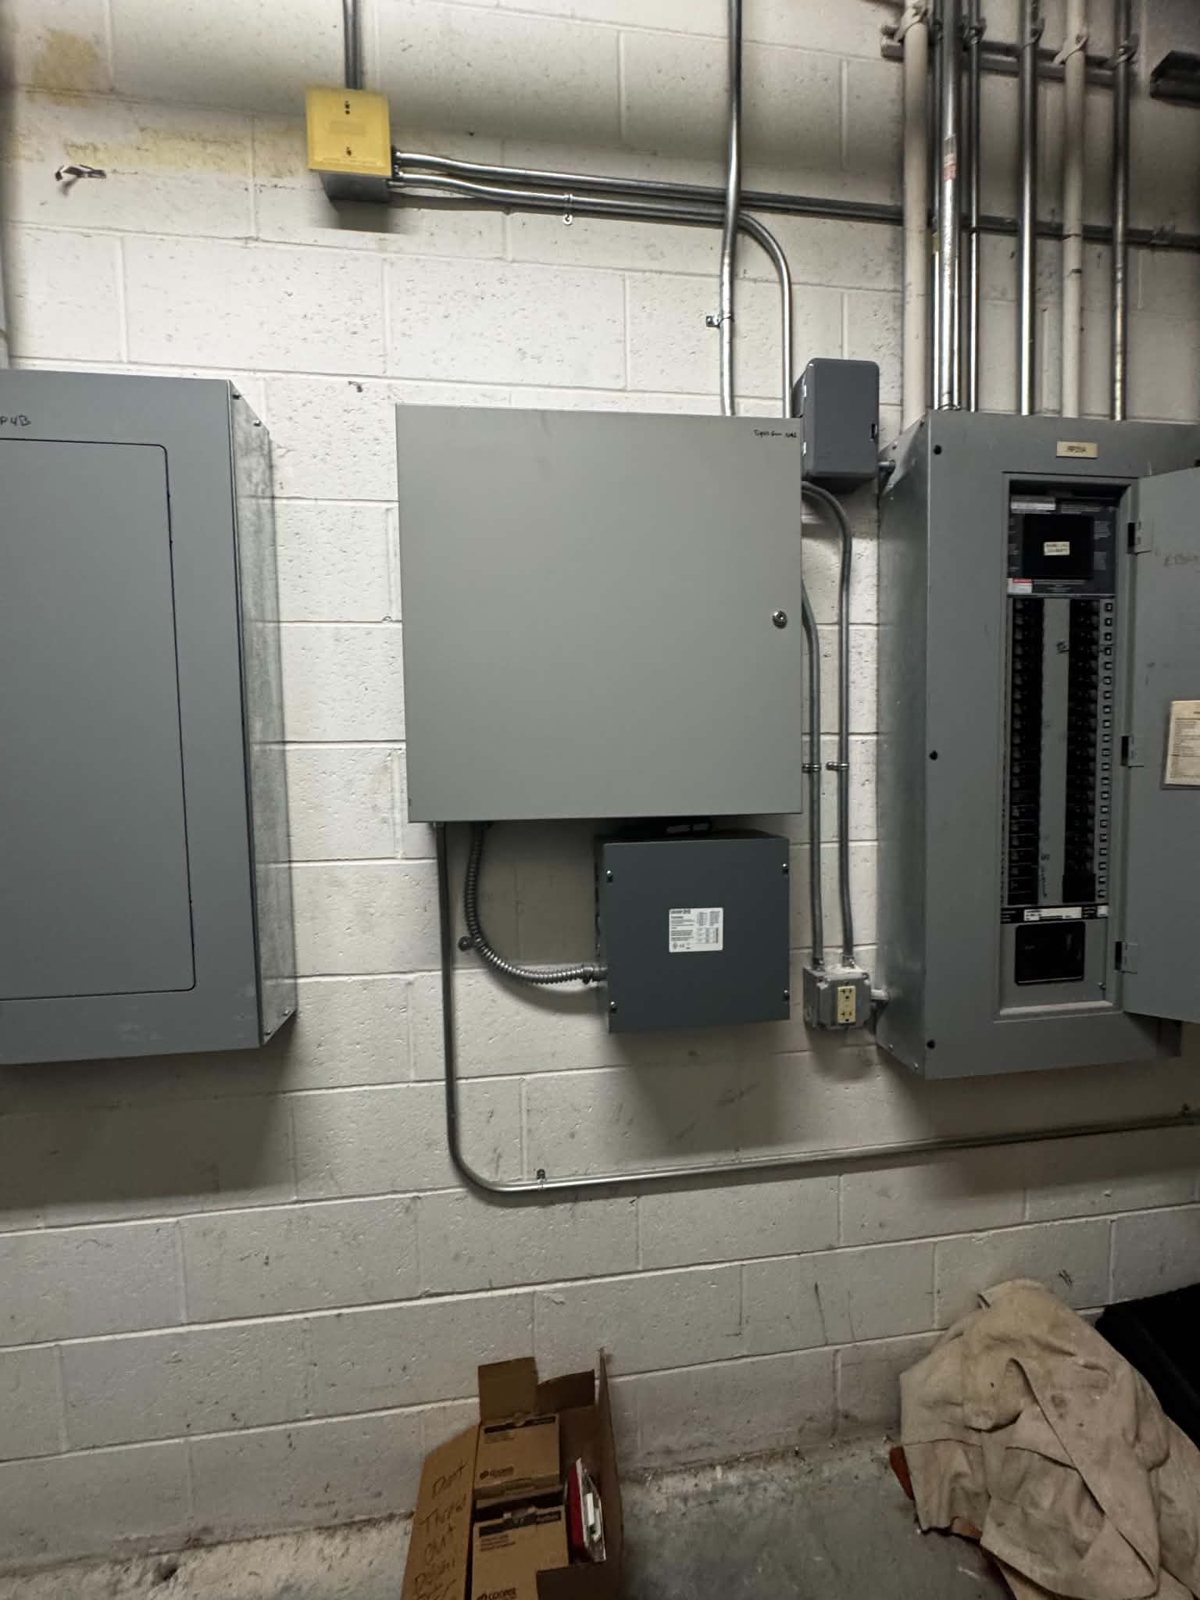
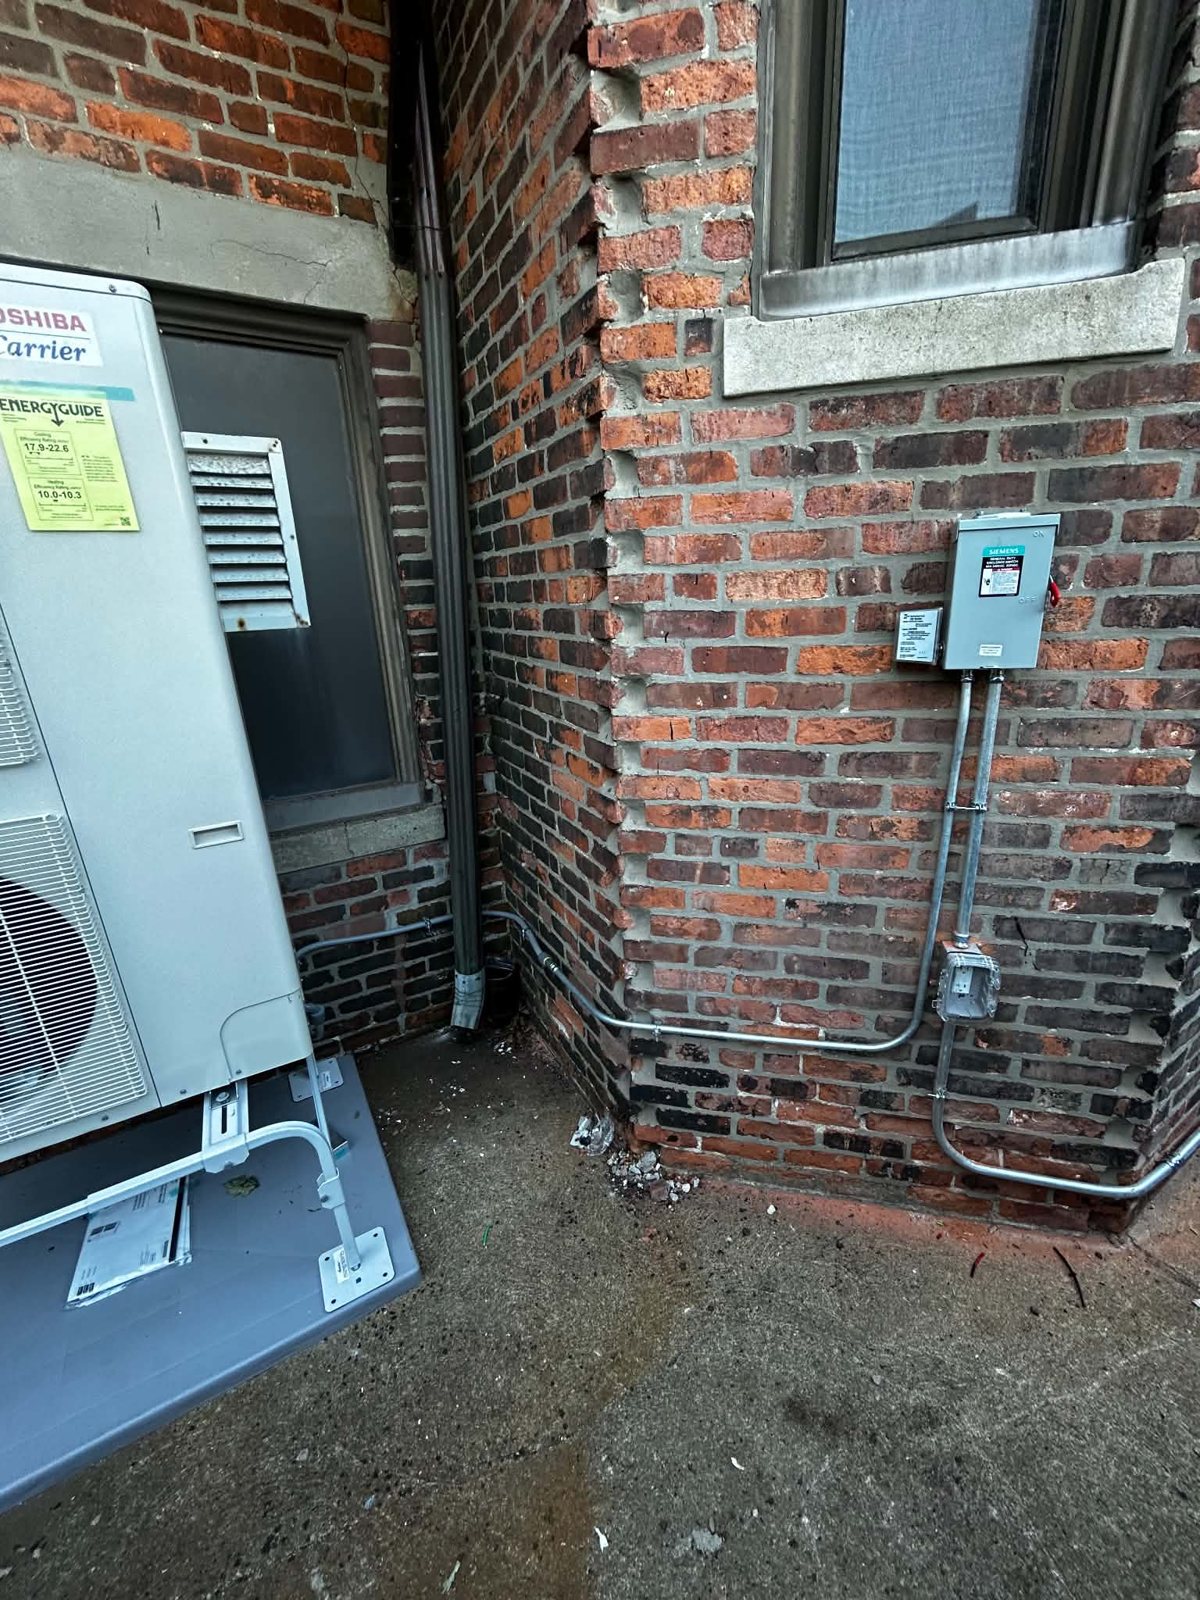
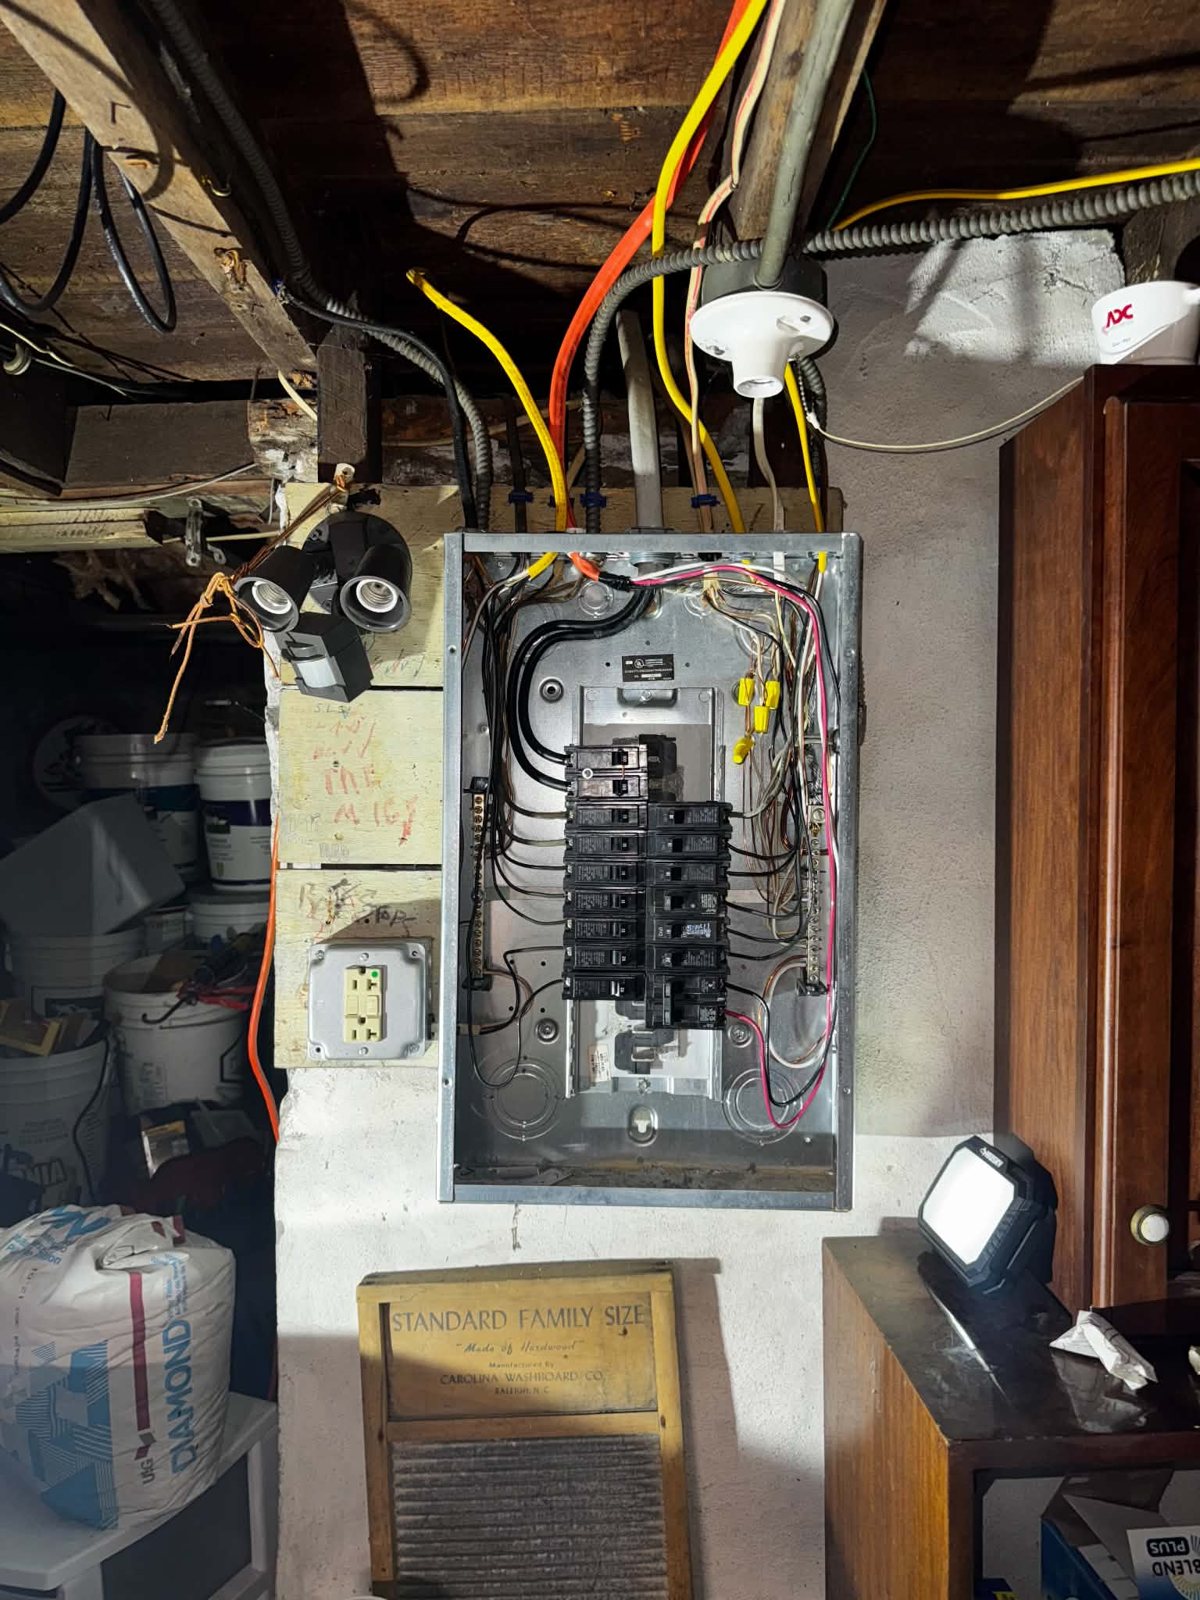
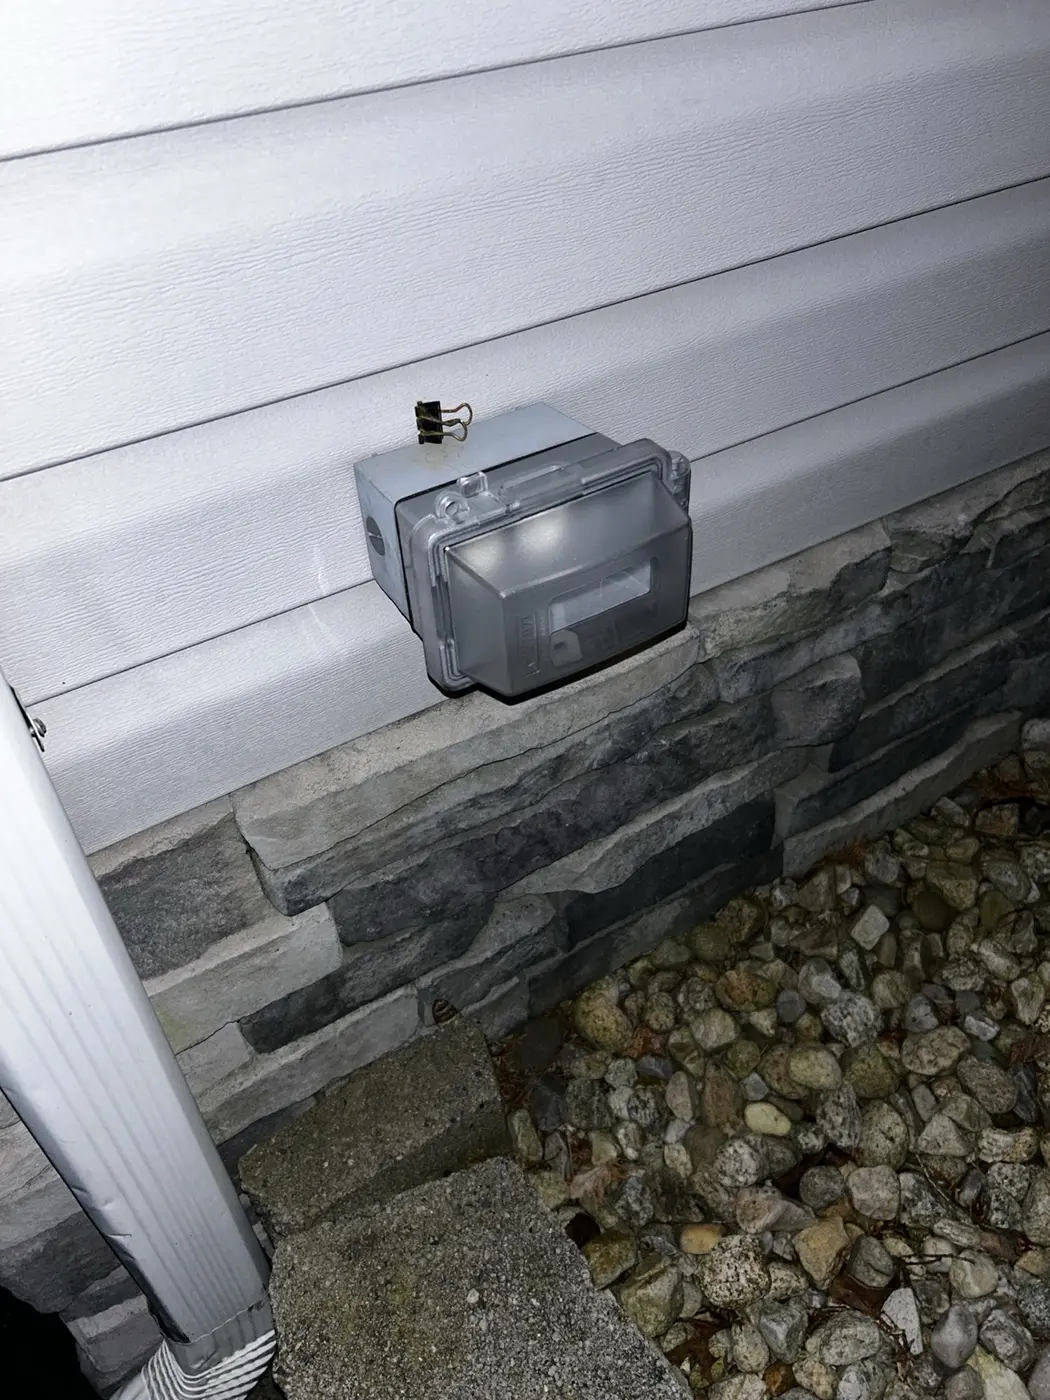
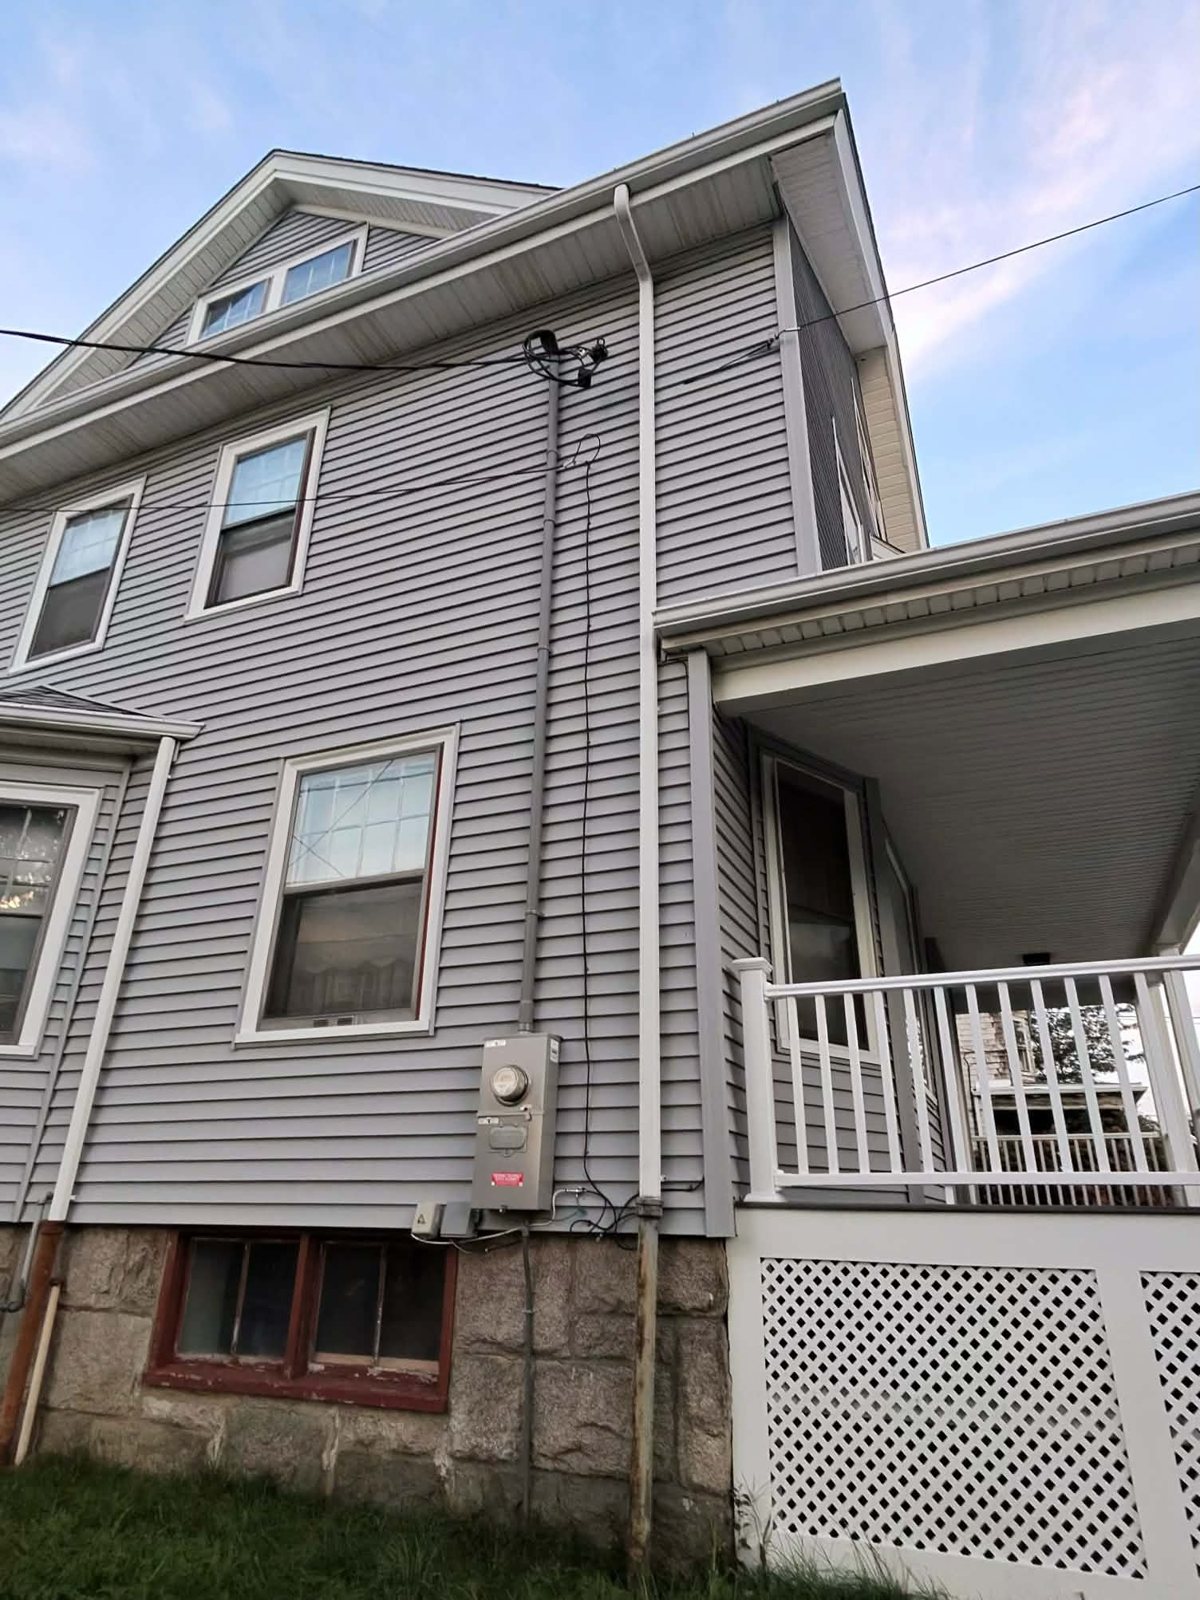
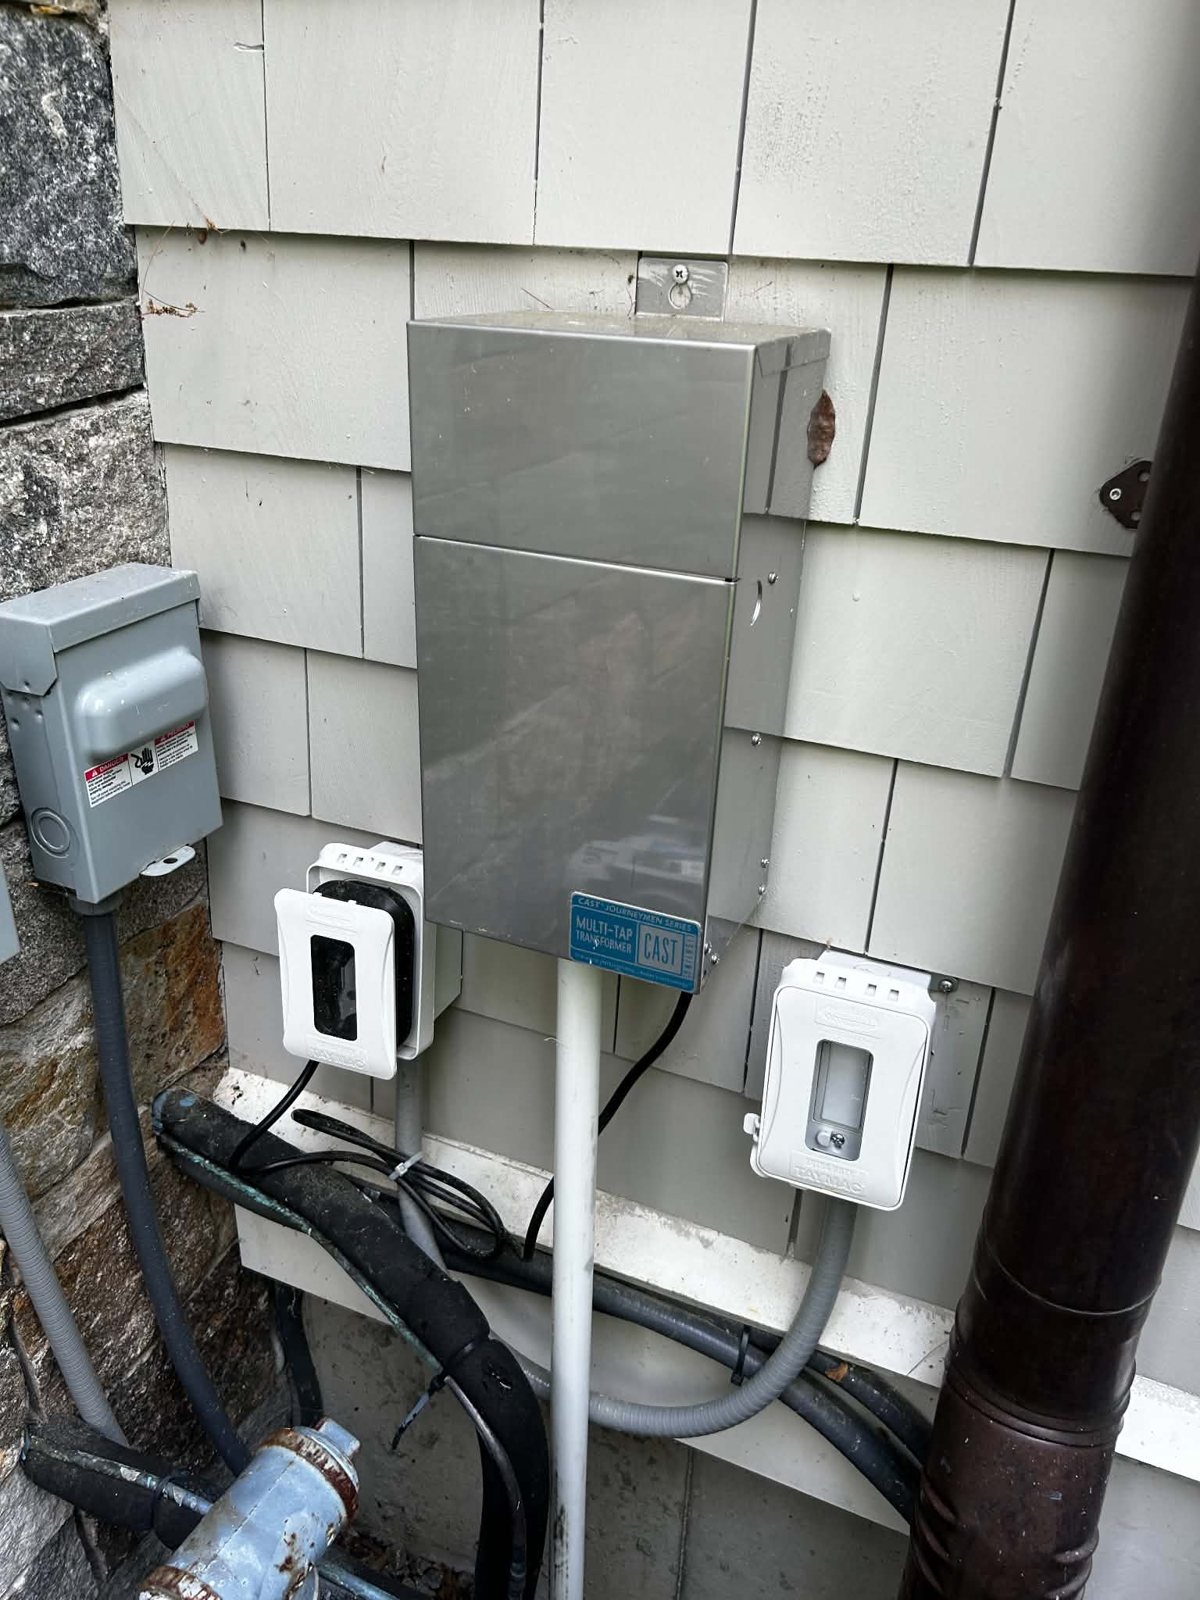
Exterior service equipmentMeters and disconnects on an exterior wall are part of the electrical service we review before changes or added loads.Inside the panelAn open panel shows how branch circuits and wiring meet at the distribution point; a service visit can start here when troubleshooting.Equipment roomPanels and conduit share an equipment room. Access and clear labeling matter when a business needs maintenance or a new circuit.Outdoor electrical equipmentAn exterior enclosure and nearby conduit illustrate the need to plan equipment location and weather exposure.Existing panel conditionsA look inside an existing panel helps frame questions about circuit space, wiring condition and future electrical needs.
Service, renovation & exterior details
These field photos show the conditions that shape the scope: the existing panel, access before walls close, outdoor exposure and the working area around exterior equipment.
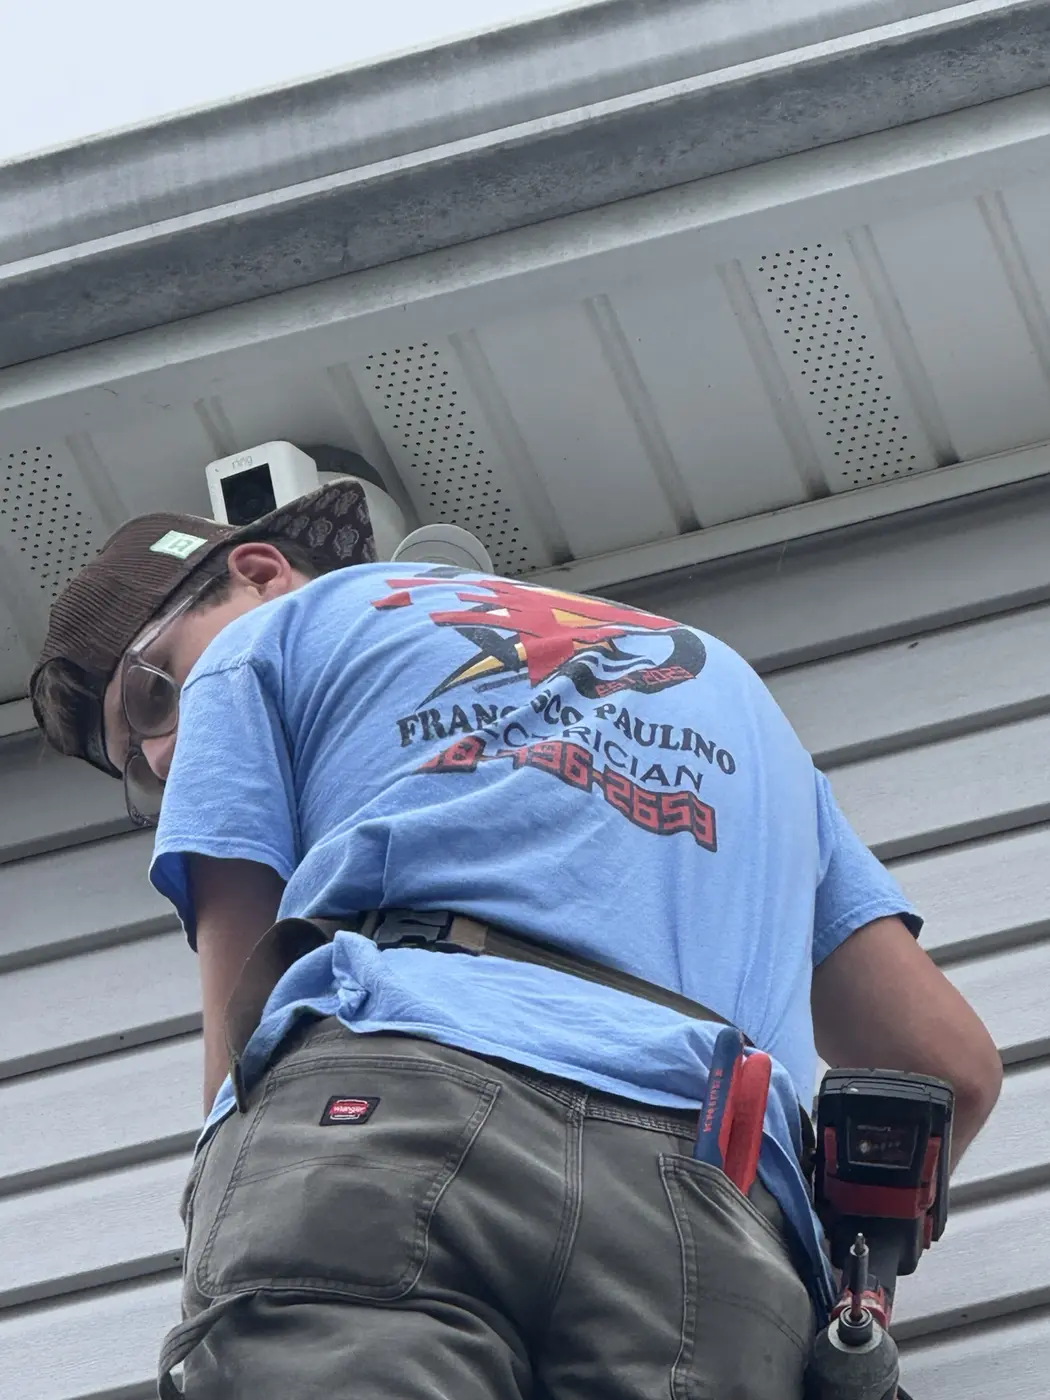
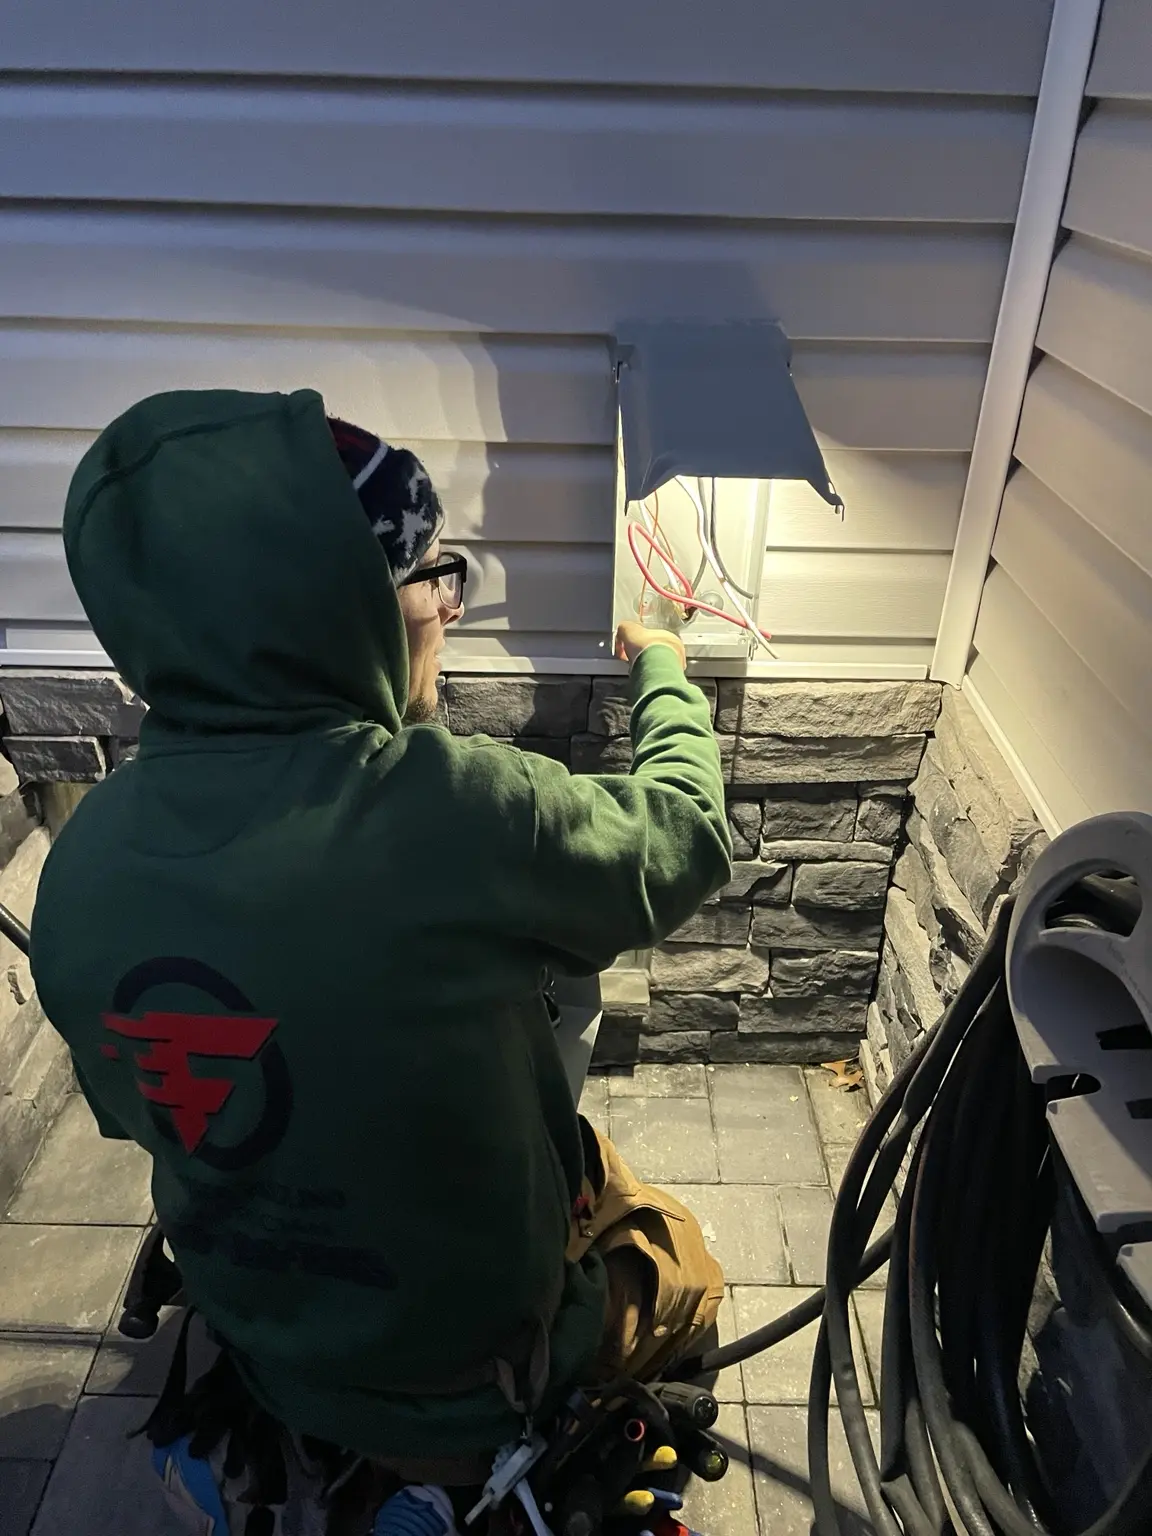
Existing panel reviewBreaker space, equipment condition, labeling and the planned loads all matter before recommending a circuit or upgrade.Plan while the walls are openOpen framing gives a clear opportunity to coordinate receptacles, lighting, dedicated circuits and future low-voltage pathways.Outdoor equipment detailExterior device selection and mounting must account for weather exposure, entry points and the finished surface.Hands-on exterior serviceFrancisco works directly at the property, from reviewing the existing condition through the electrical scope.
Lighting work—from open ceiling to finished fixtures
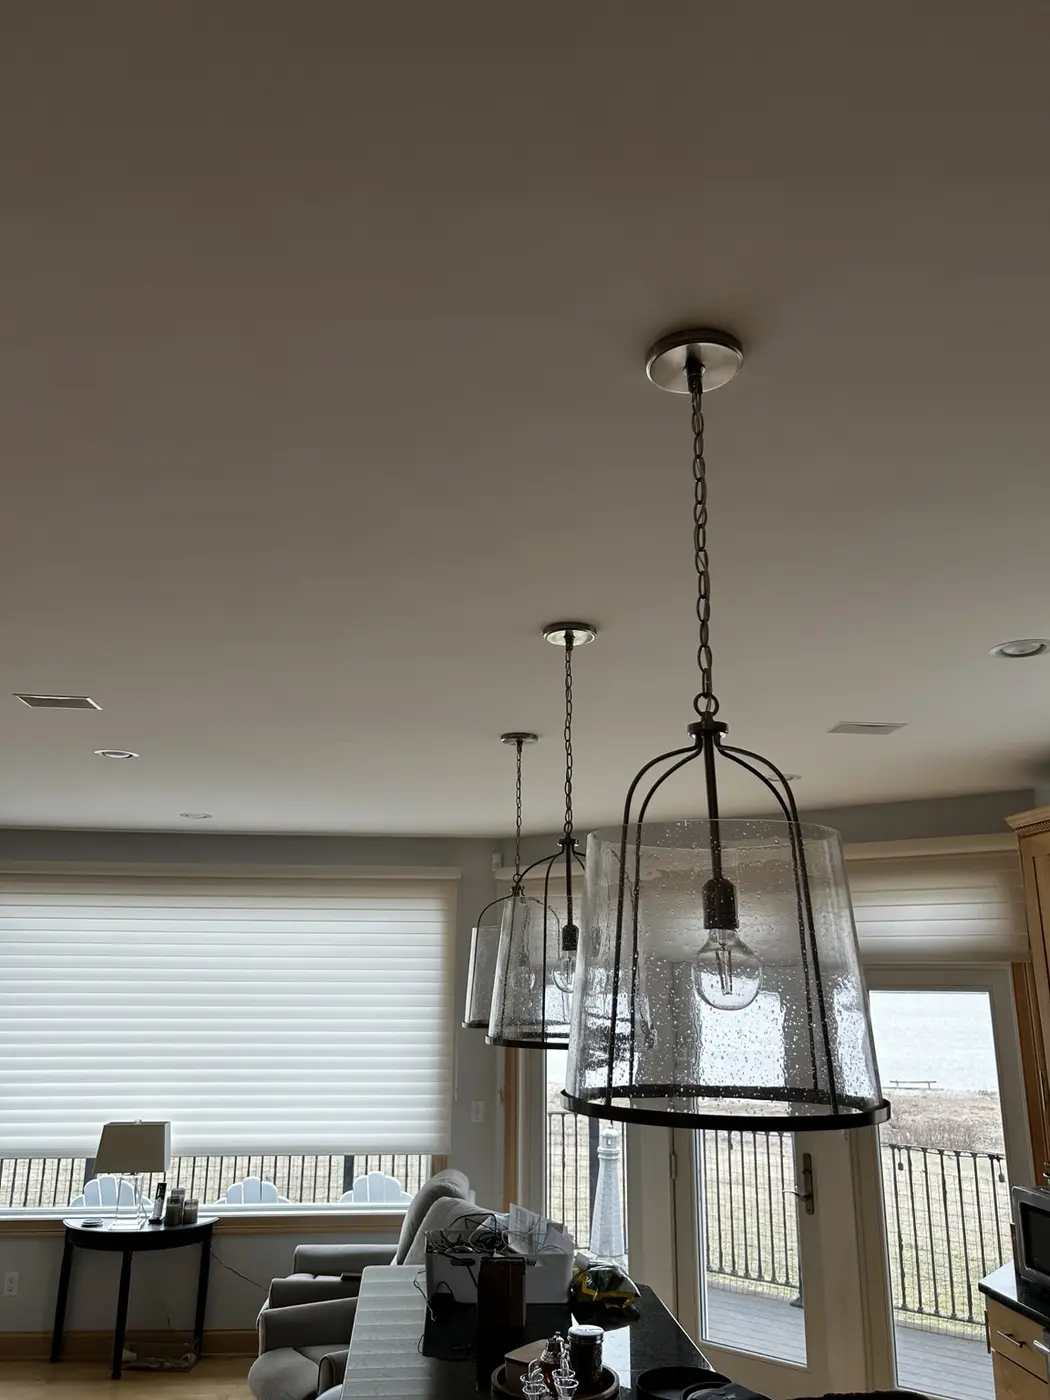
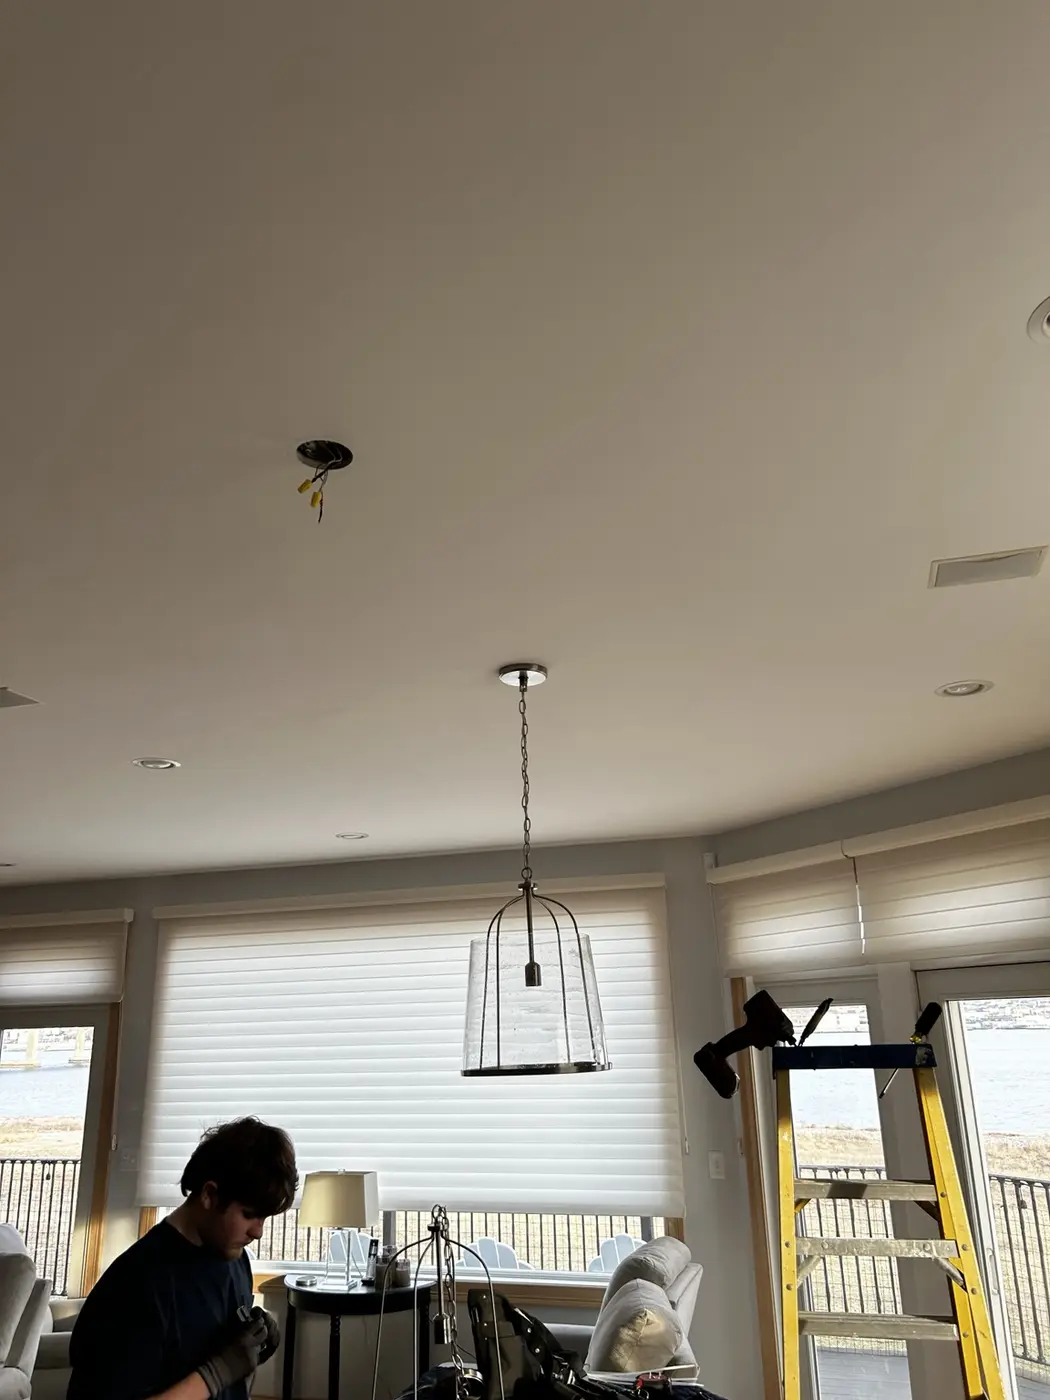
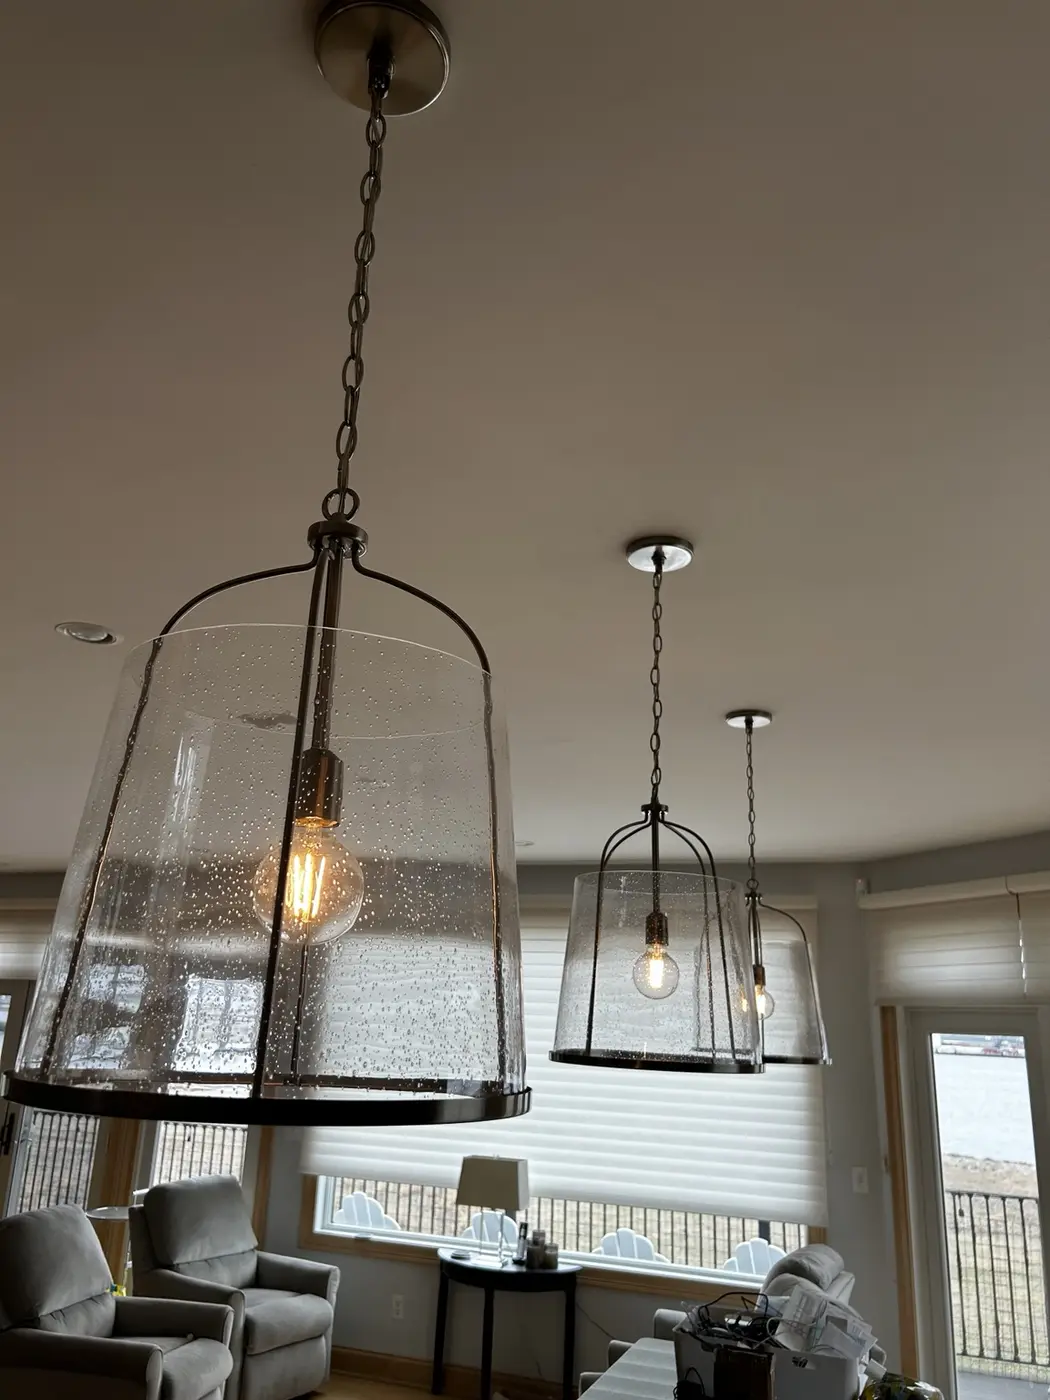
Planning goal: Bring coordinated pendant lighting into a dining and living area.
Work shown: The uploaded sequence shows the installation in progress, followed by the finished fixtures and a close-up of their placement.
Practical benefit: Customers can see how fixture positions and hanging heights relate to the room—not just pick a fixture from a catalog.
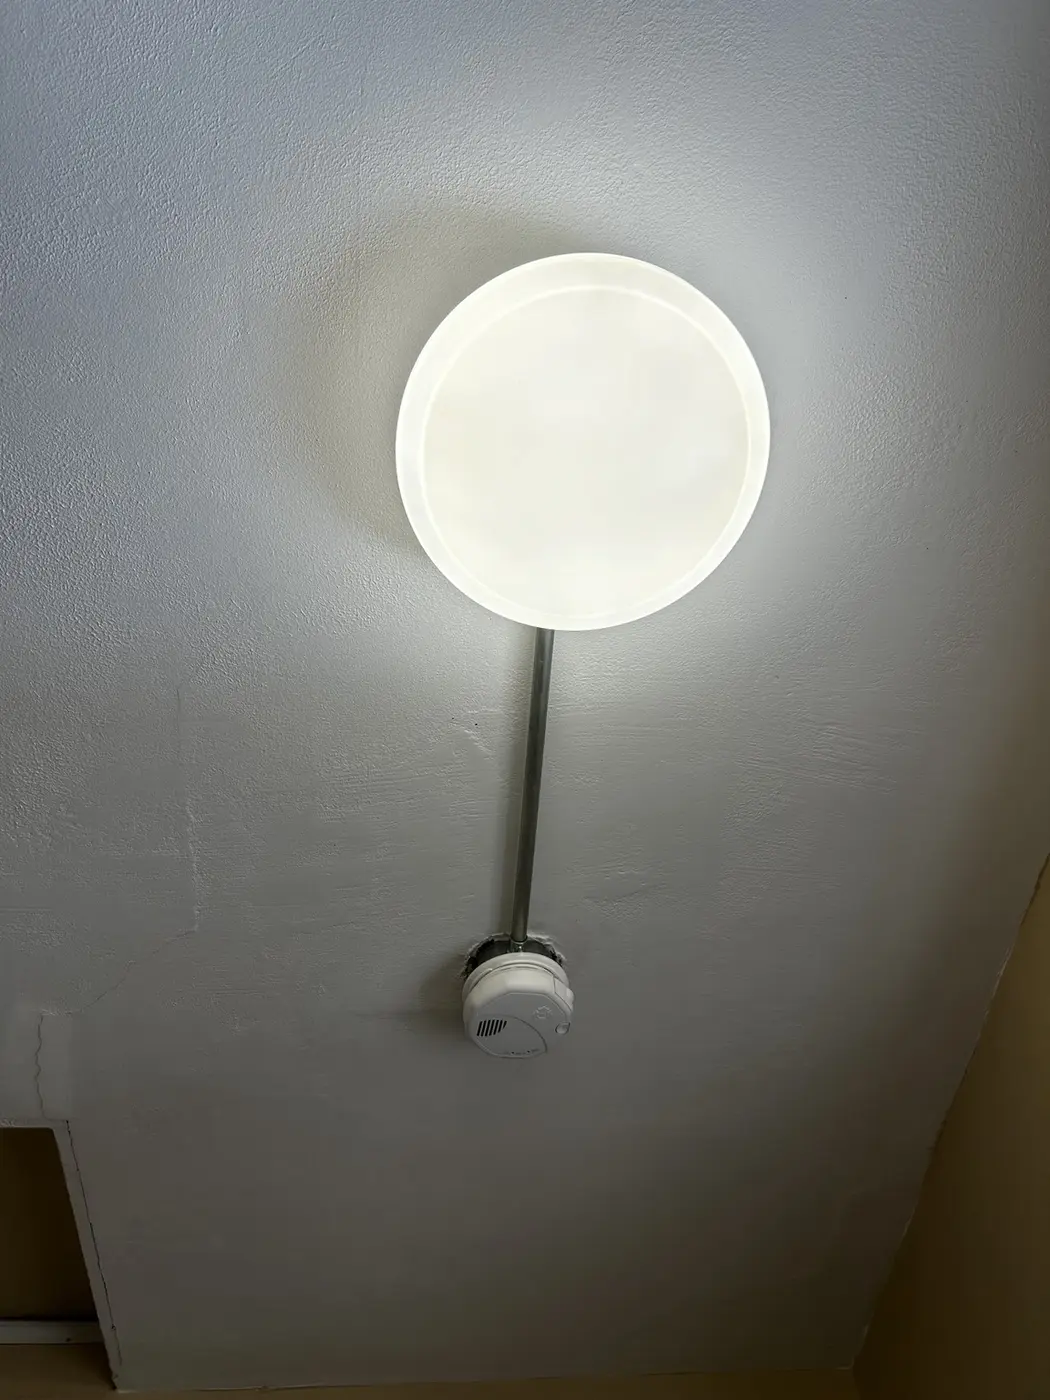
01 · Locations preparedThe ceiling locations and hanging points are coordinated before the finished fixtures are set.02 · Finished room viewMultiple pendants create an intentional rhythm across the dining and living area.03 · Fixture detailThe close view shows the finished height, lamp placement and relationship between fixtures.Practical ceiling lightA compact fixture provides straightforward everyday light where a decorative fixture is not the priority.
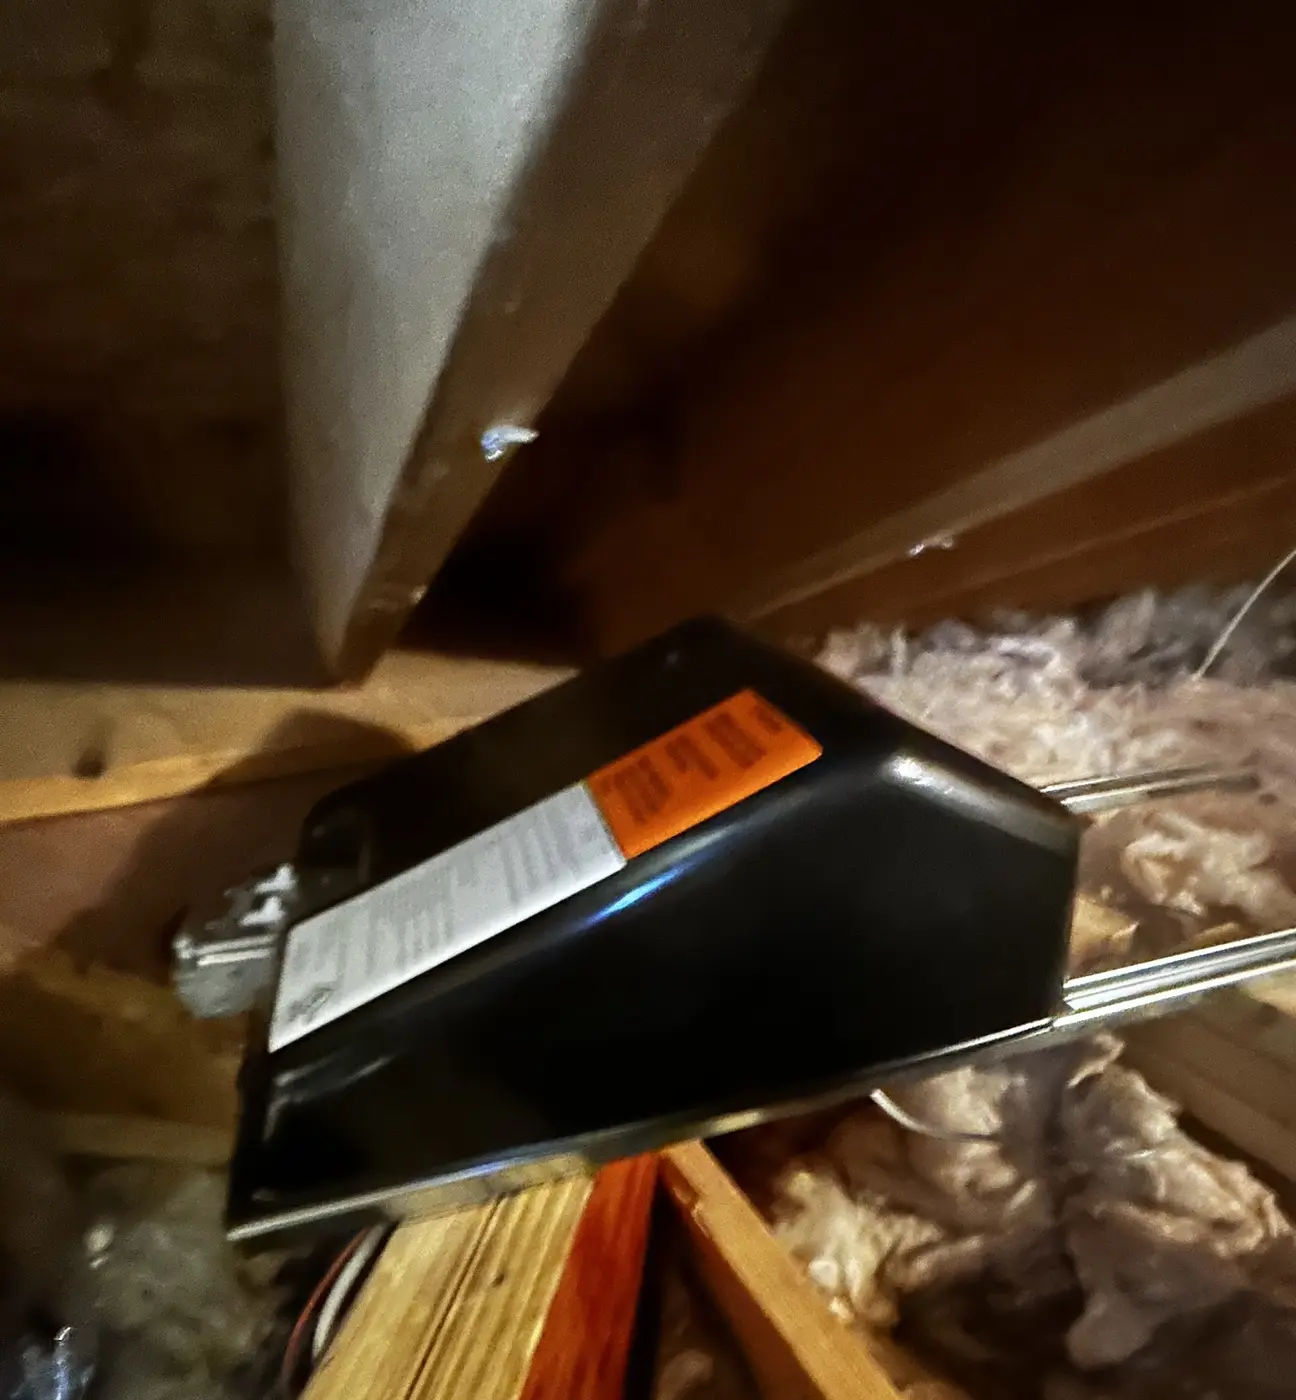
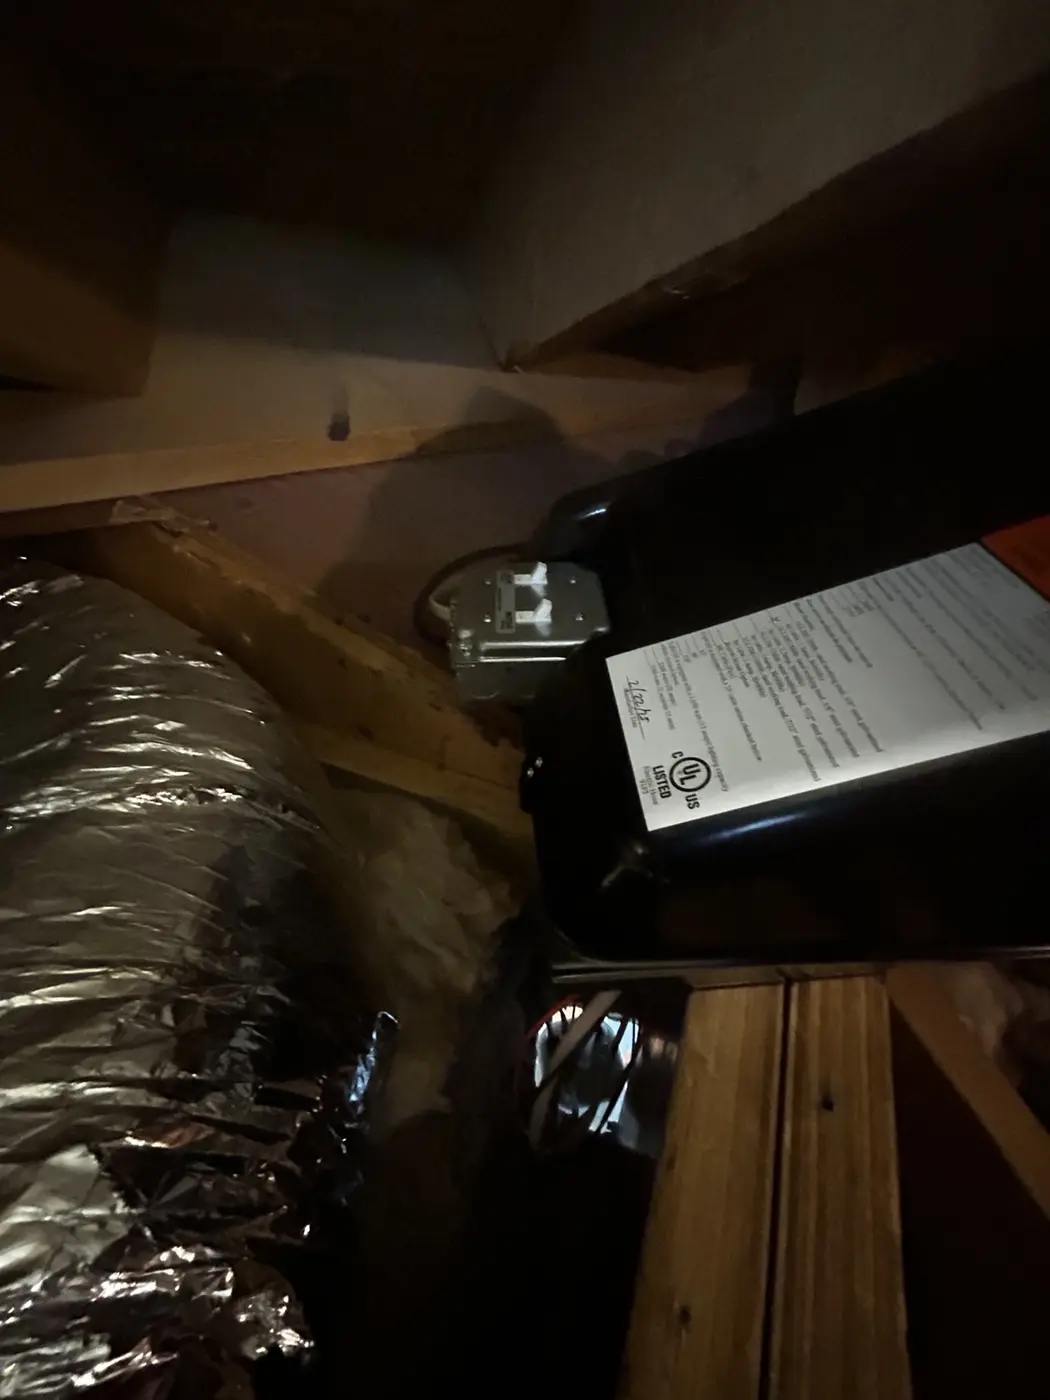
What is above the ceiling matters
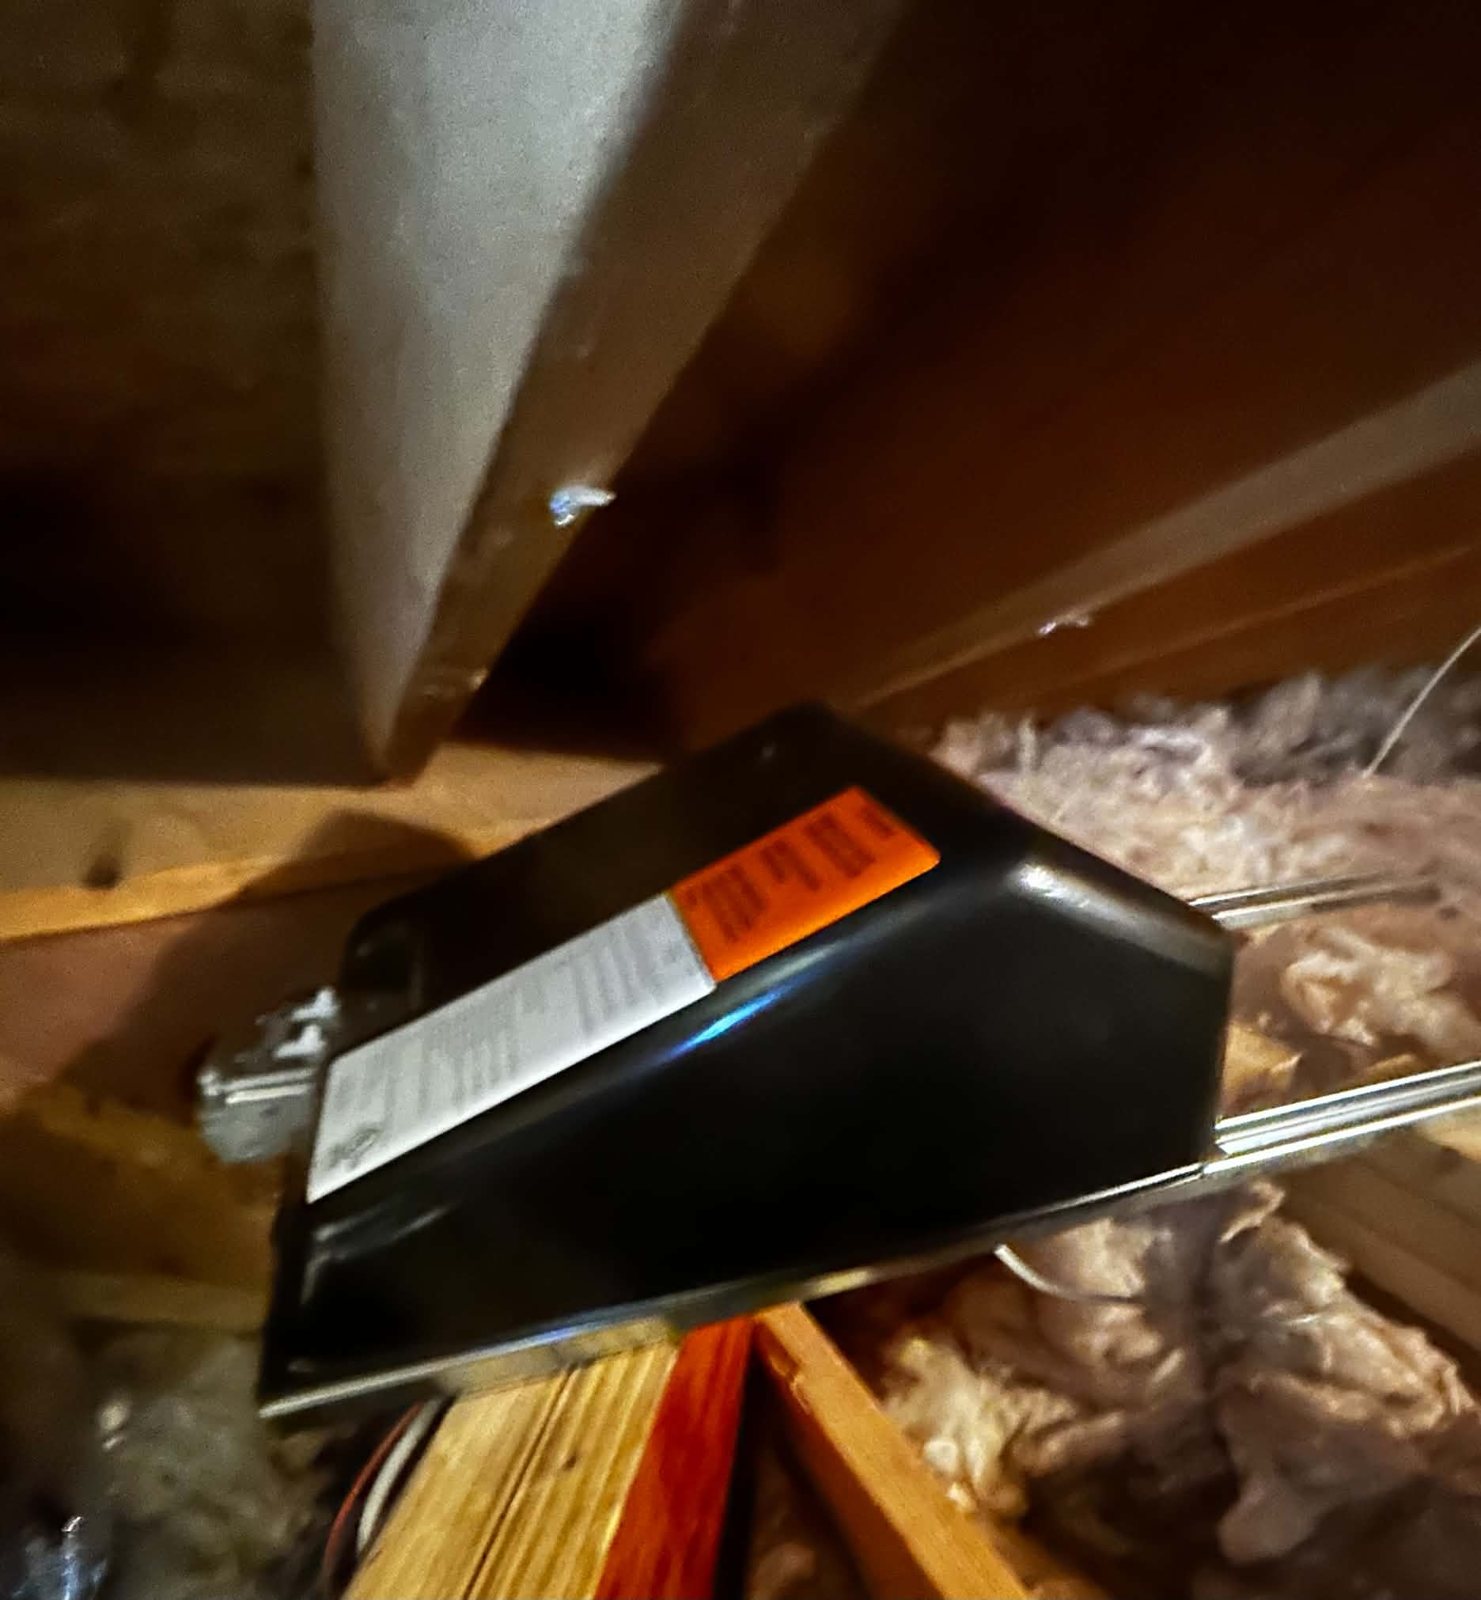
Existing framing, ductwork, insulation and equipment can change the route, access and scope for new electrical work.
Equipment detailA close view documents the label, mounting and nearby framing before planning work in the same area.Access and surrounding conditionsThe wider view shows why safe access and nearby building systems must be considered before routing new wiring.
Smart controls in real spaces
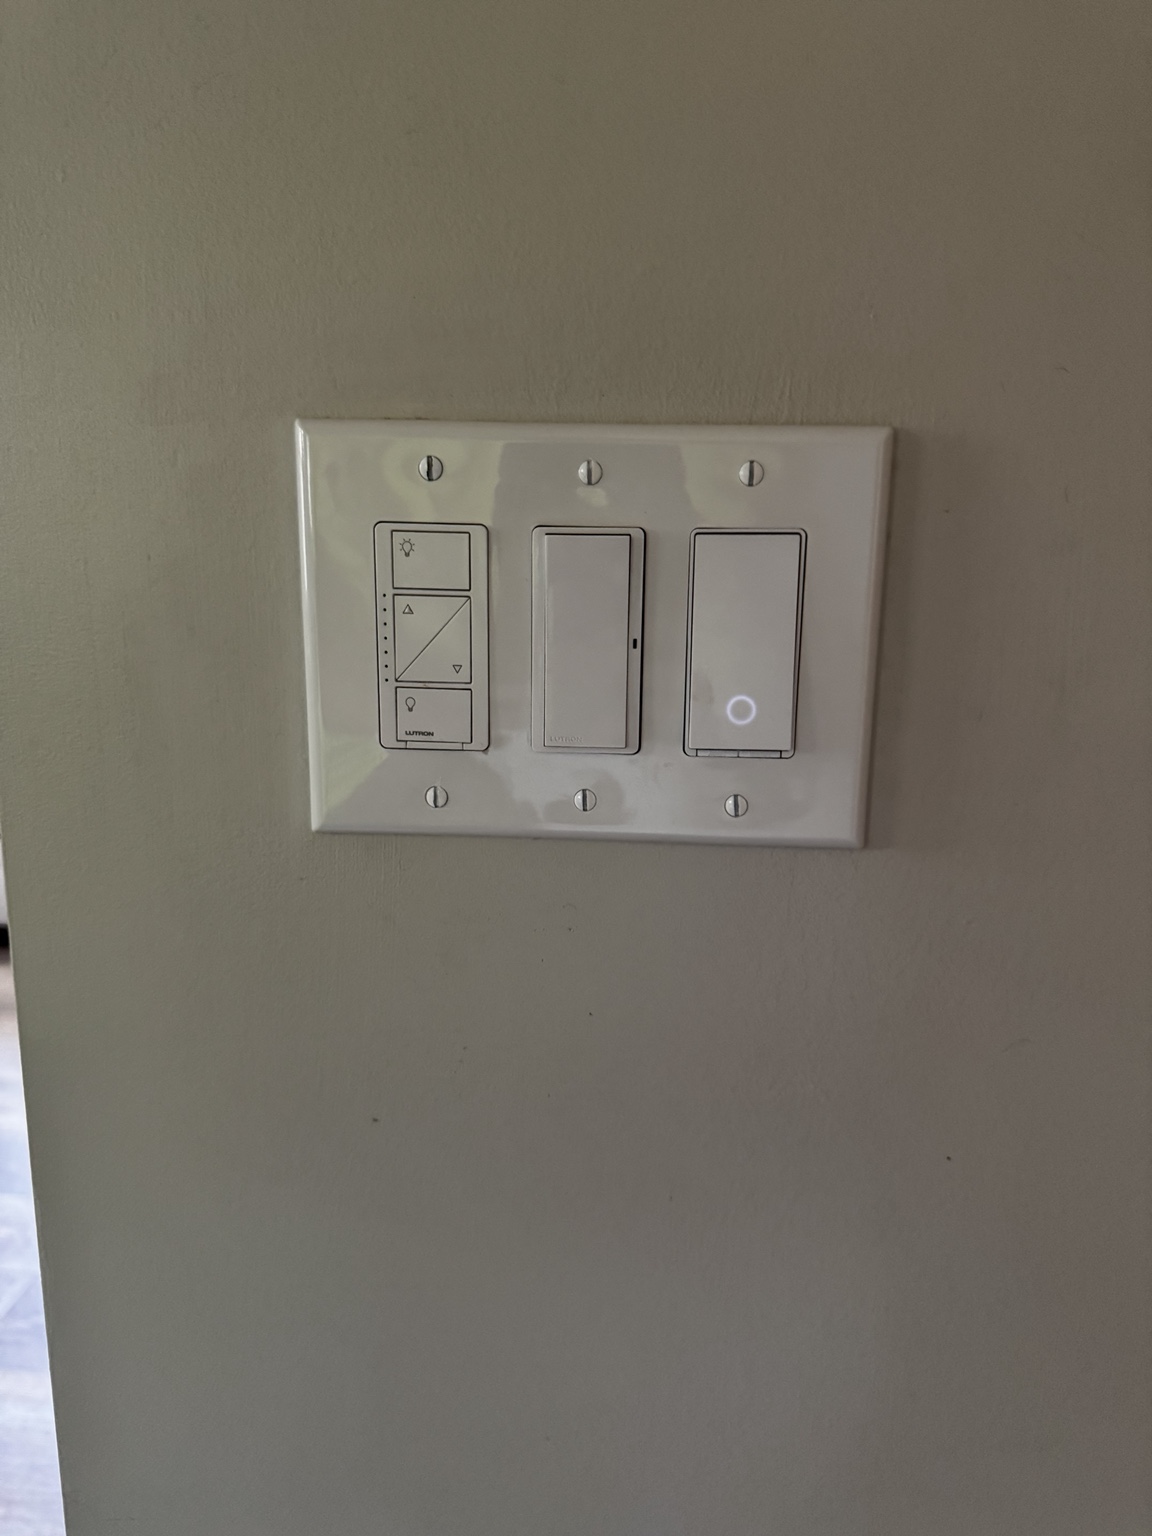
These close-ups show device choices and layouts. The right control depends on the existing wiring, fixtures and how you want to use each room.
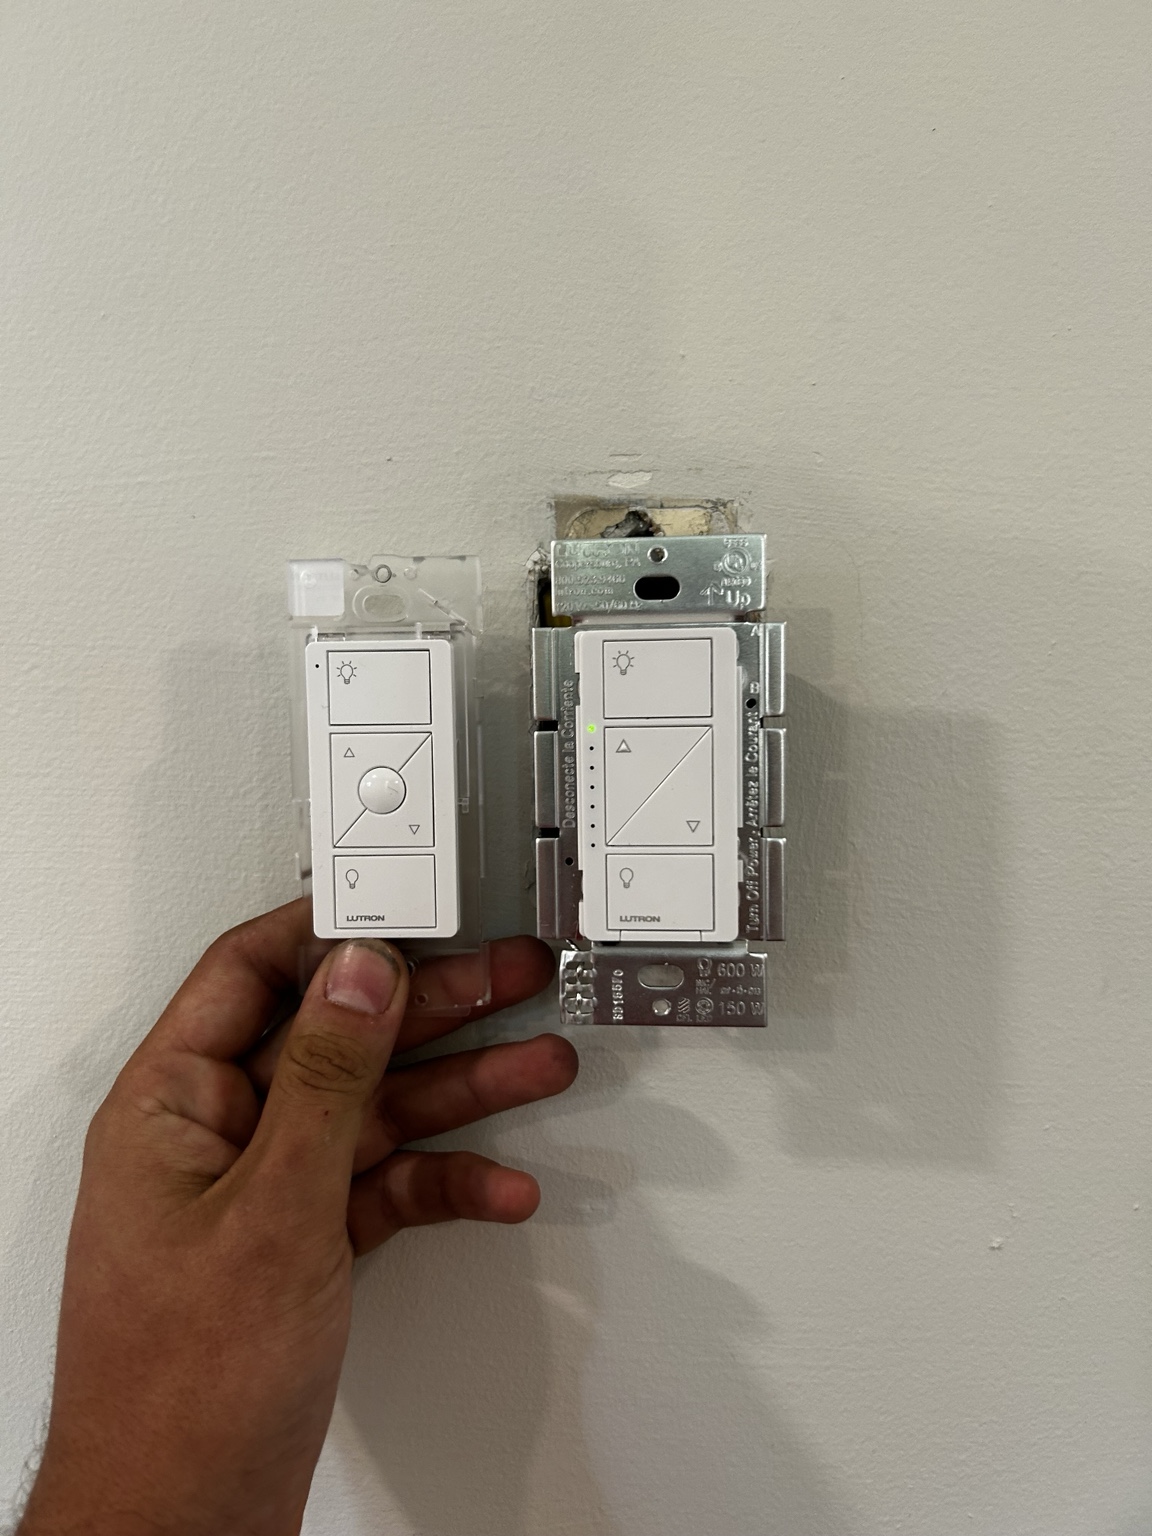
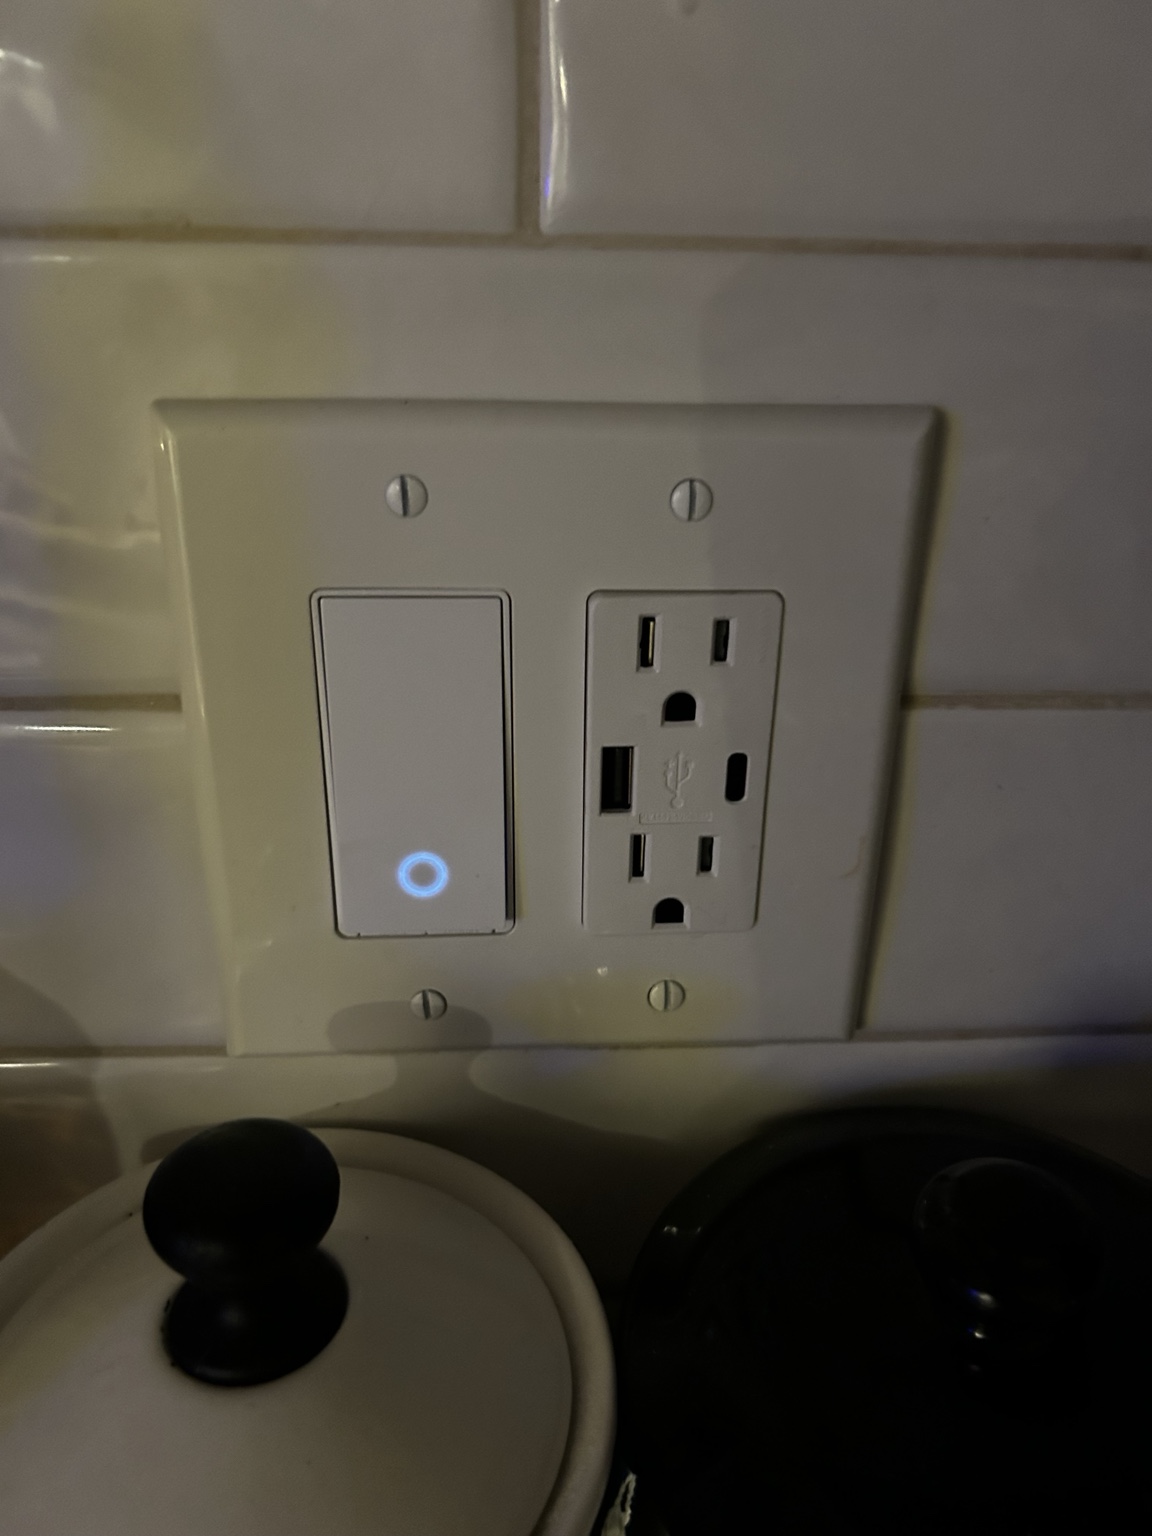
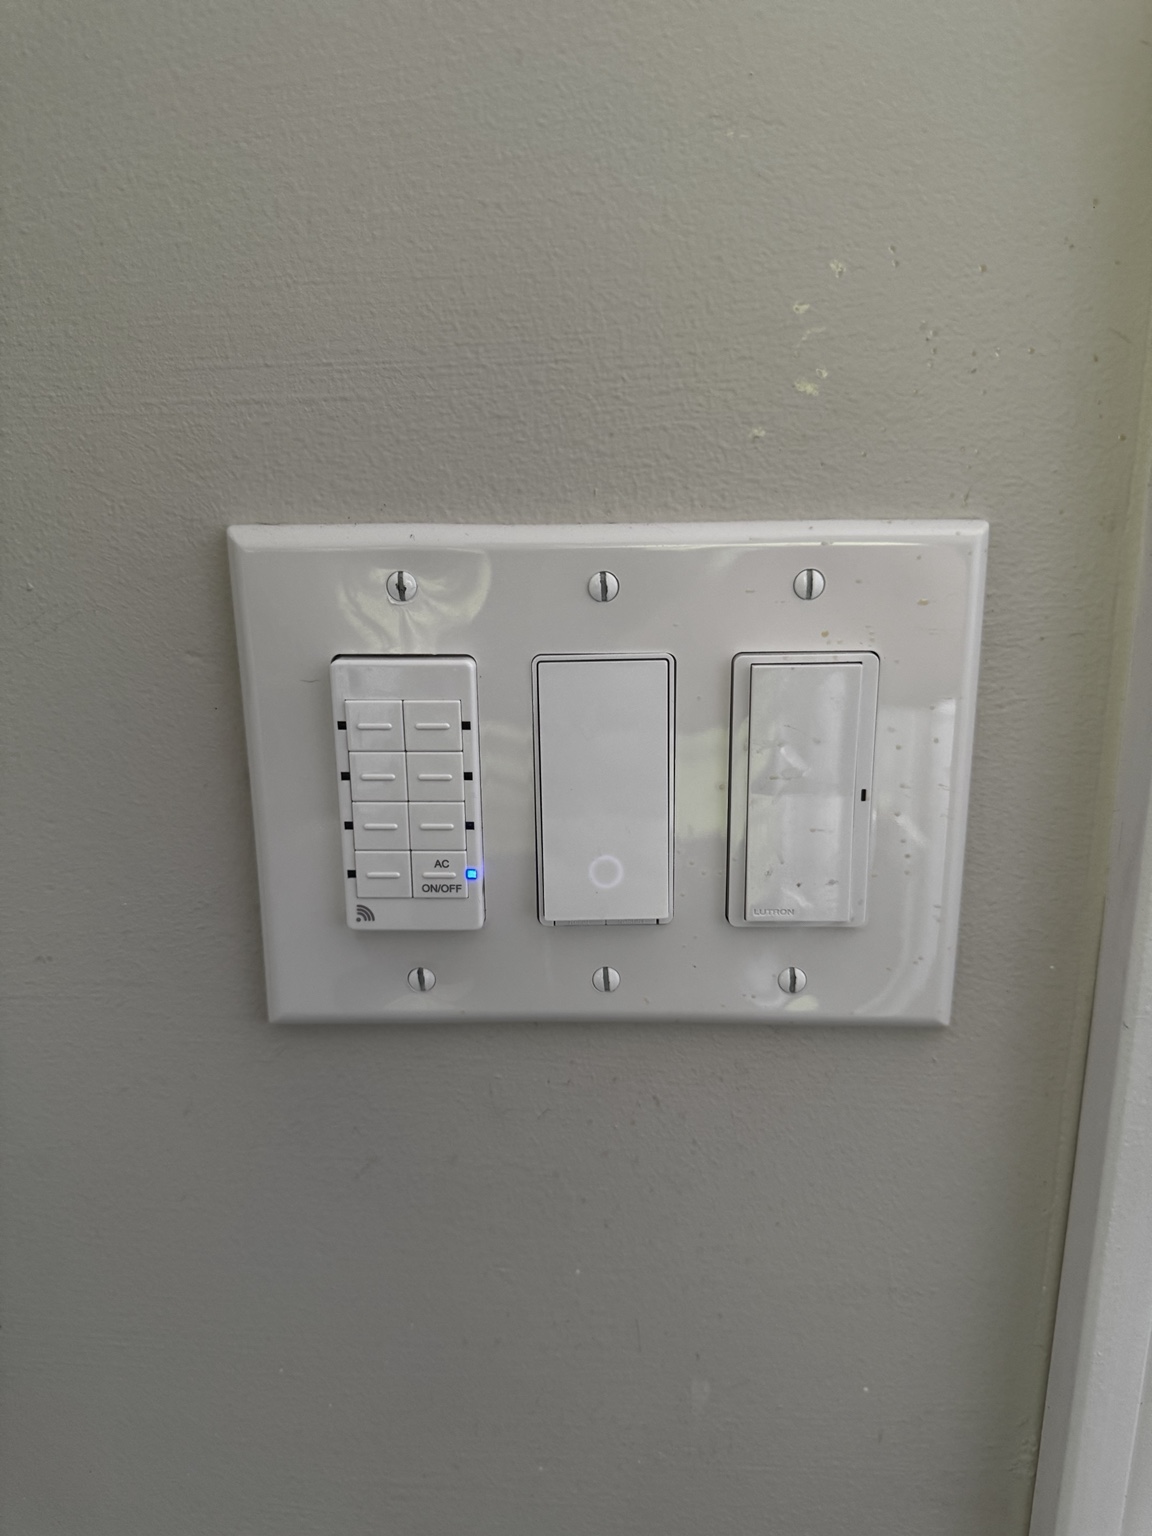
Choosing a dimmerA Lutron wall dimmer beside a handheld remote illustrates wall-mounted and remote lighting-control options. Device compatibility must be confirmed.Kitchen control pointA smart switch next to a USB-equipped receptacle shows how connected controls can fit into an everyday kitchen.One wall, different controlsA keypad, smart switch and Lutron dimmer share one wall station. Good control planning keeps each device easy to identify and use.Finished control layoutA Lutron dimmer and two paddle controls show a clean way to group multiple lighting functions in one location.
These newer field photos show practical upgrades in finished homes—from better everyday lighting to a connected front entry.
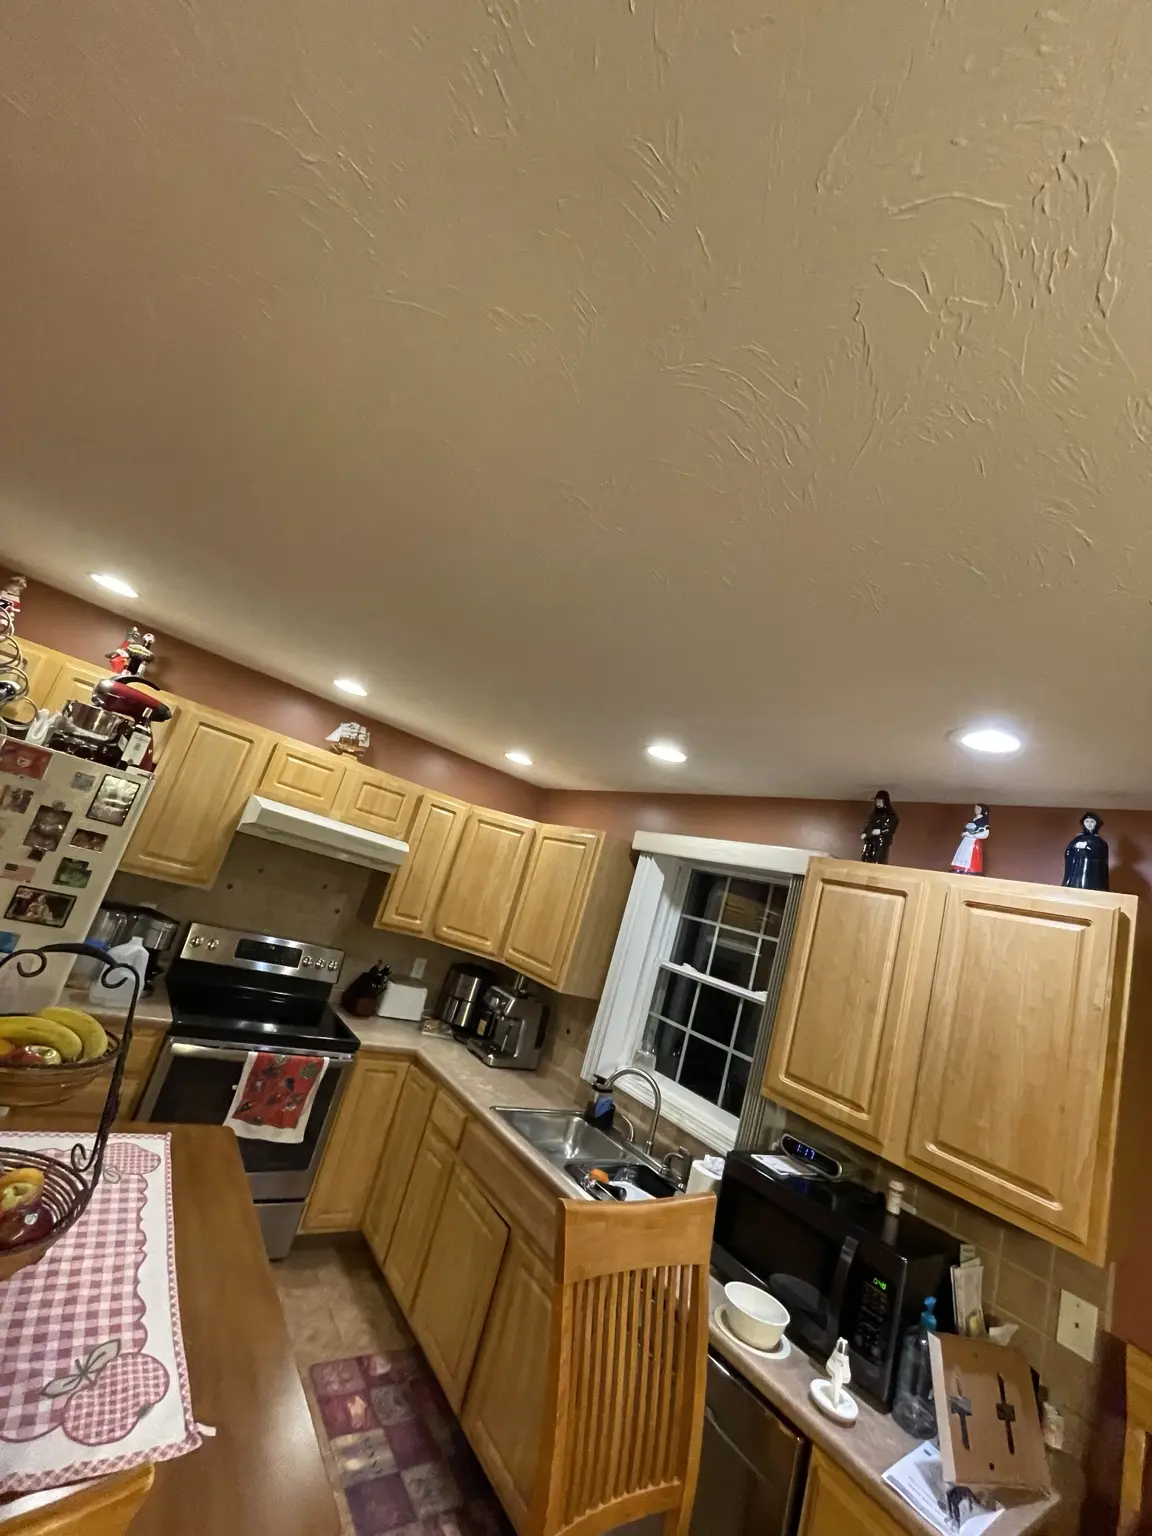
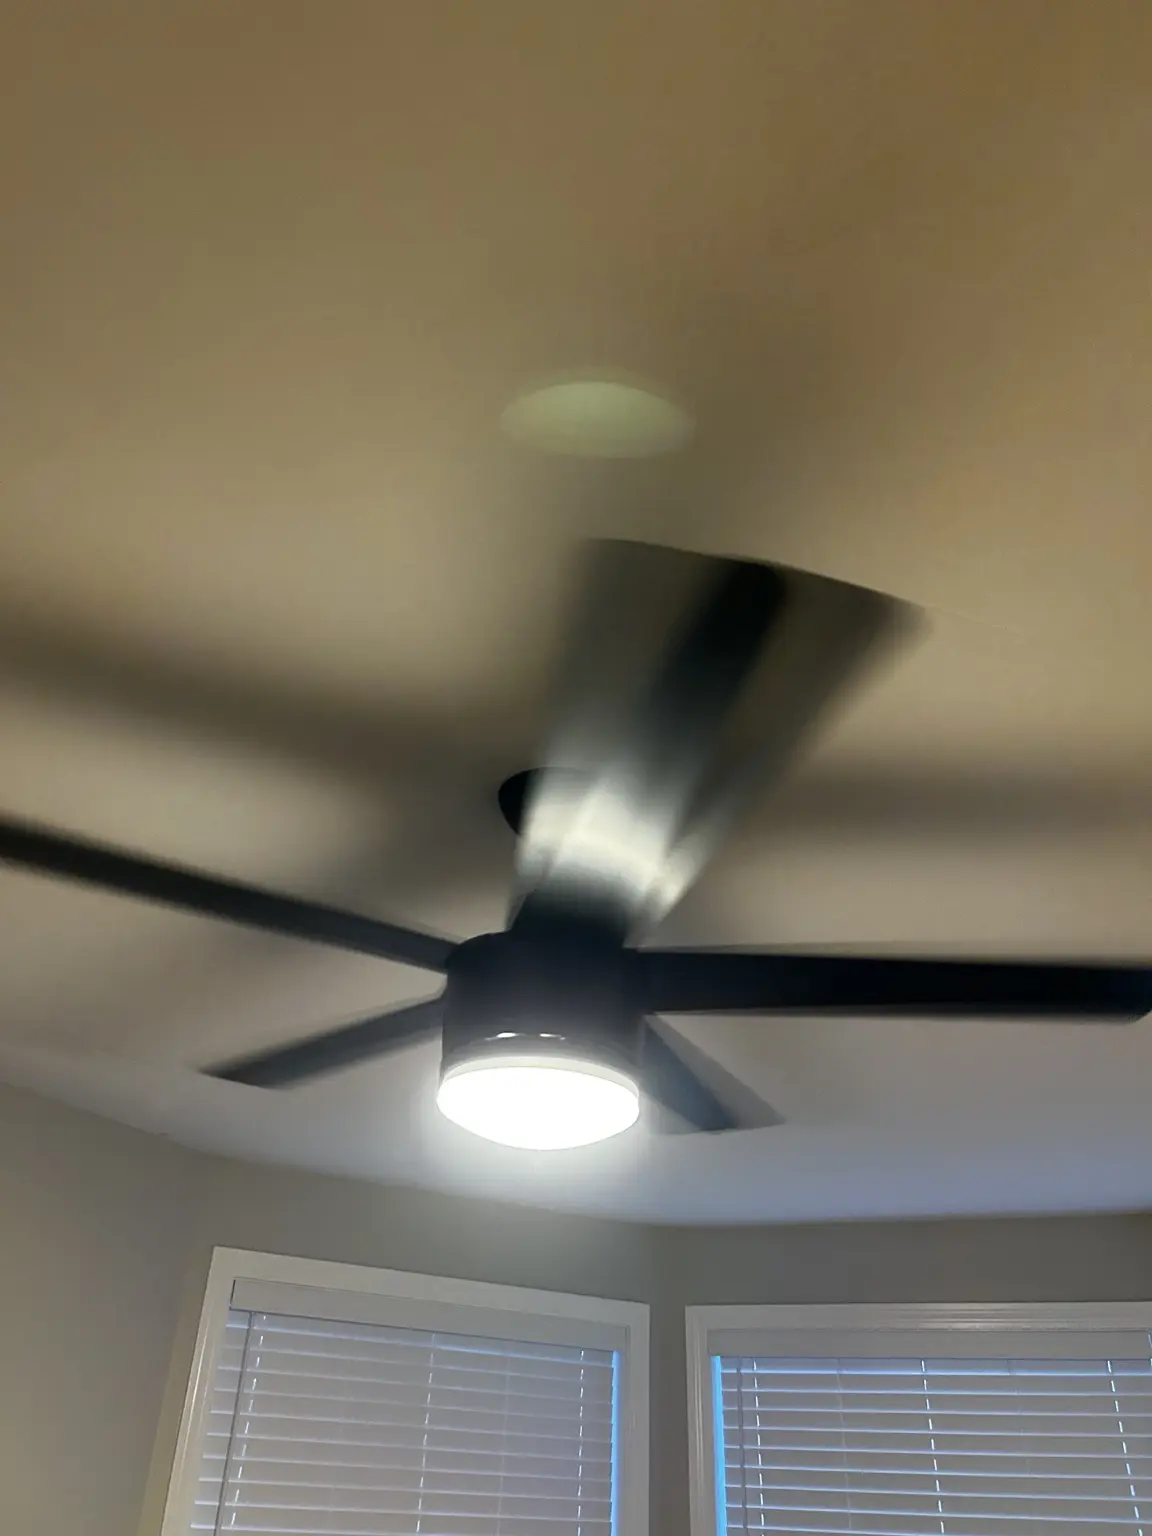
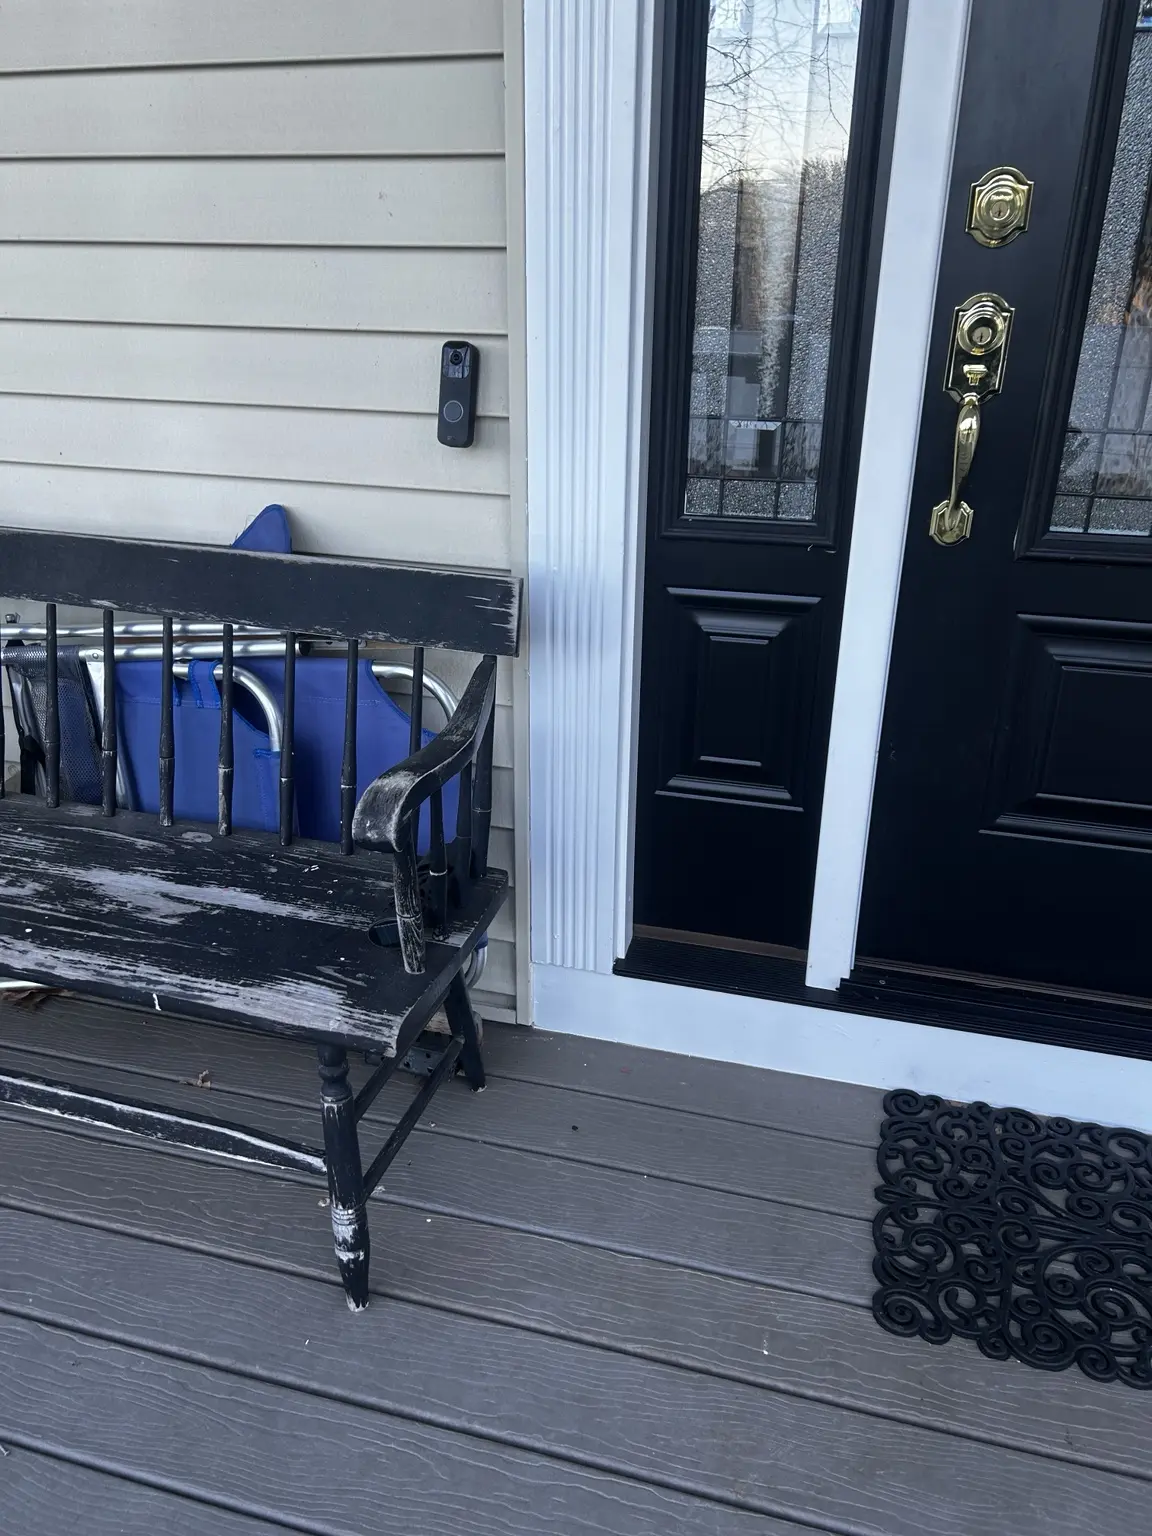
Kitchen recessed lightingEvenly placed recessed lights brighten the working areas and the full room without relying on one central fixture.Ceiling fan with integrated lightA finished fan installation combines room lighting and air movement; the mounting and controls must match the equipment.Finished-room lightingRecessed fixtures provide broad, consistent light across a renovated living area.Exterior electrical workWorking at the entry requires planning for weather exposure, routing, device placement and a clean finished appearance.Connected front entryA Ring video doorbell adds a practical layer of visibility for a home, rental or short-term property.
Basement renovation—power, lighting & bathroom
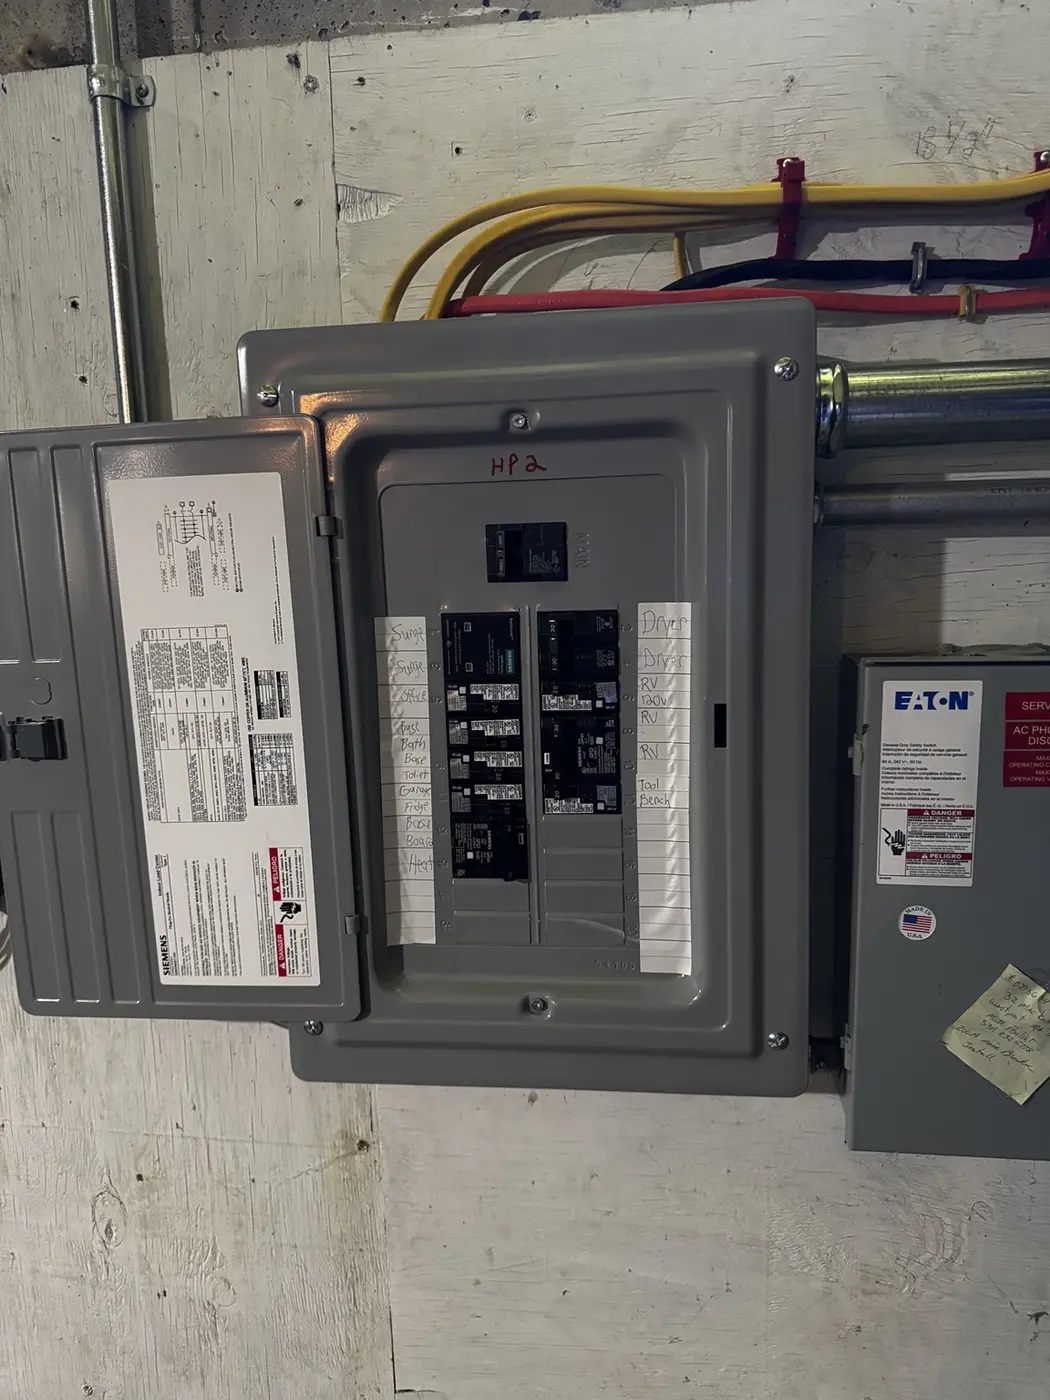
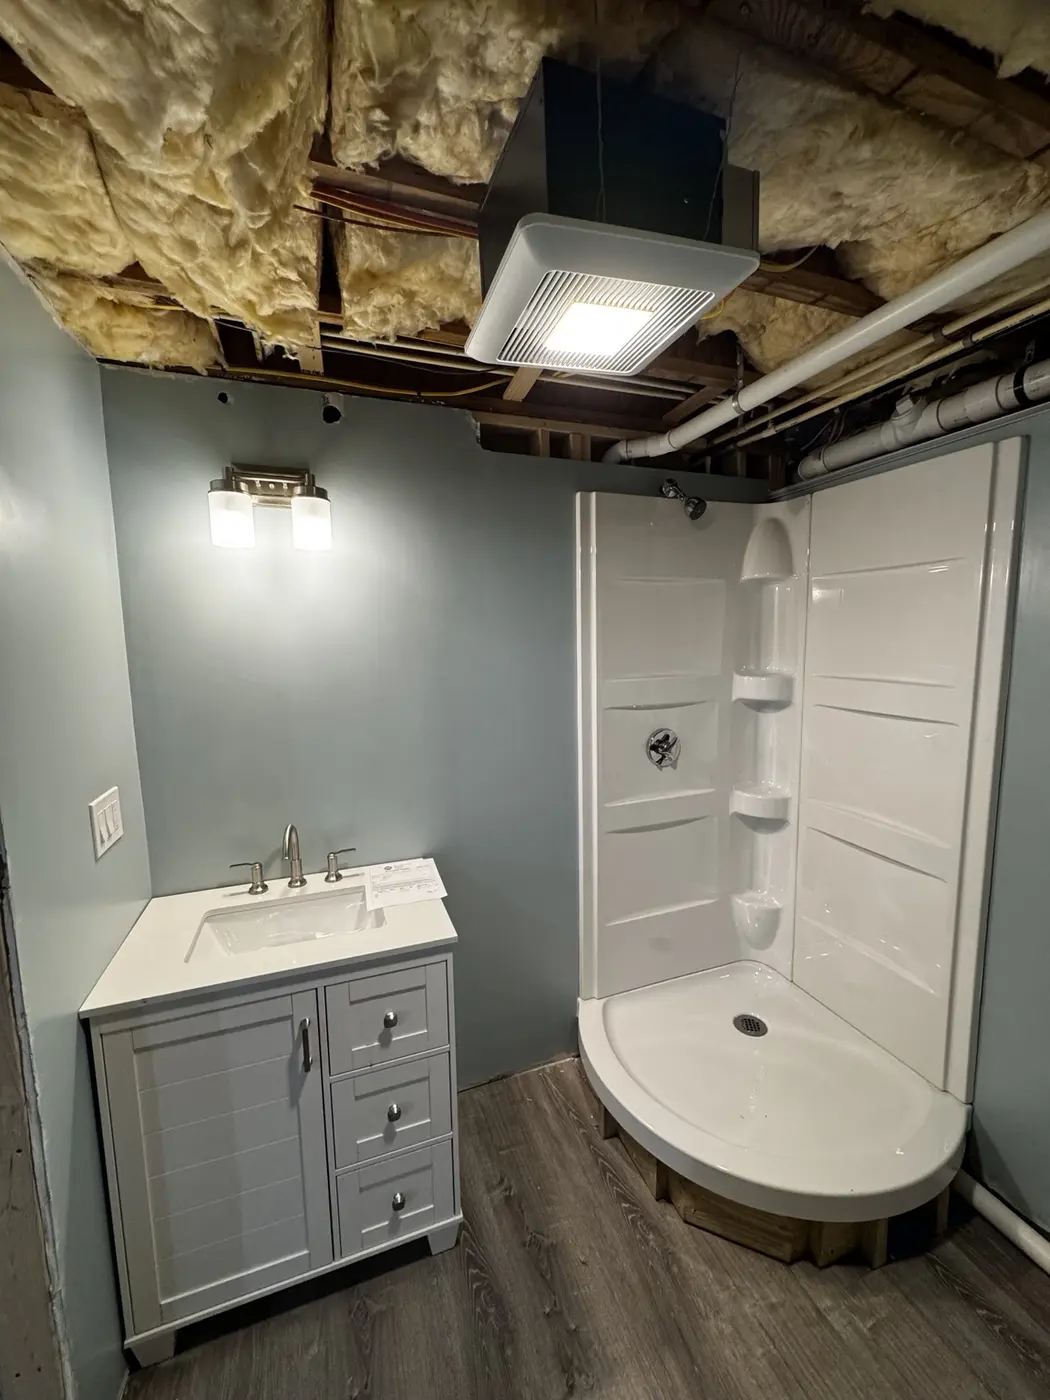
This project story shows how the electrical work ties together across the property: organized distribution, finished room lighting, heating controls and bathroom equipment. Open-ceiling conditions are documented before the final surfaces are completed.
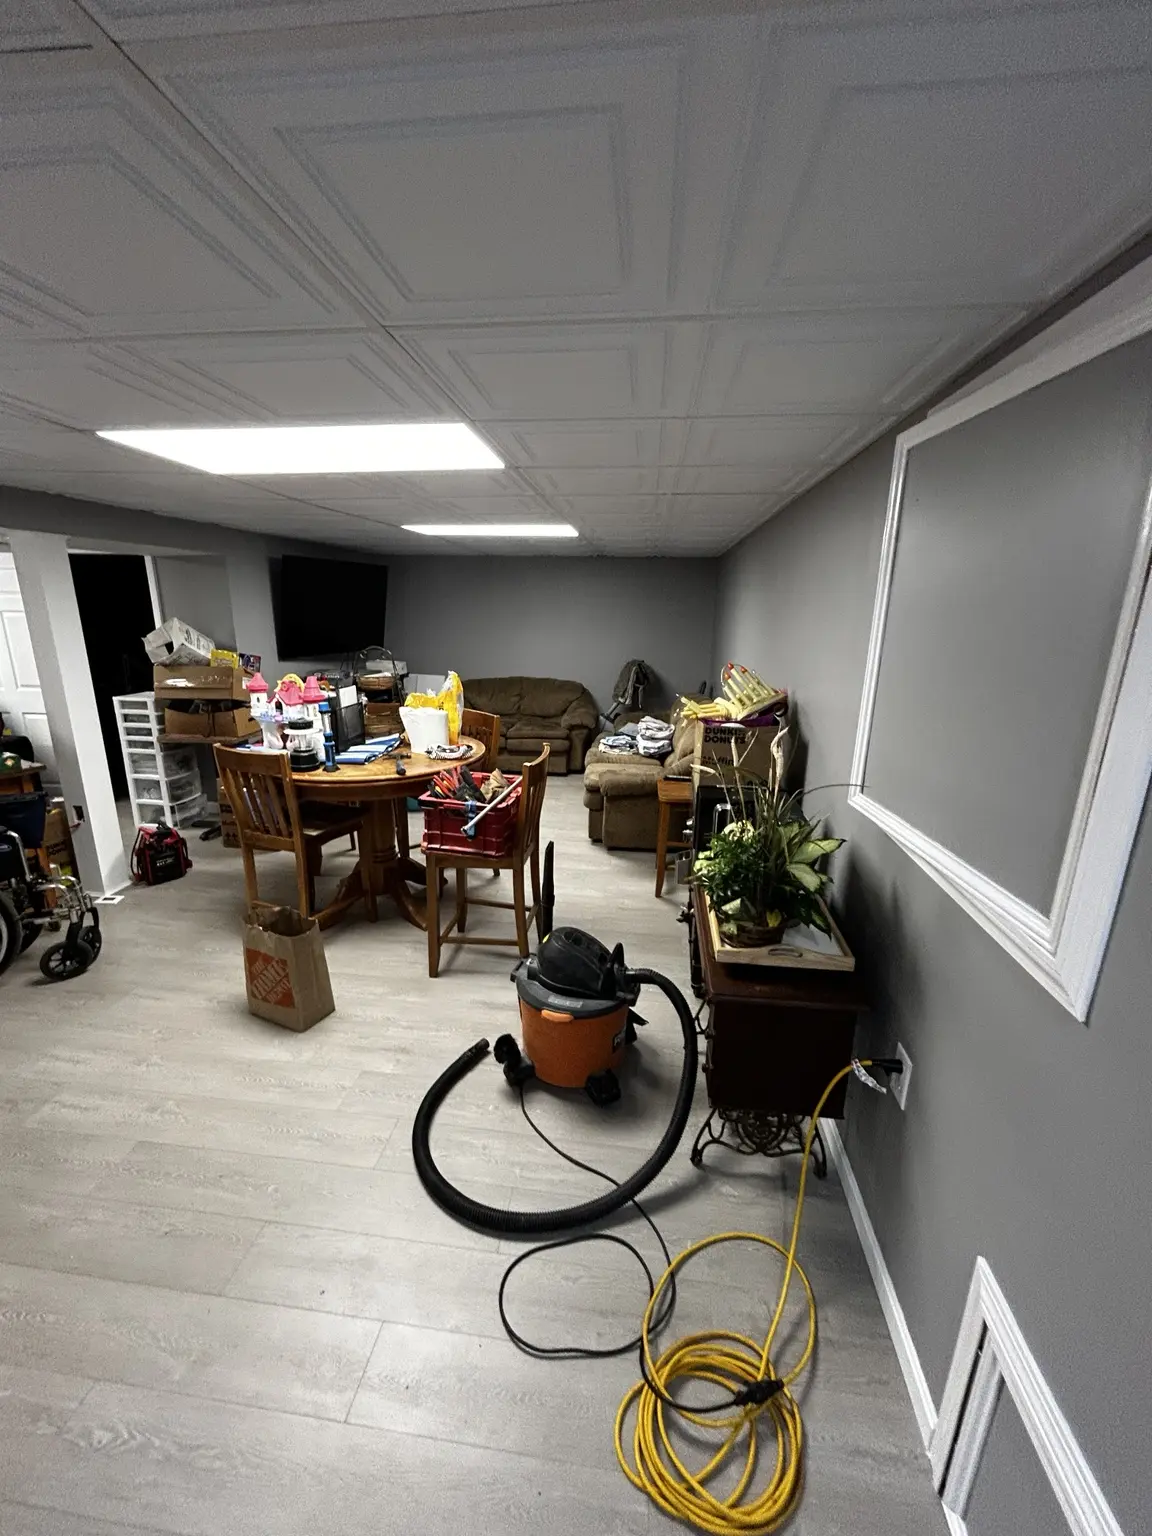
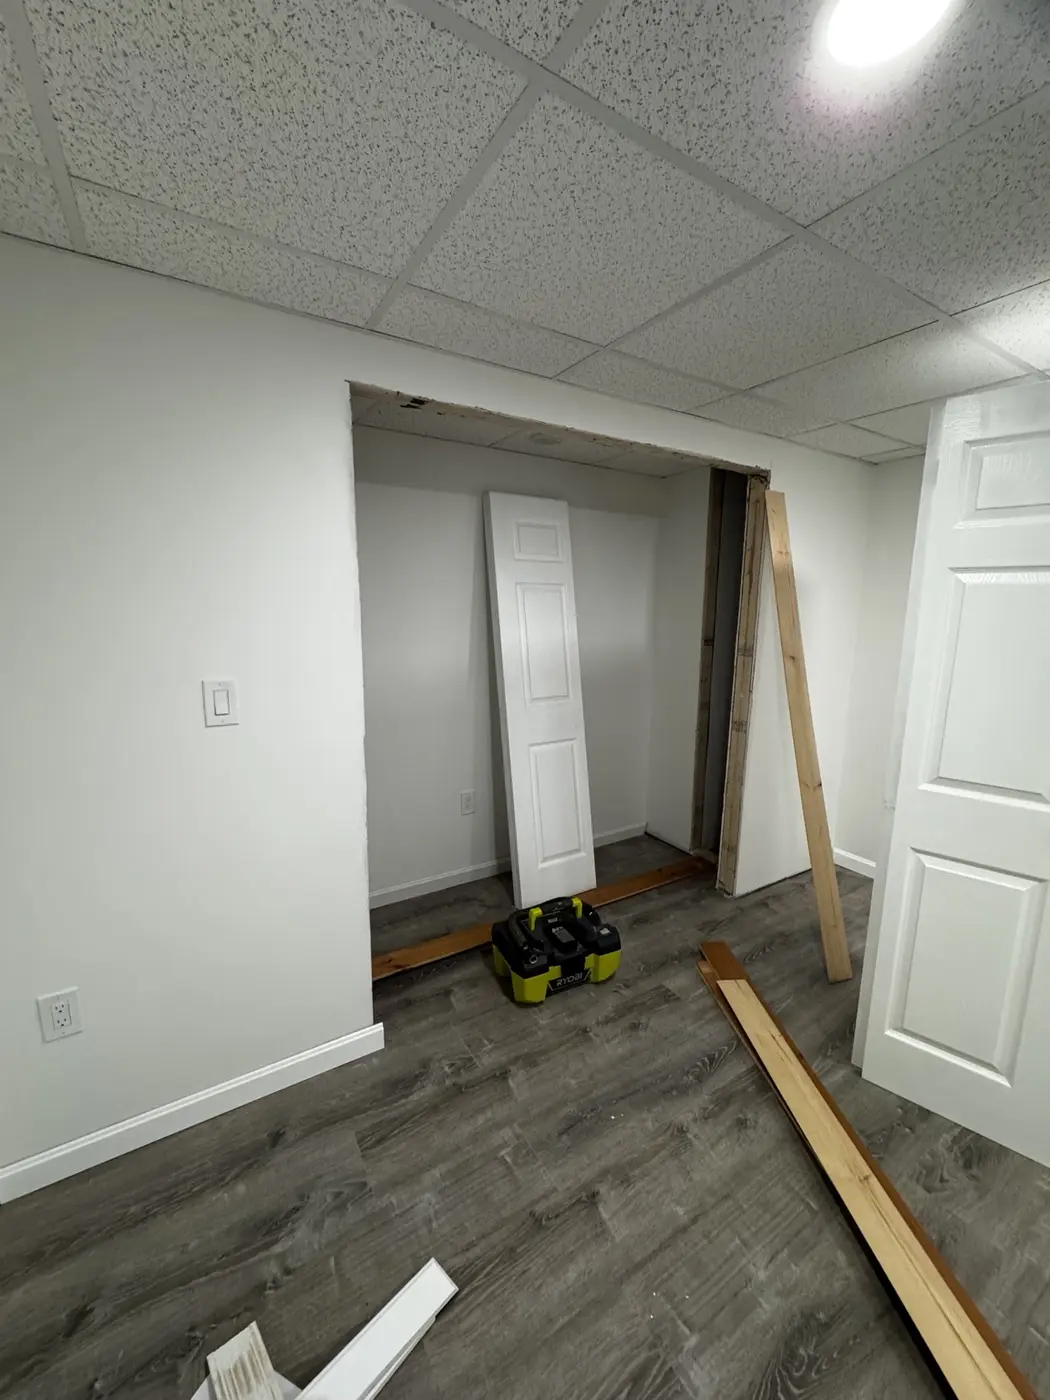
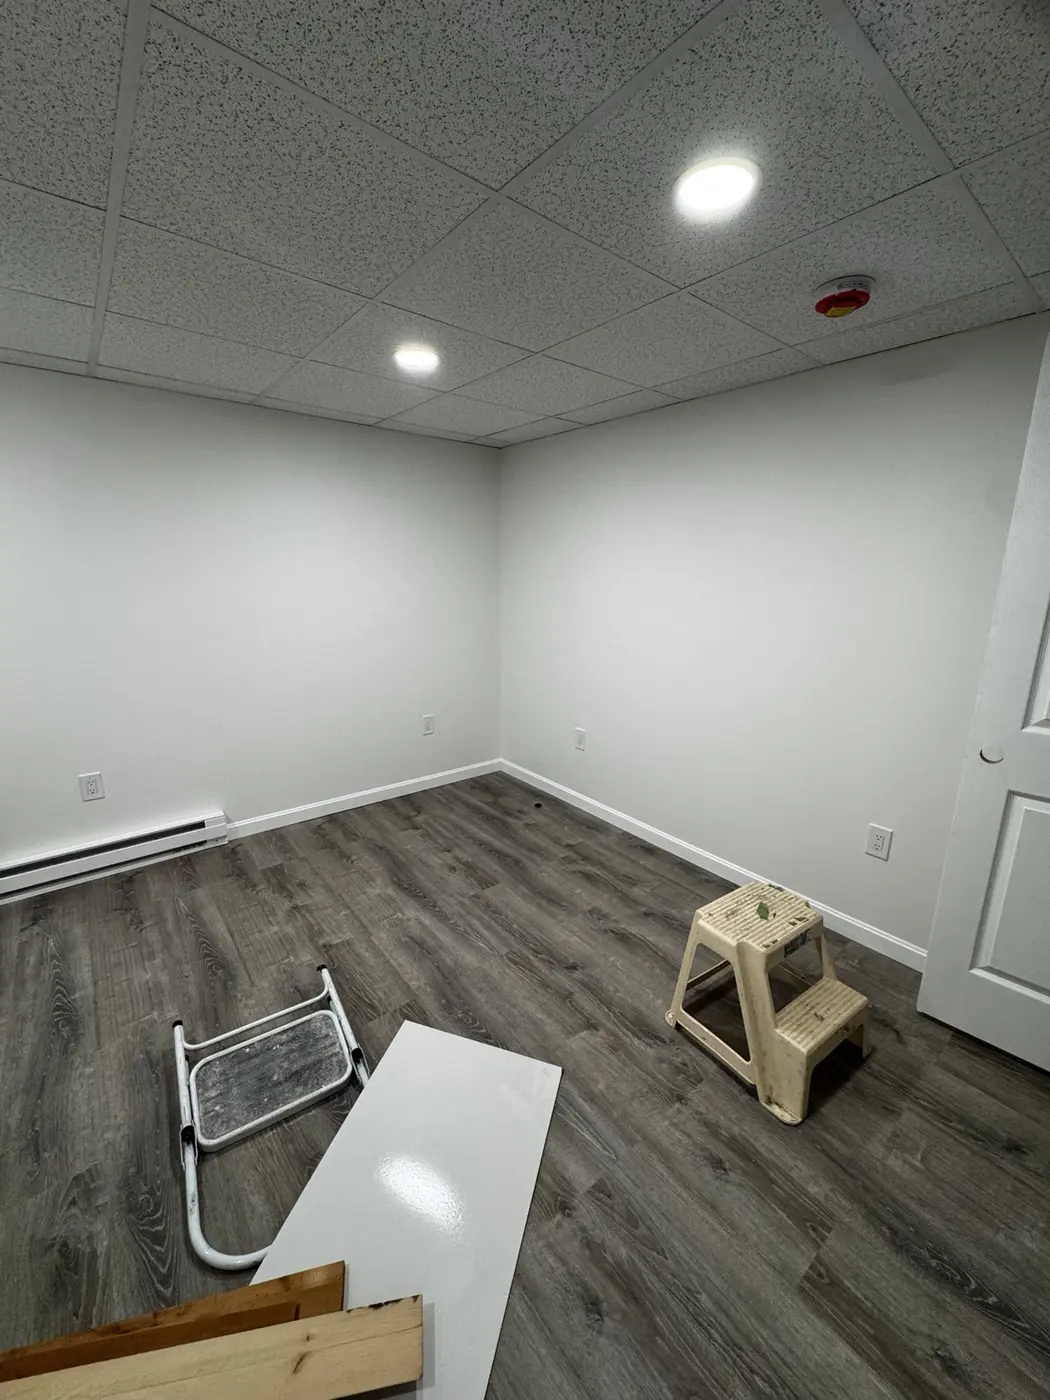
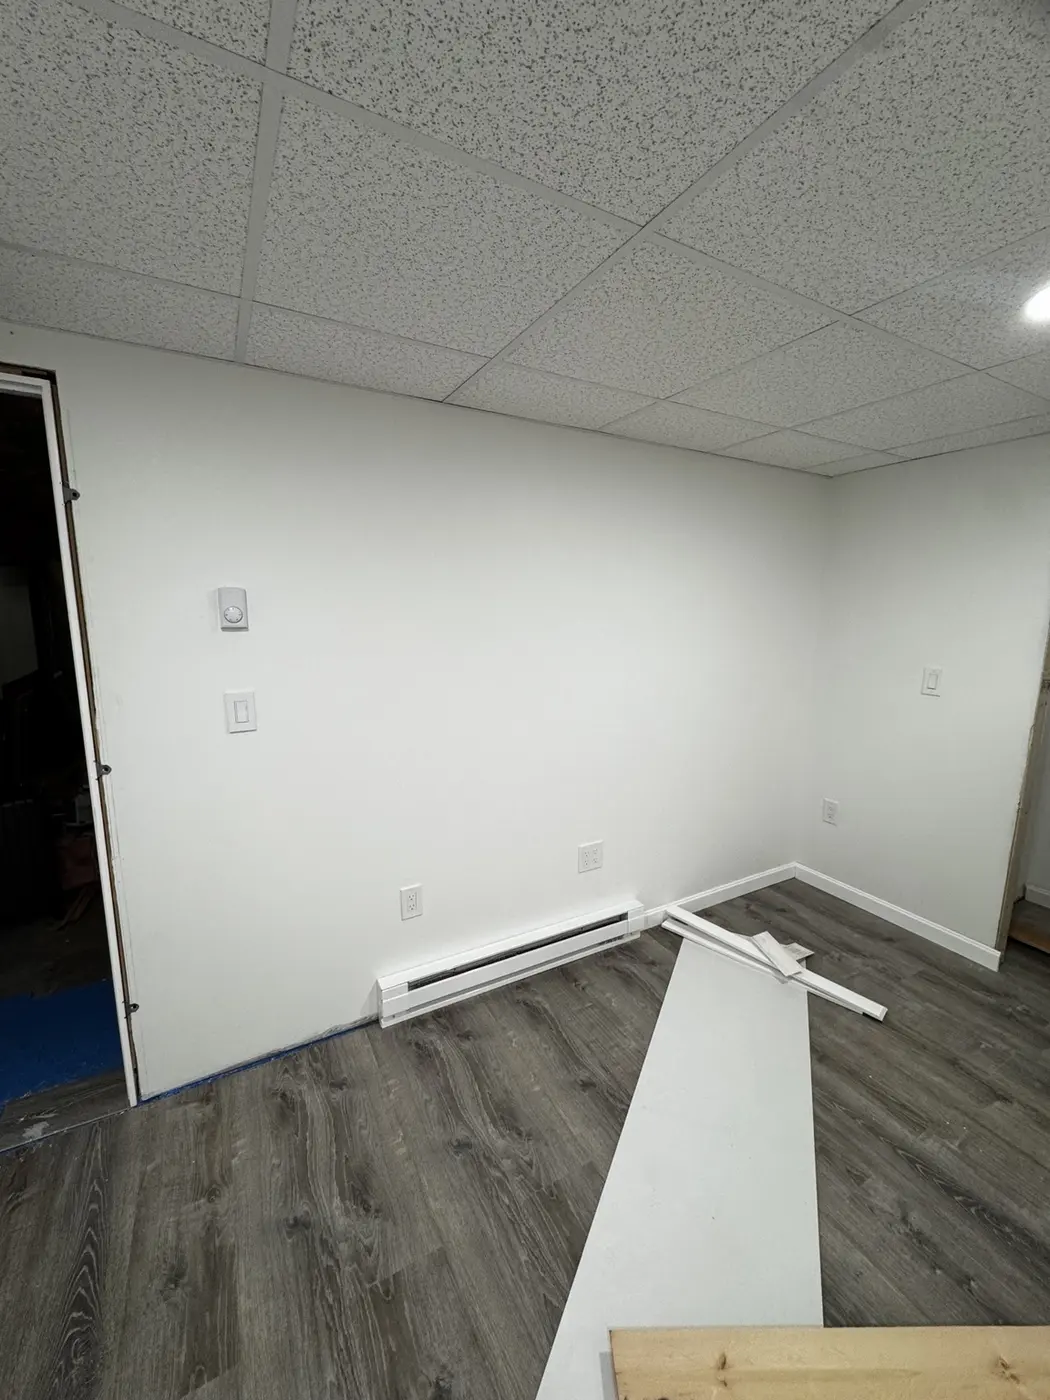
01 · Organized distributionA labeled subpanel brings the new room, bathroom, heating and equipment circuits together in one accessible location.02 · Renovation in progressFinished lighting and devices remain protected while the adjoining opening and trim work are completed.03 · Finished room lightingRecessed fixtures provide even coverage across a low finished ceiling while keeping the room visually open.04 · Lighting, controls & heatThe room combines recessed lighting, wall controls, receptacles and electric baseboard heat as one coordinated electrical plan.
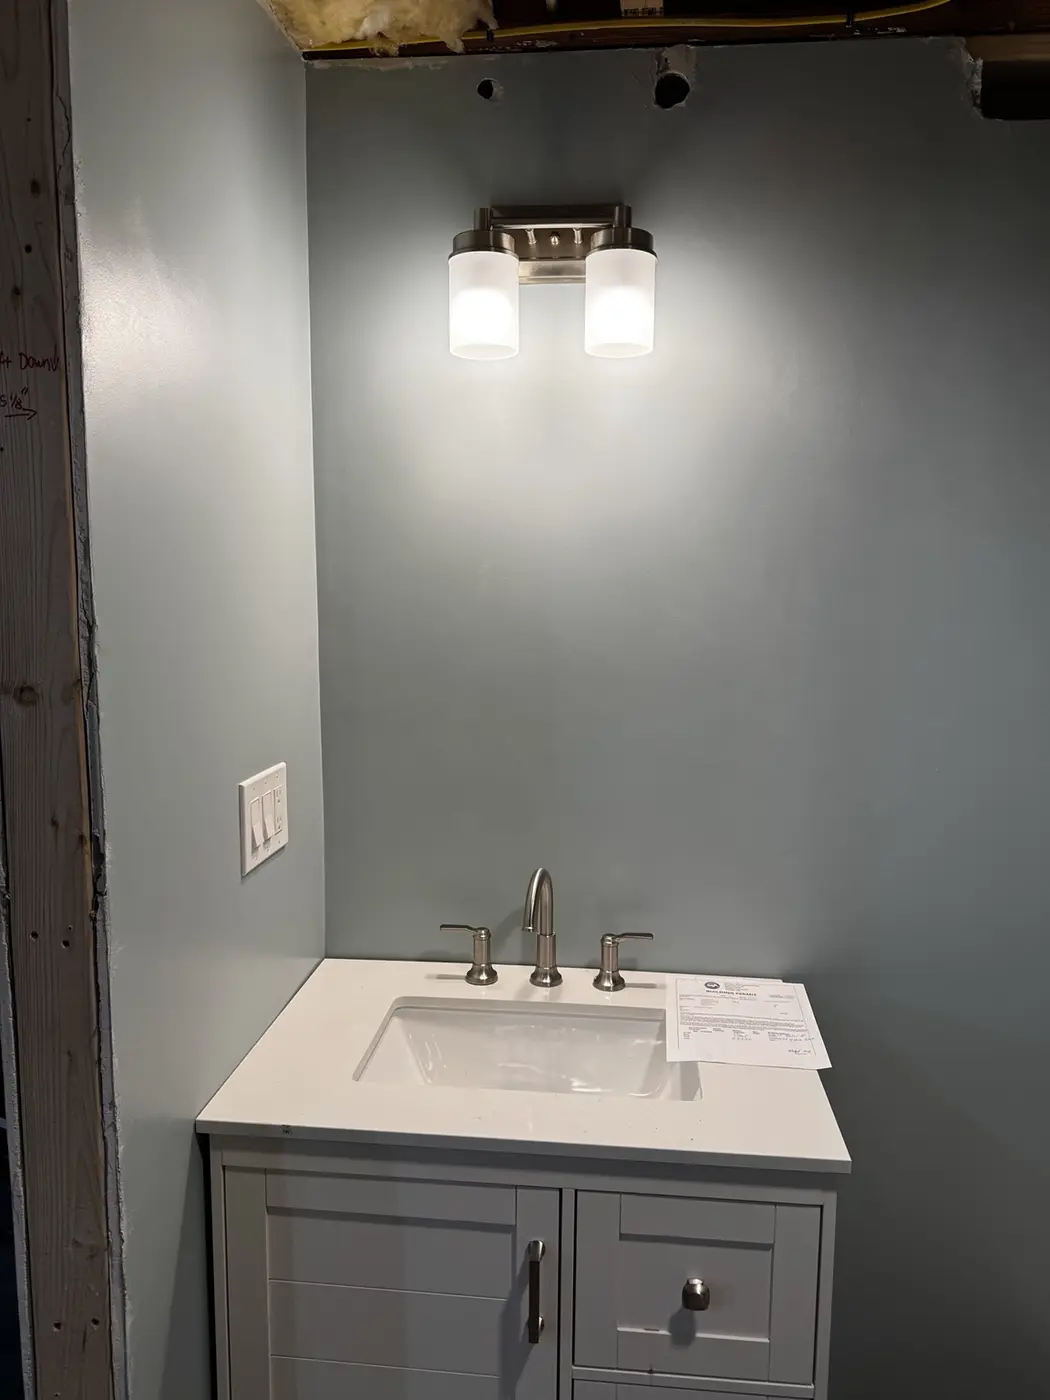
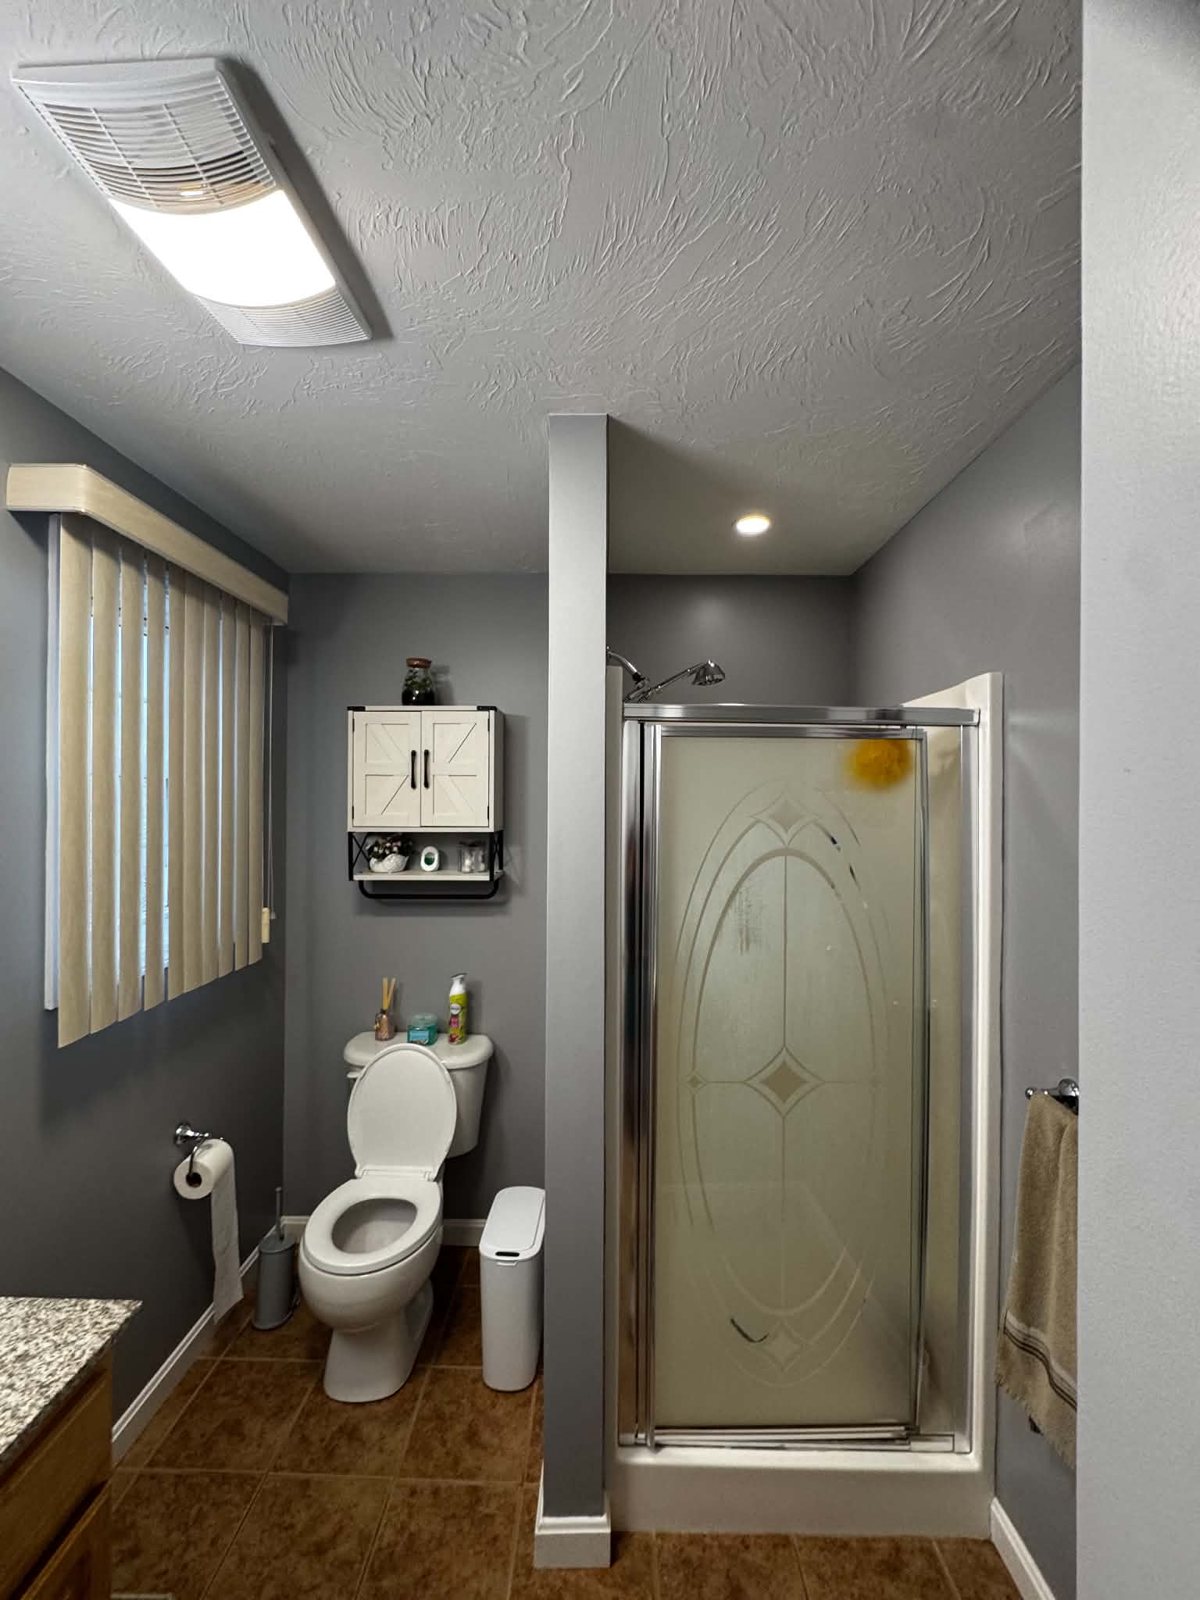
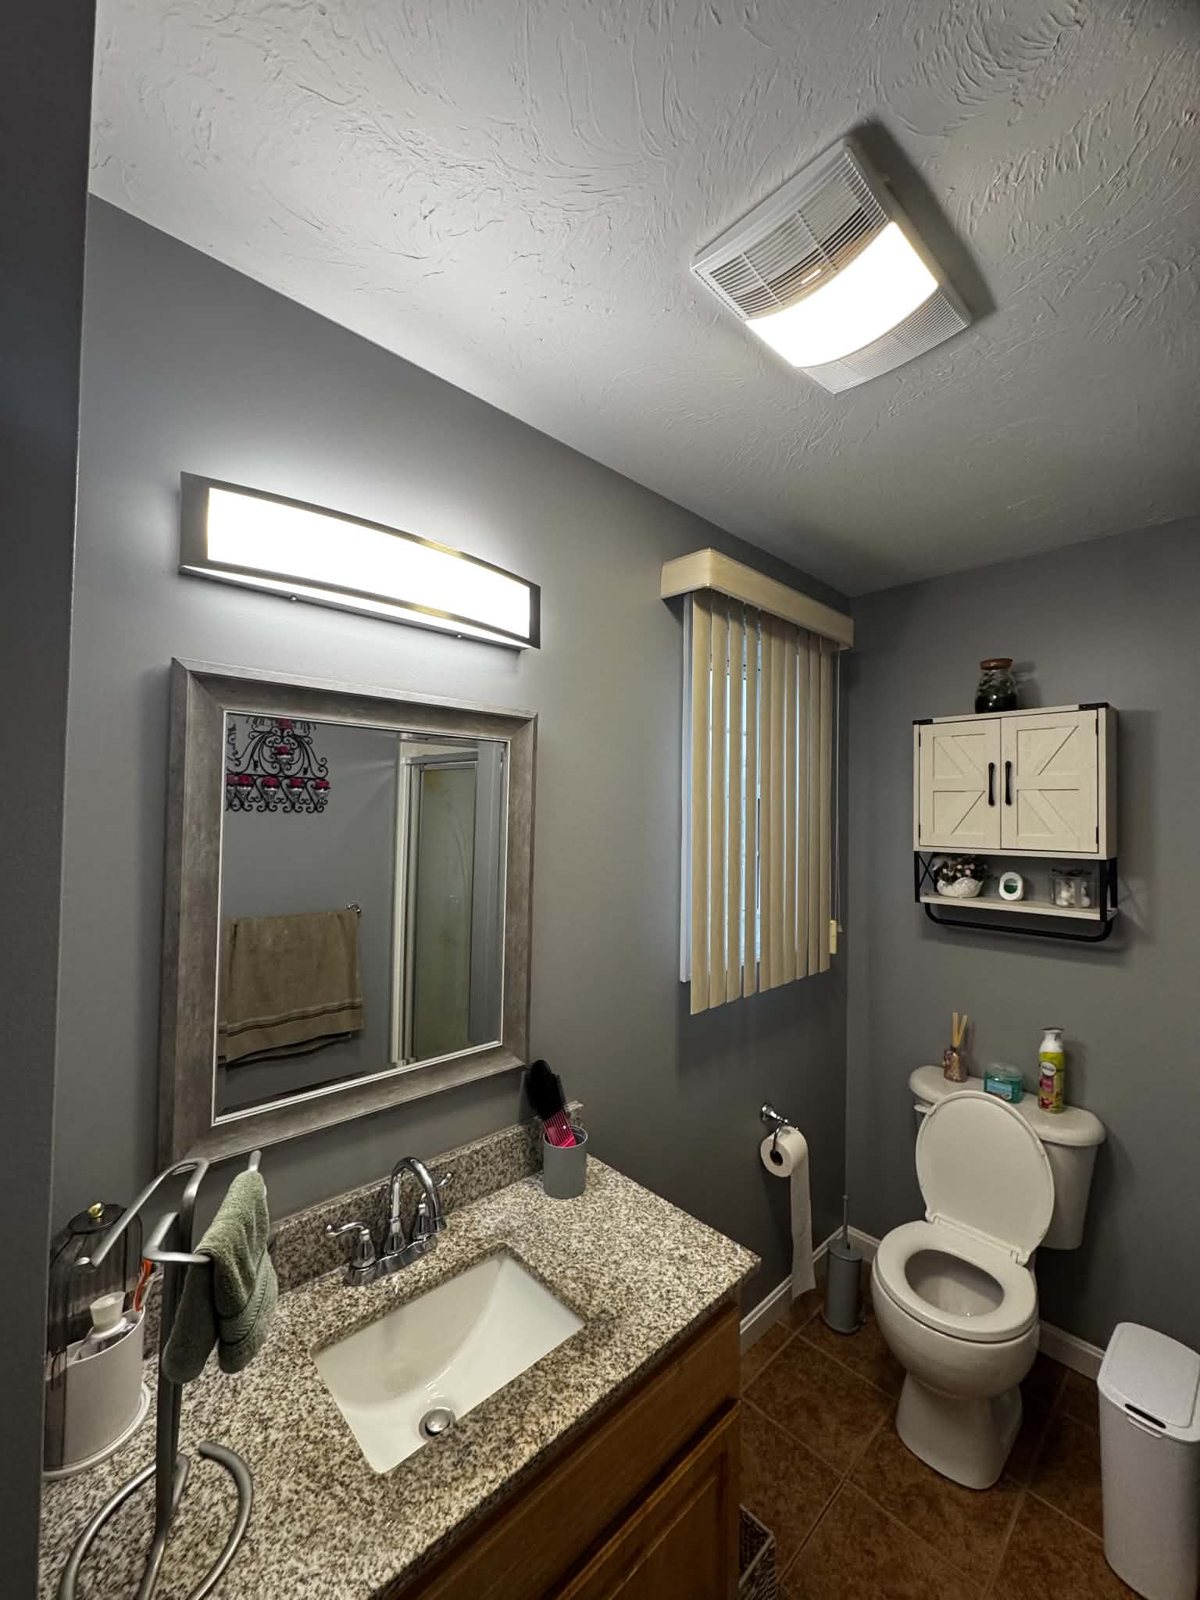
Bathroom electrical in progressVanity lighting, controls and ceiling exhaust equipment are placed around the finished layout while overhead access is still open.Finished vanity lightingThe finished wall light gives the sink area direct illumination and shows how the device layout meets the compact bathroom plan.
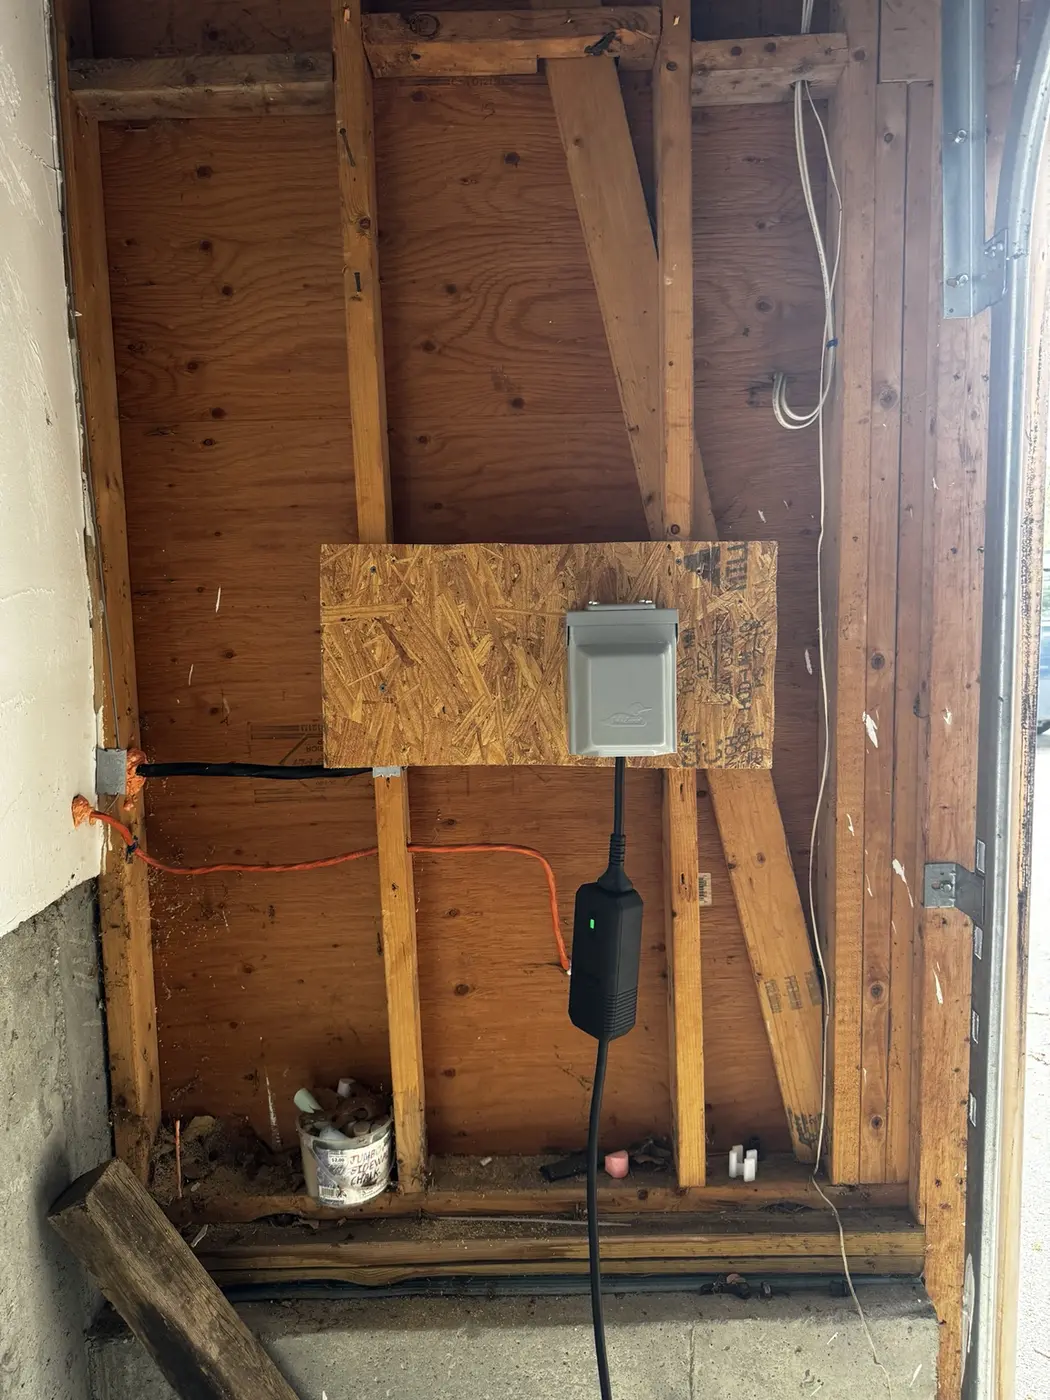
Equipment power during open-wall workOpen framing makes the circuit route, mounting surface and connection point visible before the wall assembly is finished.
Staircase lighting—from construction to finished detail
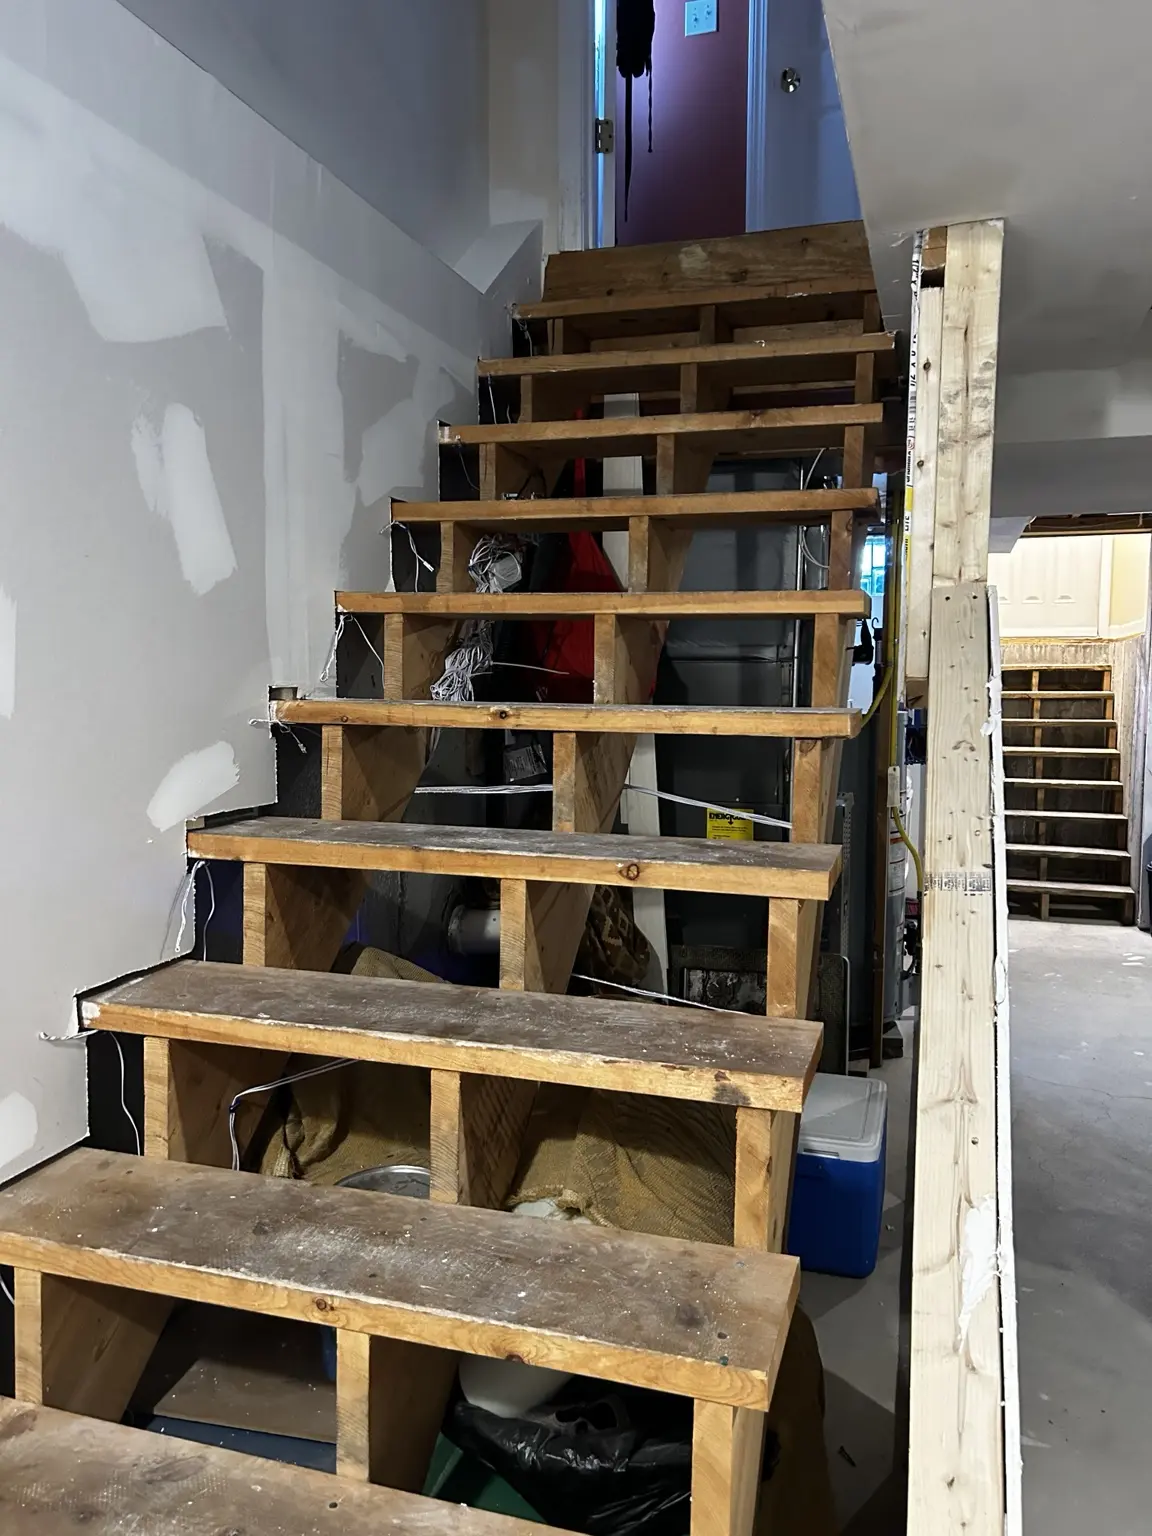
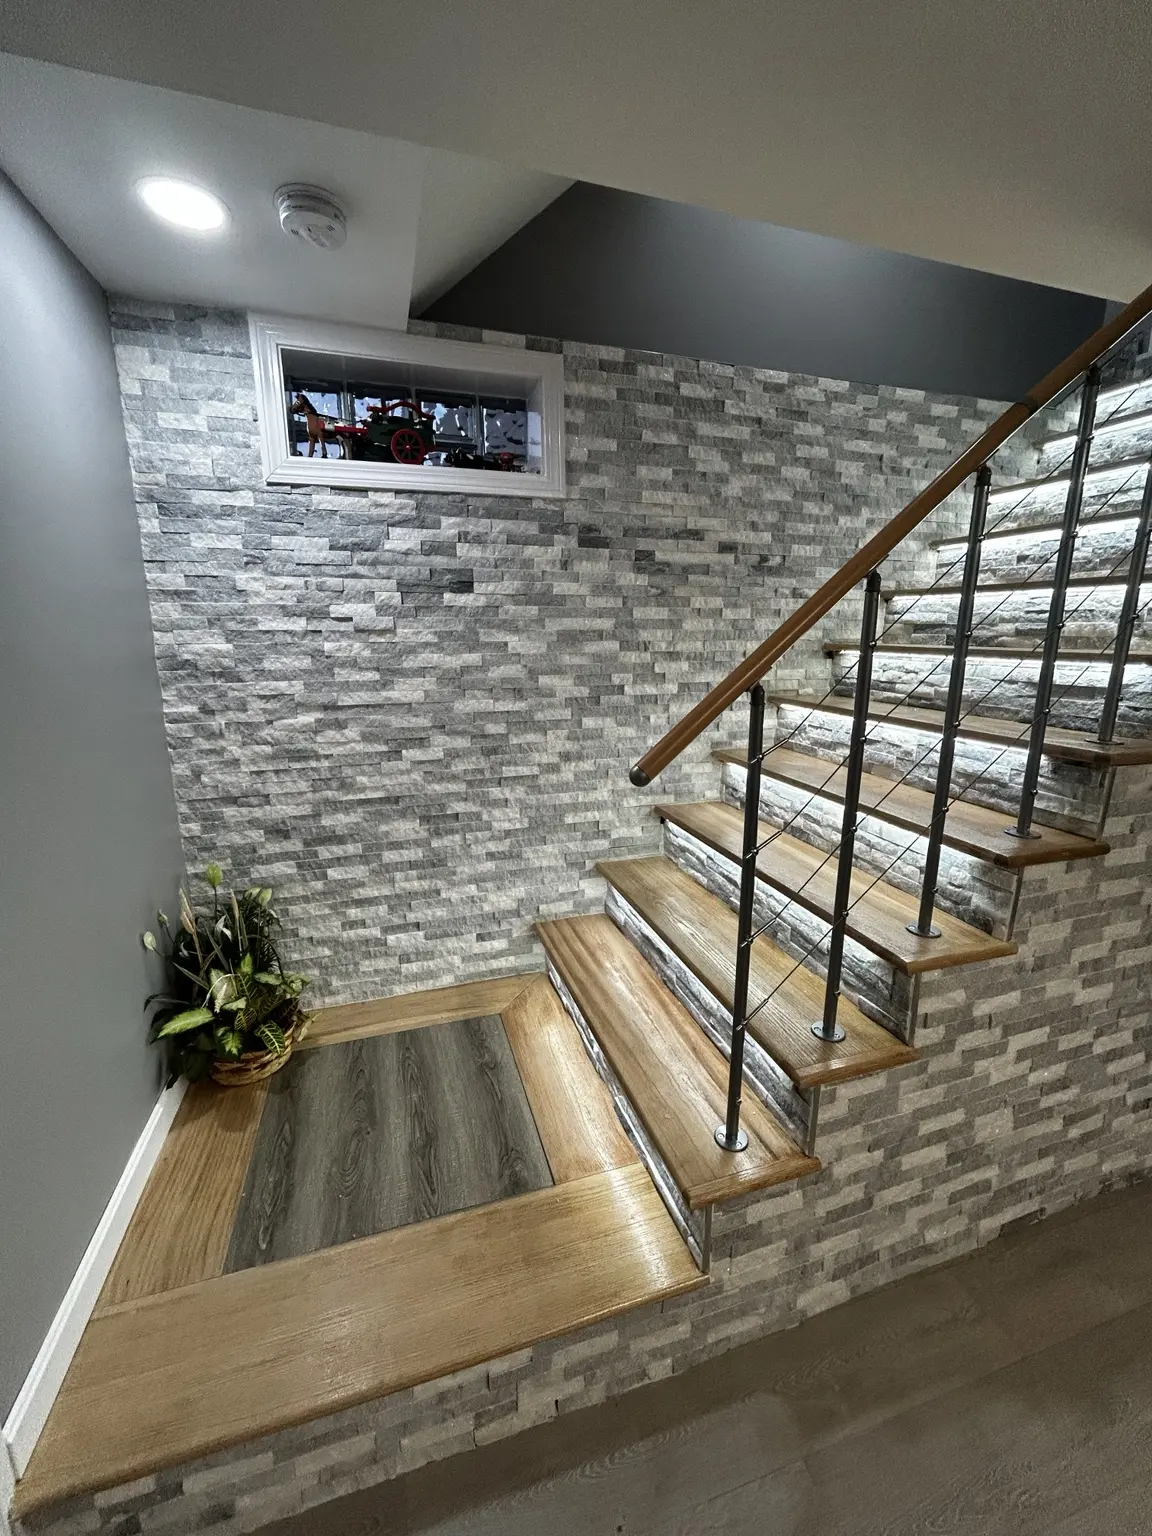
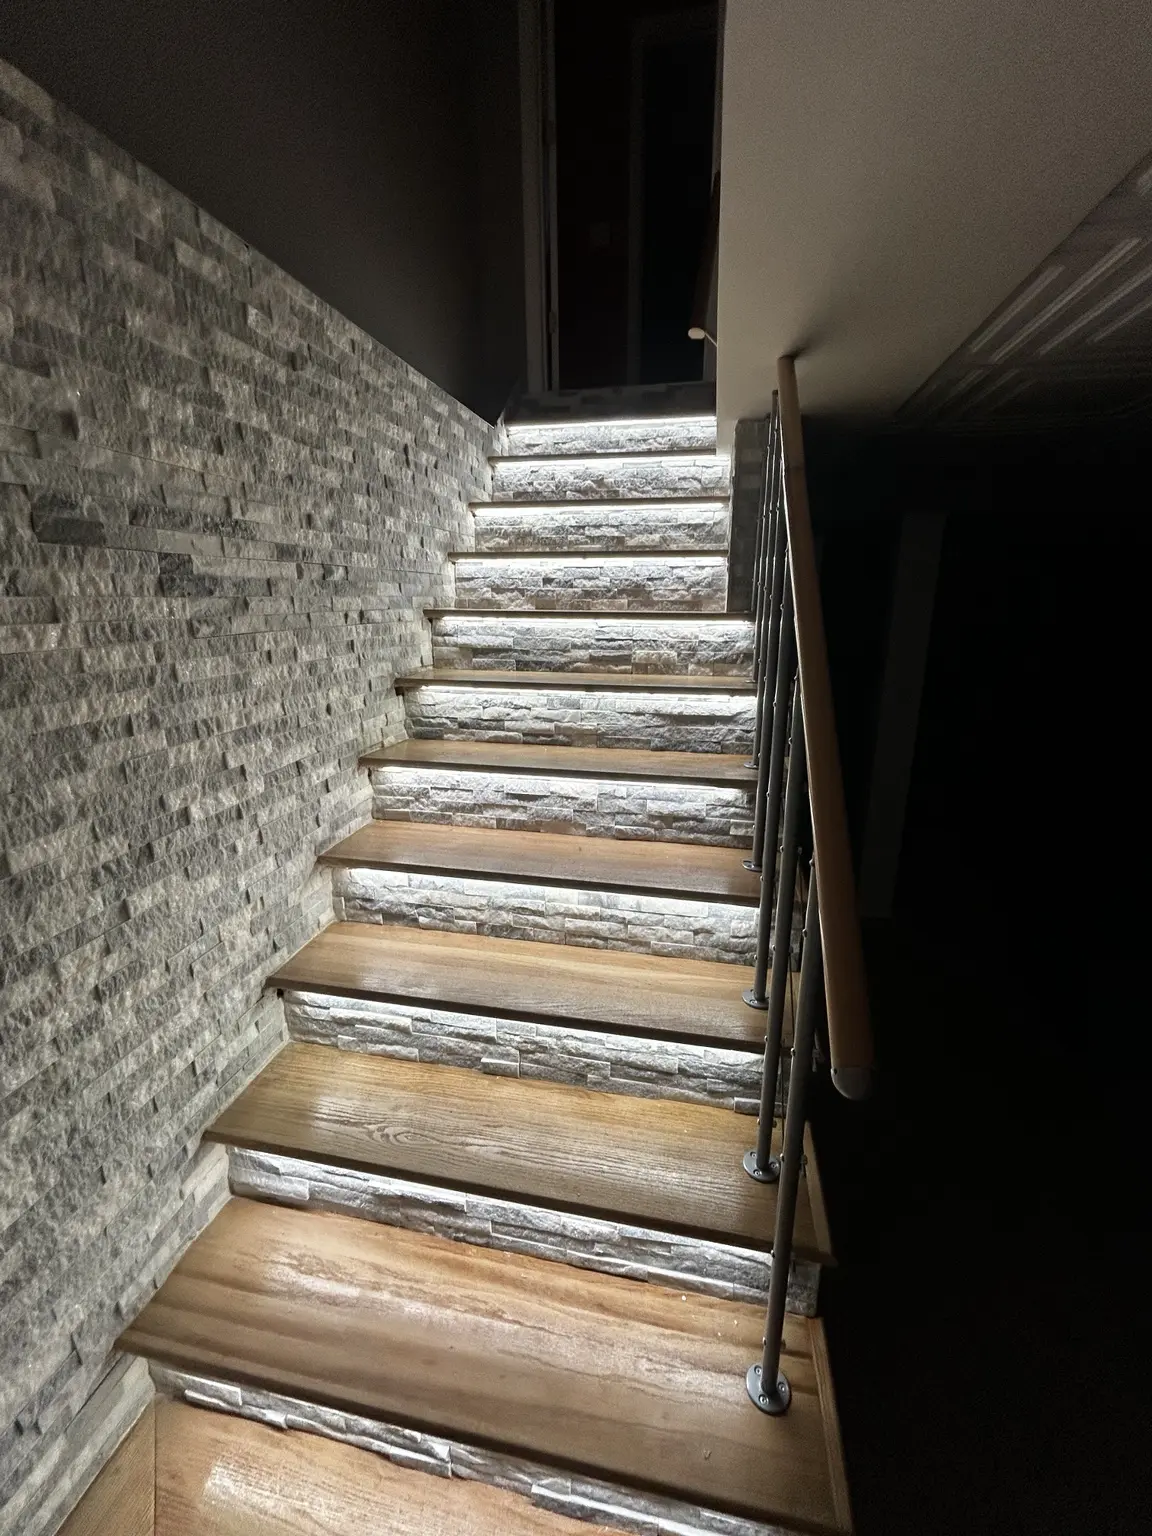
A three-stage look at the same type of space: open construction, finished stair and wall surfaces, then low-level step lighting after dark.
01 · Plan while access is openOpen framing creates the best opportunity to coordinate wiring routes, switch points and low-level lighting locations.02 · Finished staircaseThe completed walls, trim and handrail show how the electrical details fit the renovated space.03 · Low-level light after darkStep-level lighting adds visibility without flooding the entire area with overhead light.
Lighting & finished spaces
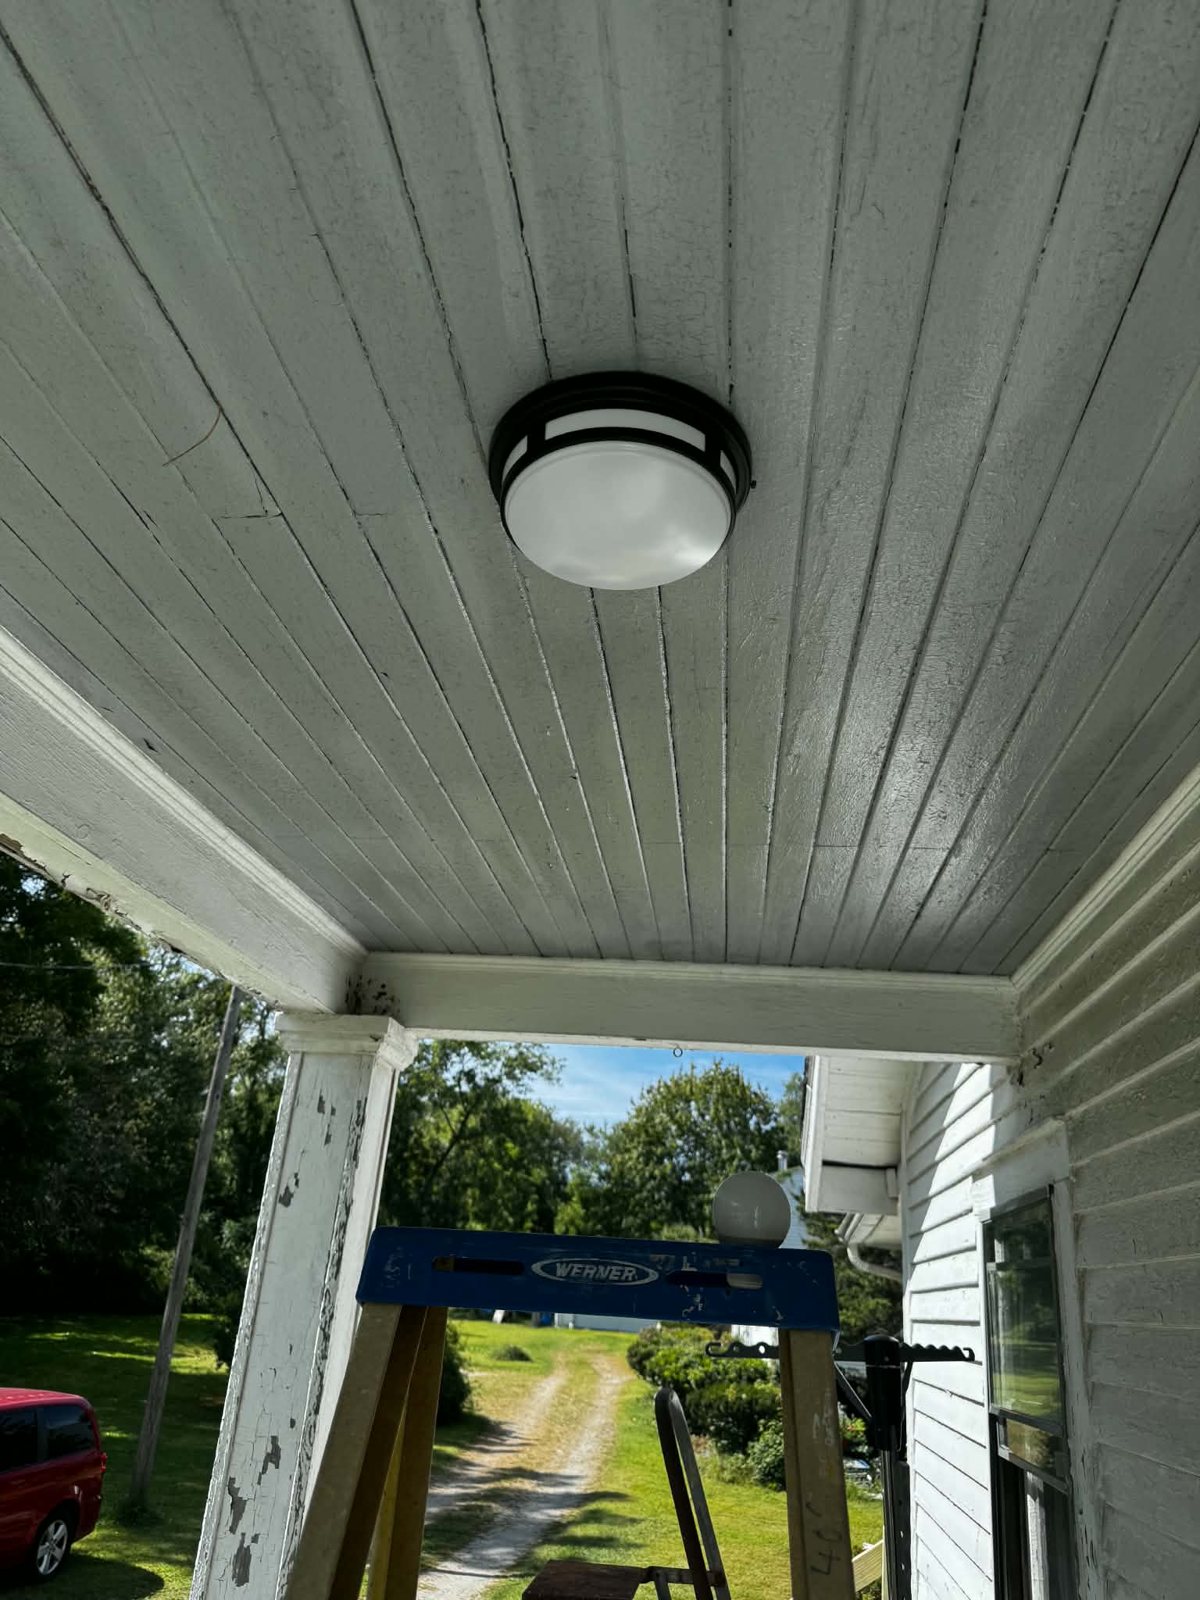
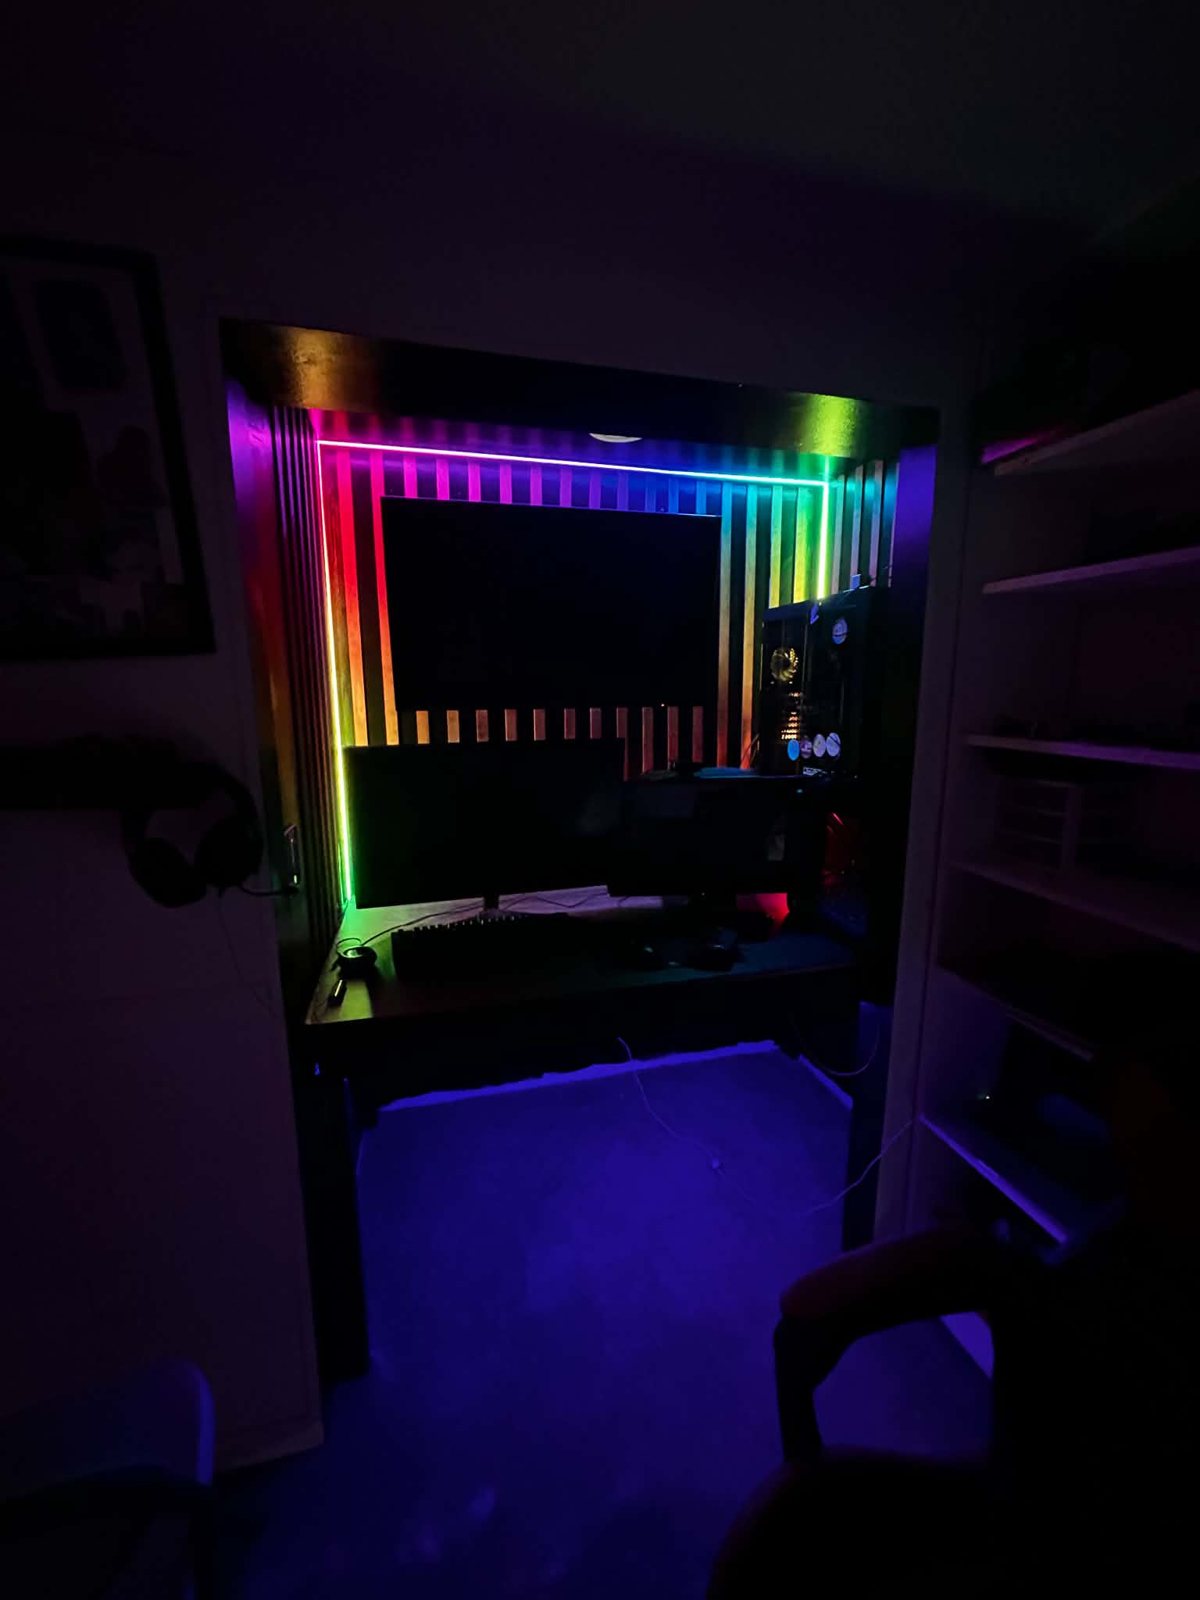
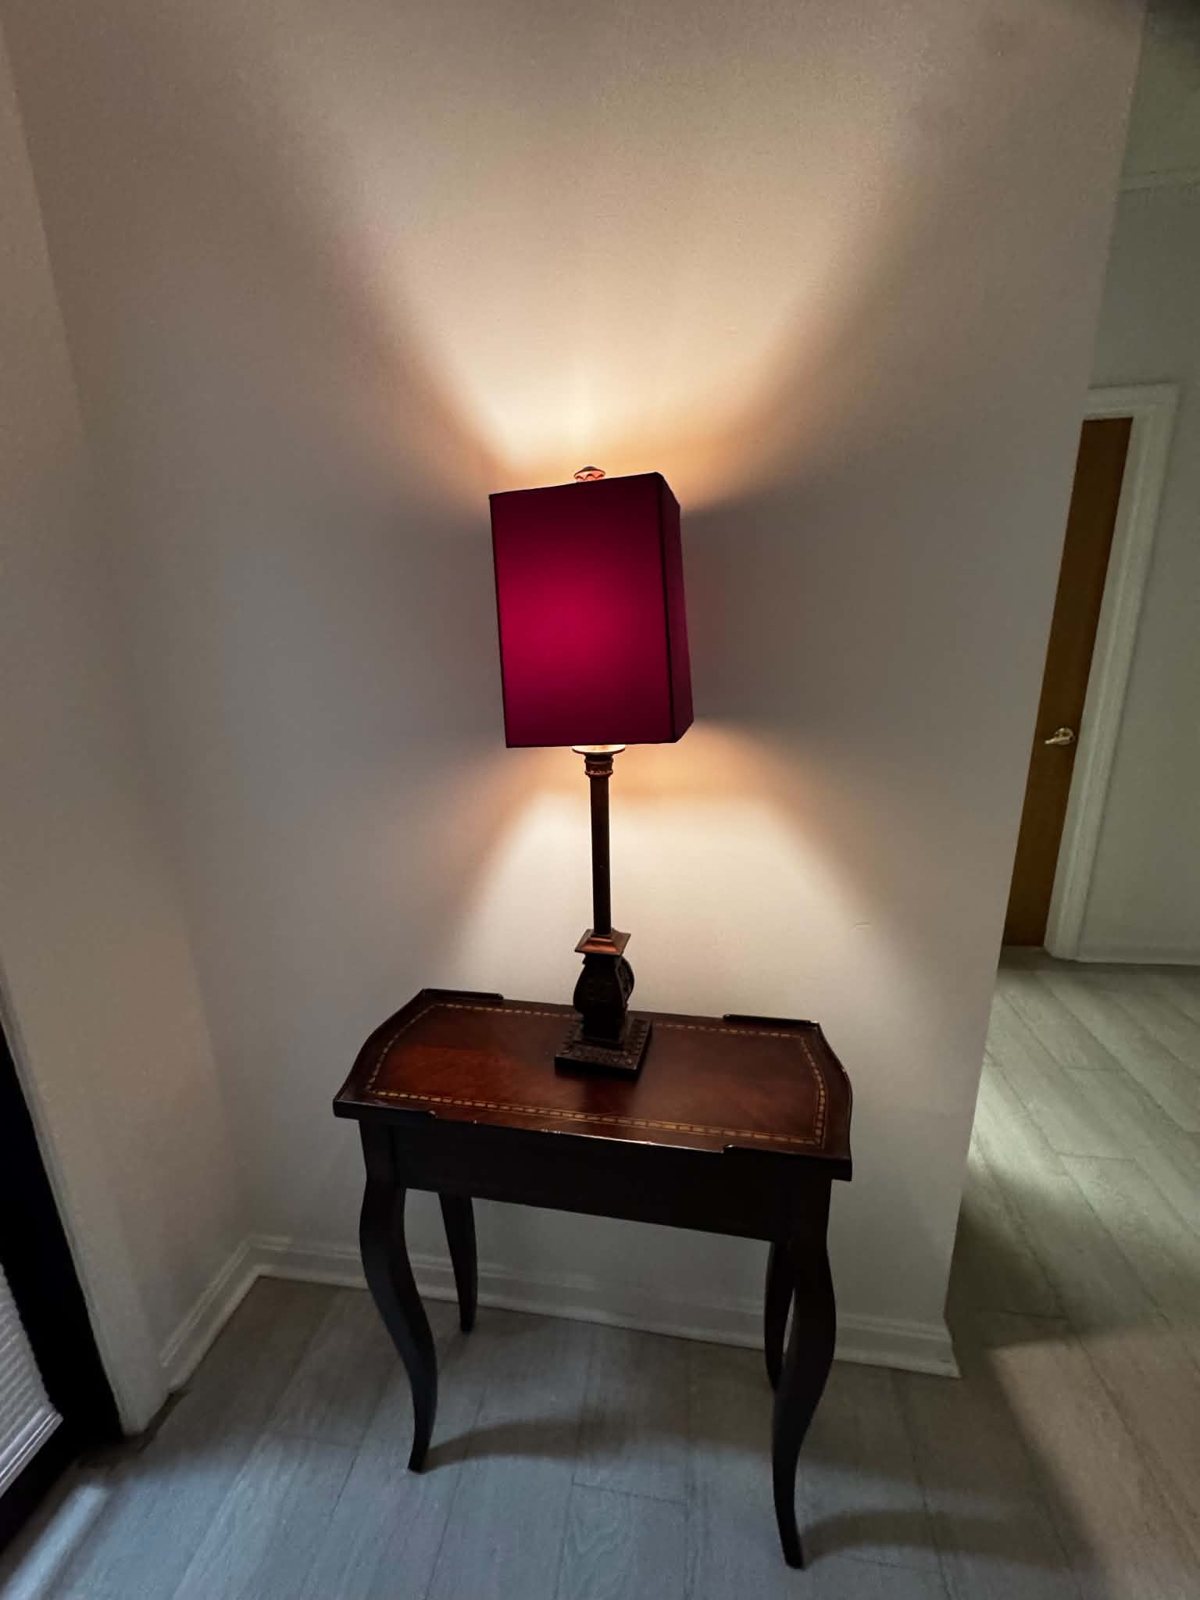
Bathroom lightingCeiling and vanity lights illuminate different parts of the bathroom; fixture placement affects everyday use.Vanity lightingA mirror and overhead fixture show how lighting placement shapes the practical feel of a finished bathroom.Covered porch lightA ceiling fixture lights the entry under a covered porch, helping make the path and doorway easier to see.Color accent lightingA color-lit interior shows what planned accent lighting can add to a room beyond its everyday task lighting.Layered room lightingA table lamp illustrates the softer layer of light that can complement overhead fixtures and controlled circuits.
Residential & commercial spaces
Commercial spaceA wide view of the room shows why lighting layout and accessible power are planned around how the space will be used.Residential propertyA view of the home provides context for planning exterior service equipment and routes into the building.
Behind the walls & in progress
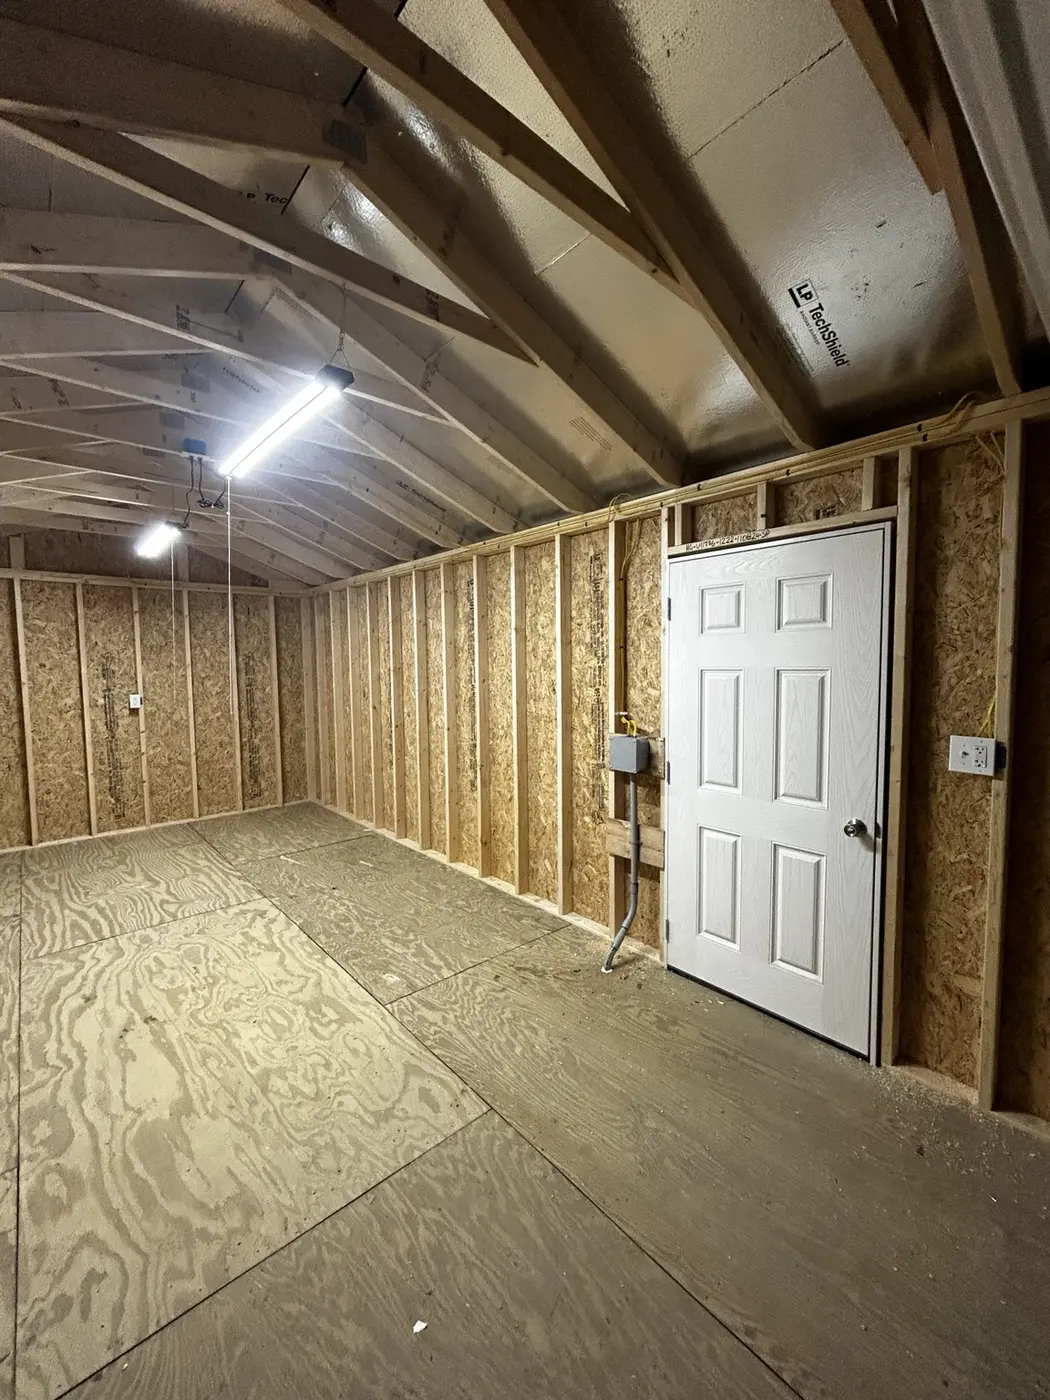
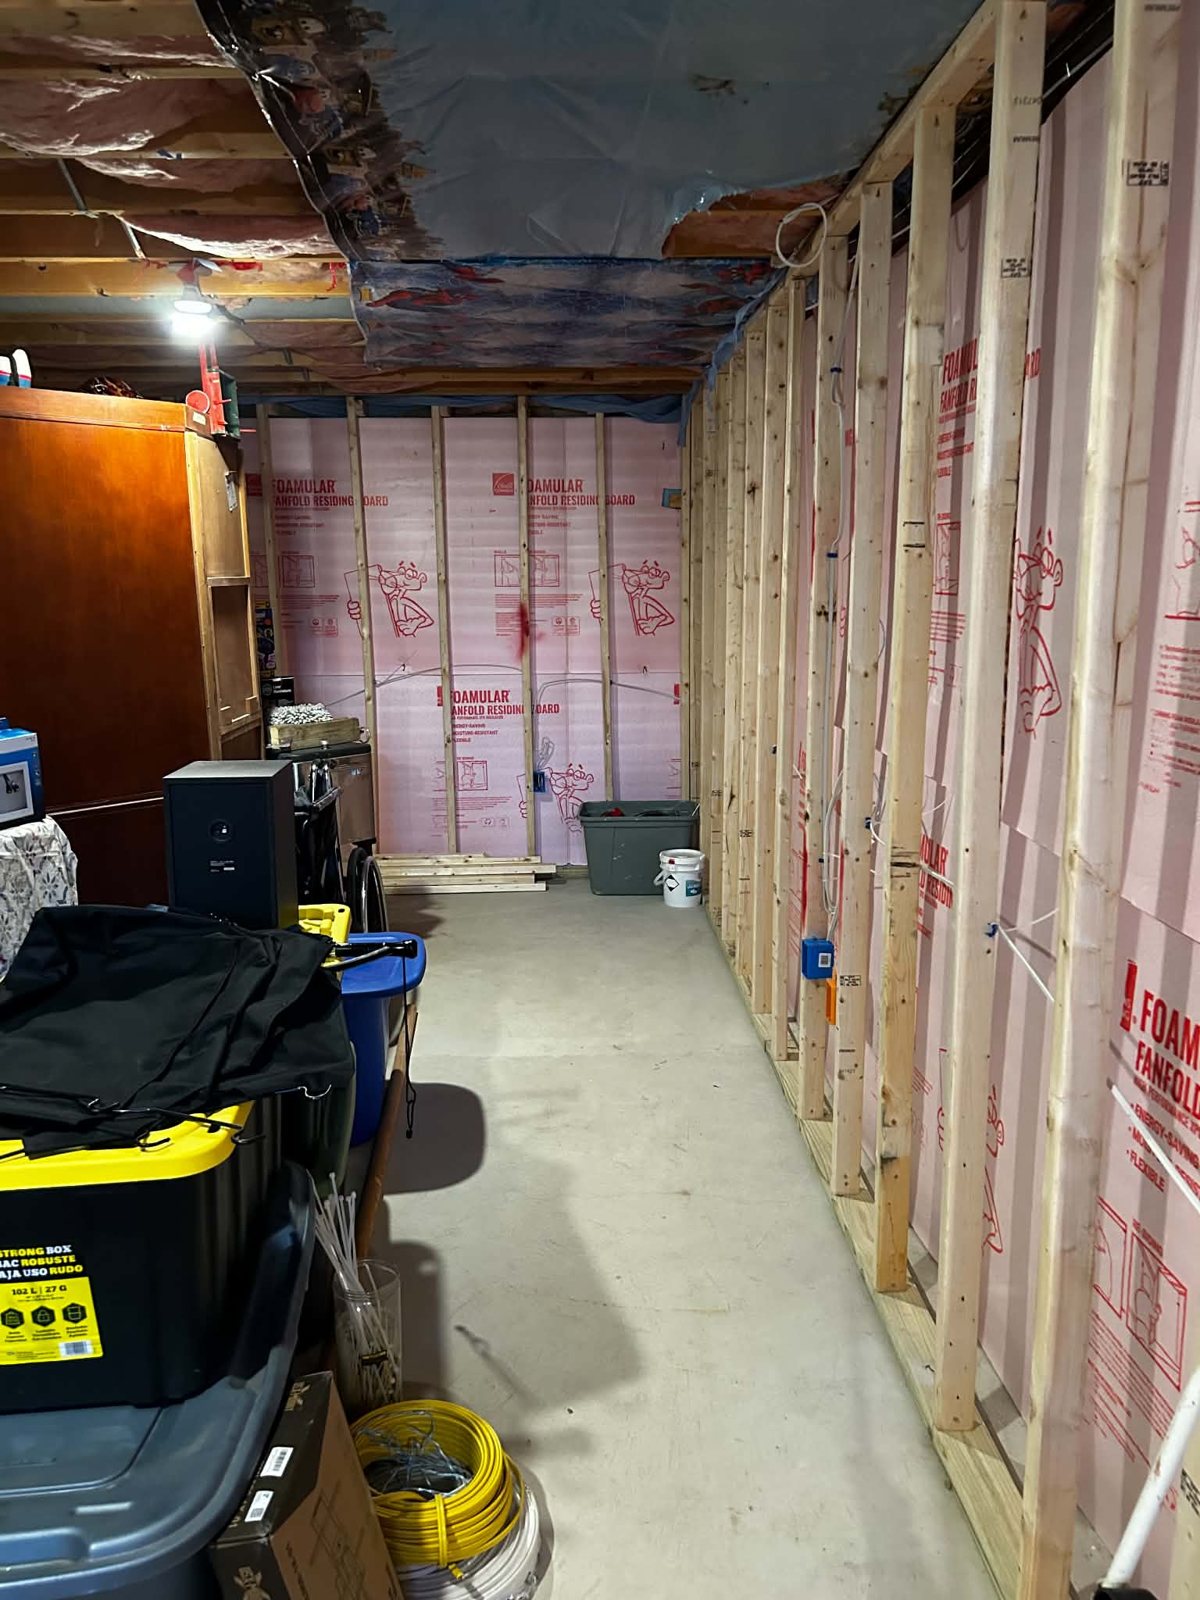
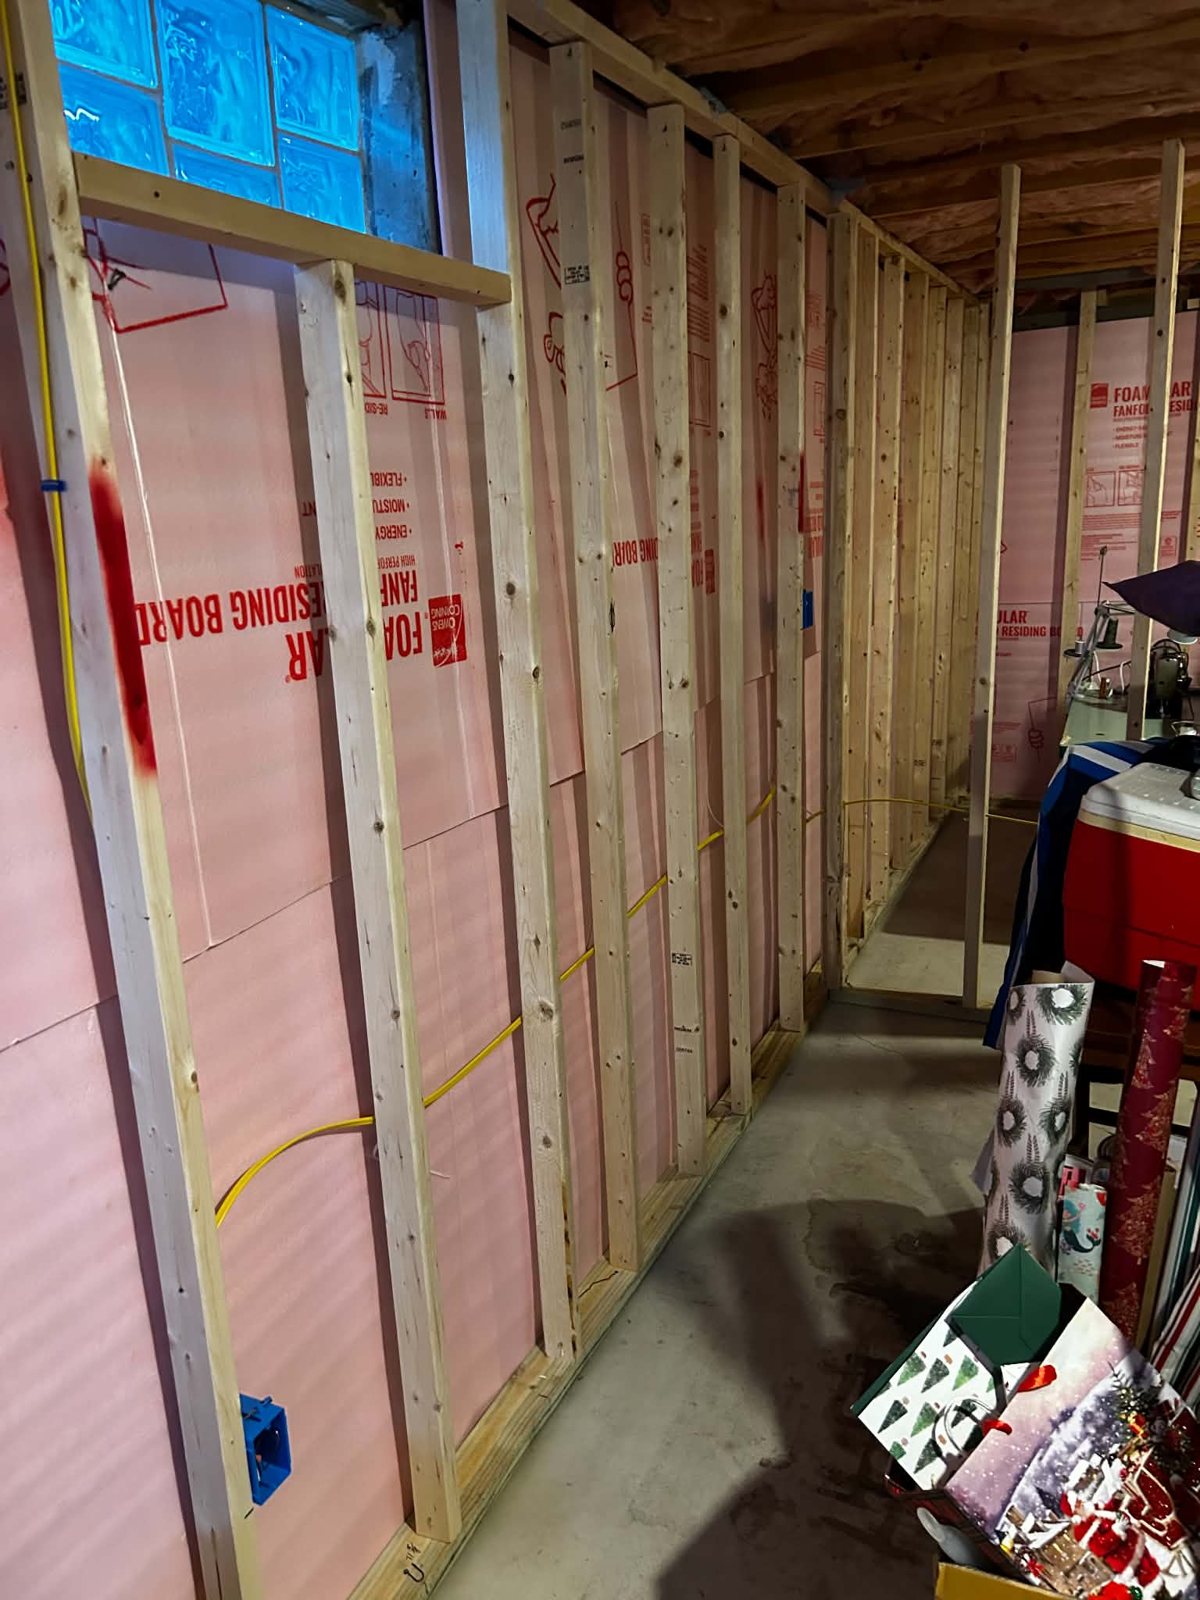
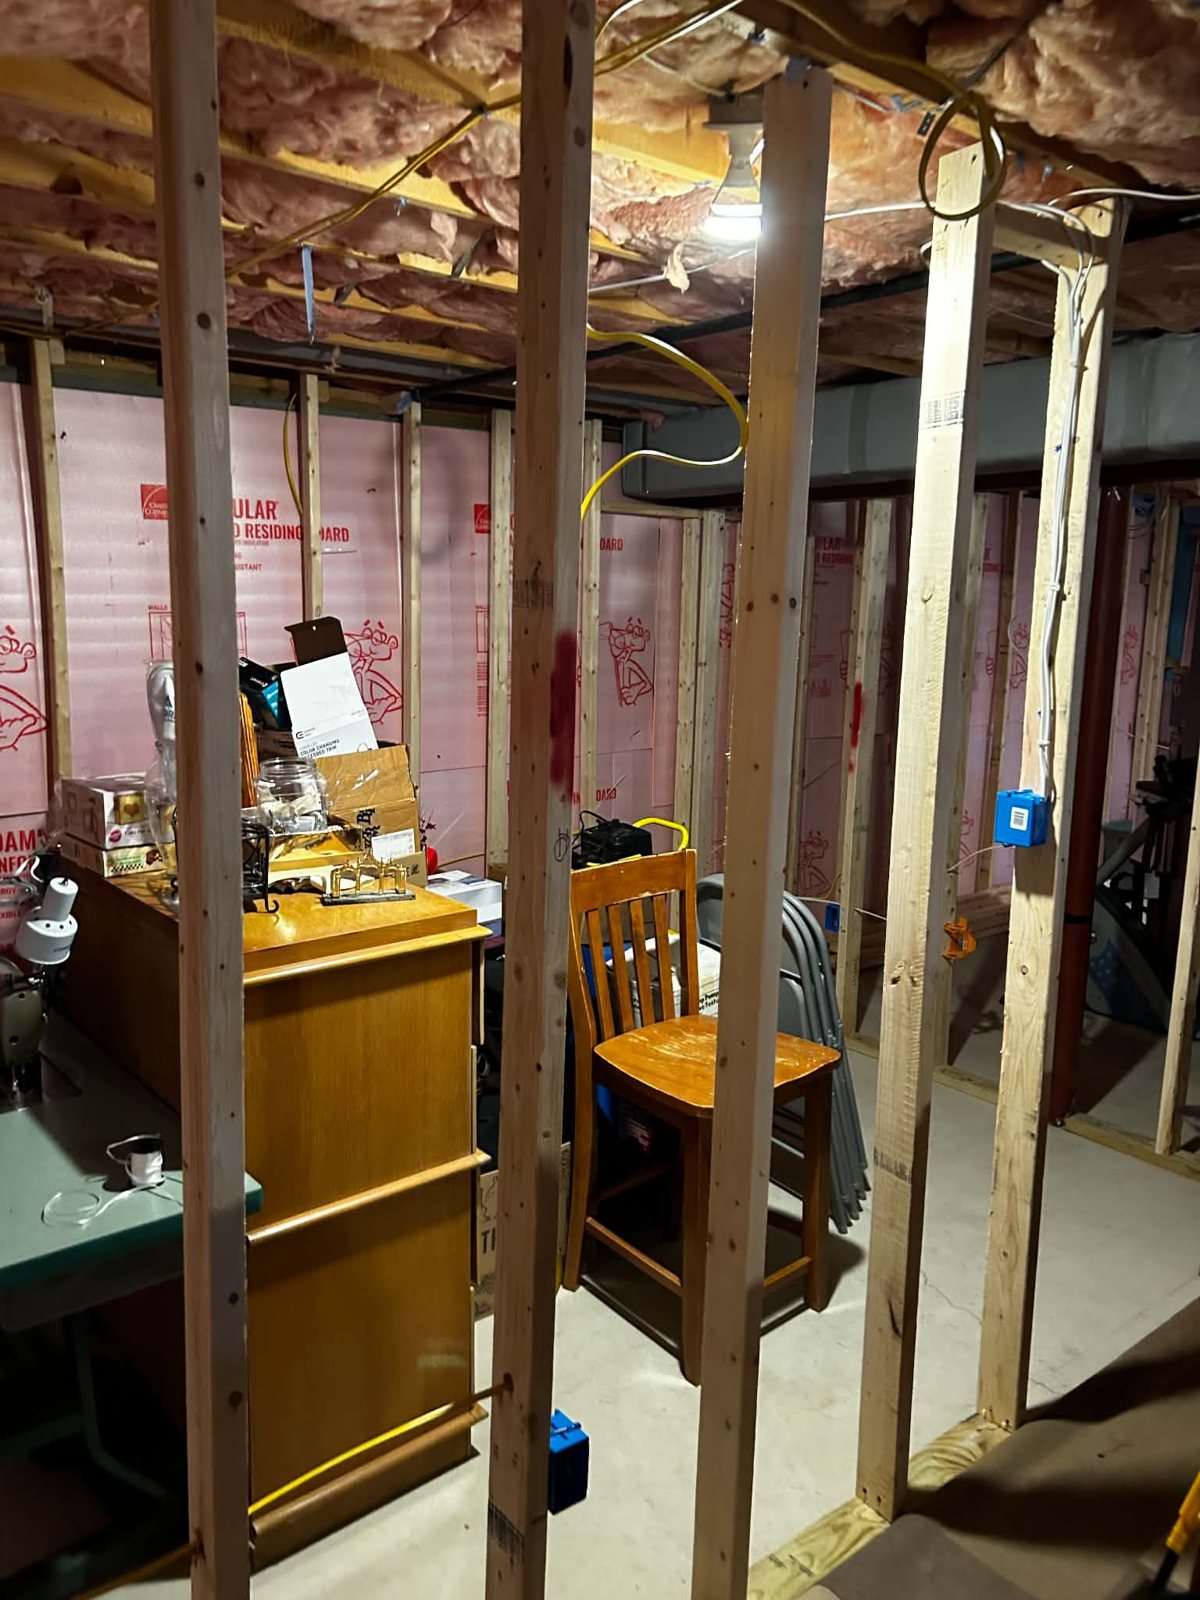
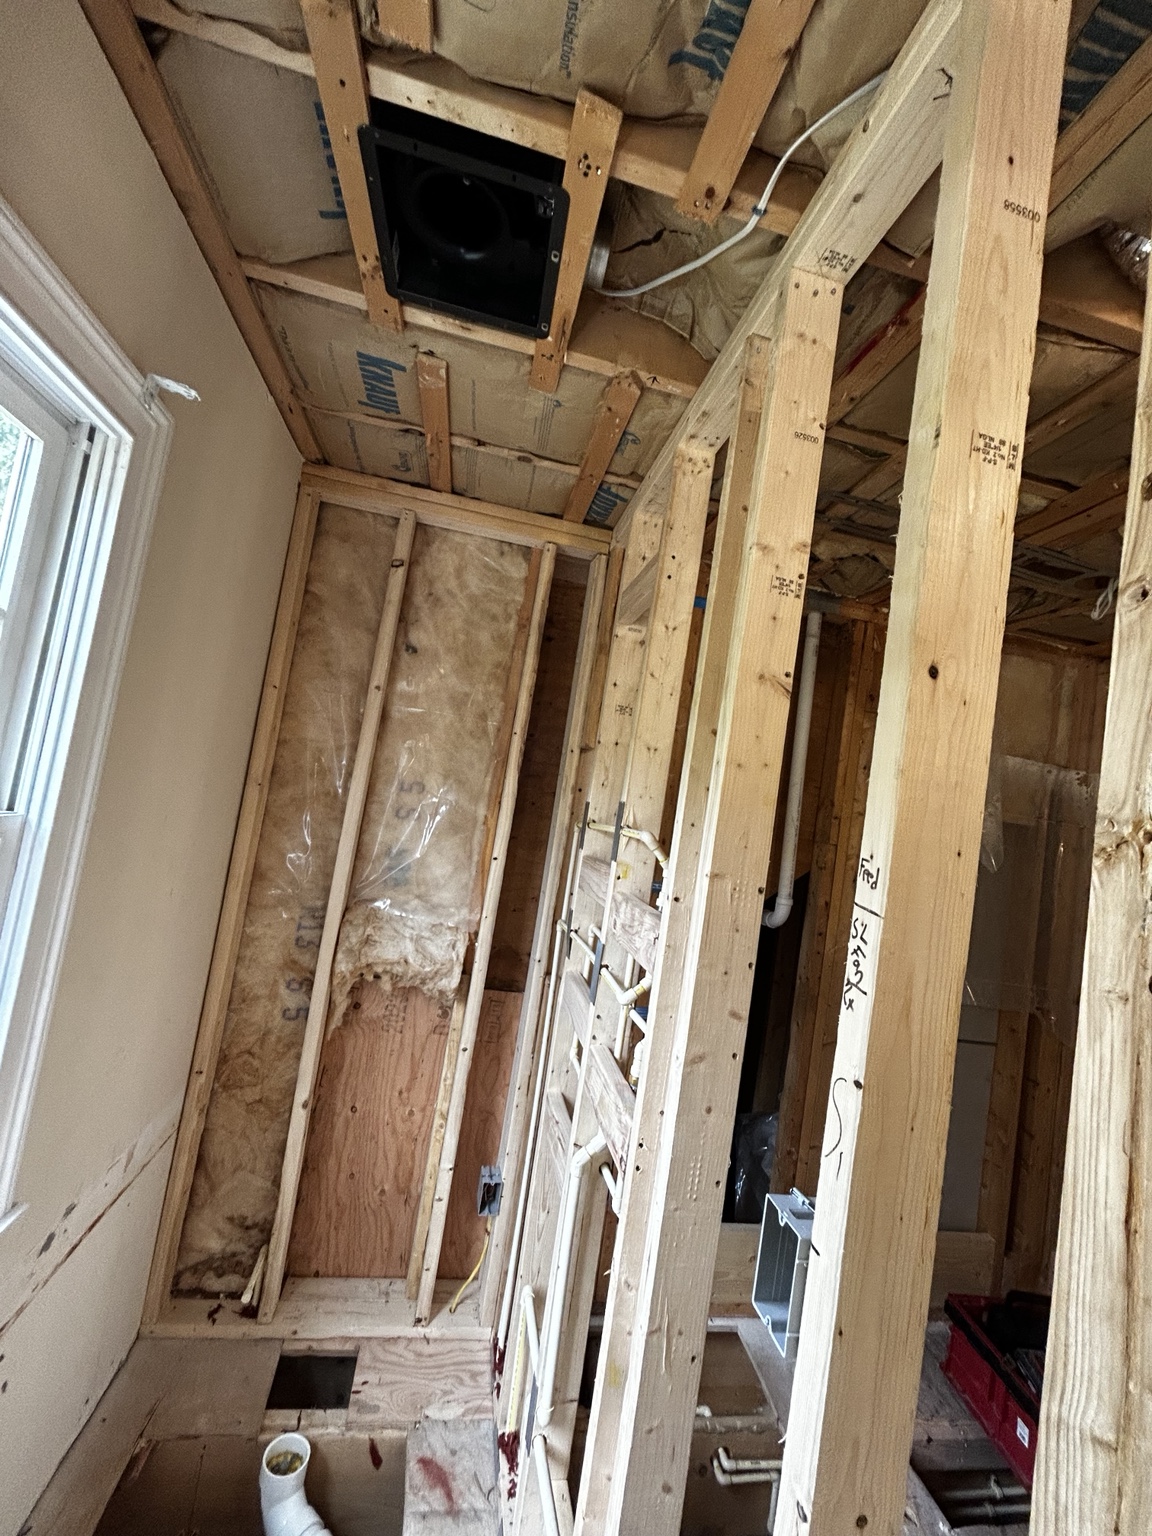
Equipment detailA close-up of equipment above a ceiling shows the kind of existing conditions to account for before new work.Commercial work in progressAn unfinished interior reveals the existing overhead systems that electrical work must fit around.Open-wall rough-inFramed walls leave room to plan circuits, device positions and future controls before finishes go on.Wiring in framingOpen studs show why early decisions about outlets, switches and dedicated loads can save changes later.Boxes before drywallElectrical boxes in a framed wall mark device locations while changes are still straightforward to coordinate.Wall-mounted charging equipmentOutdoor-mounted charging equipment illustrates why placement, circuit capacity and the route from the panel matter.
Outdoor lighting & pathways
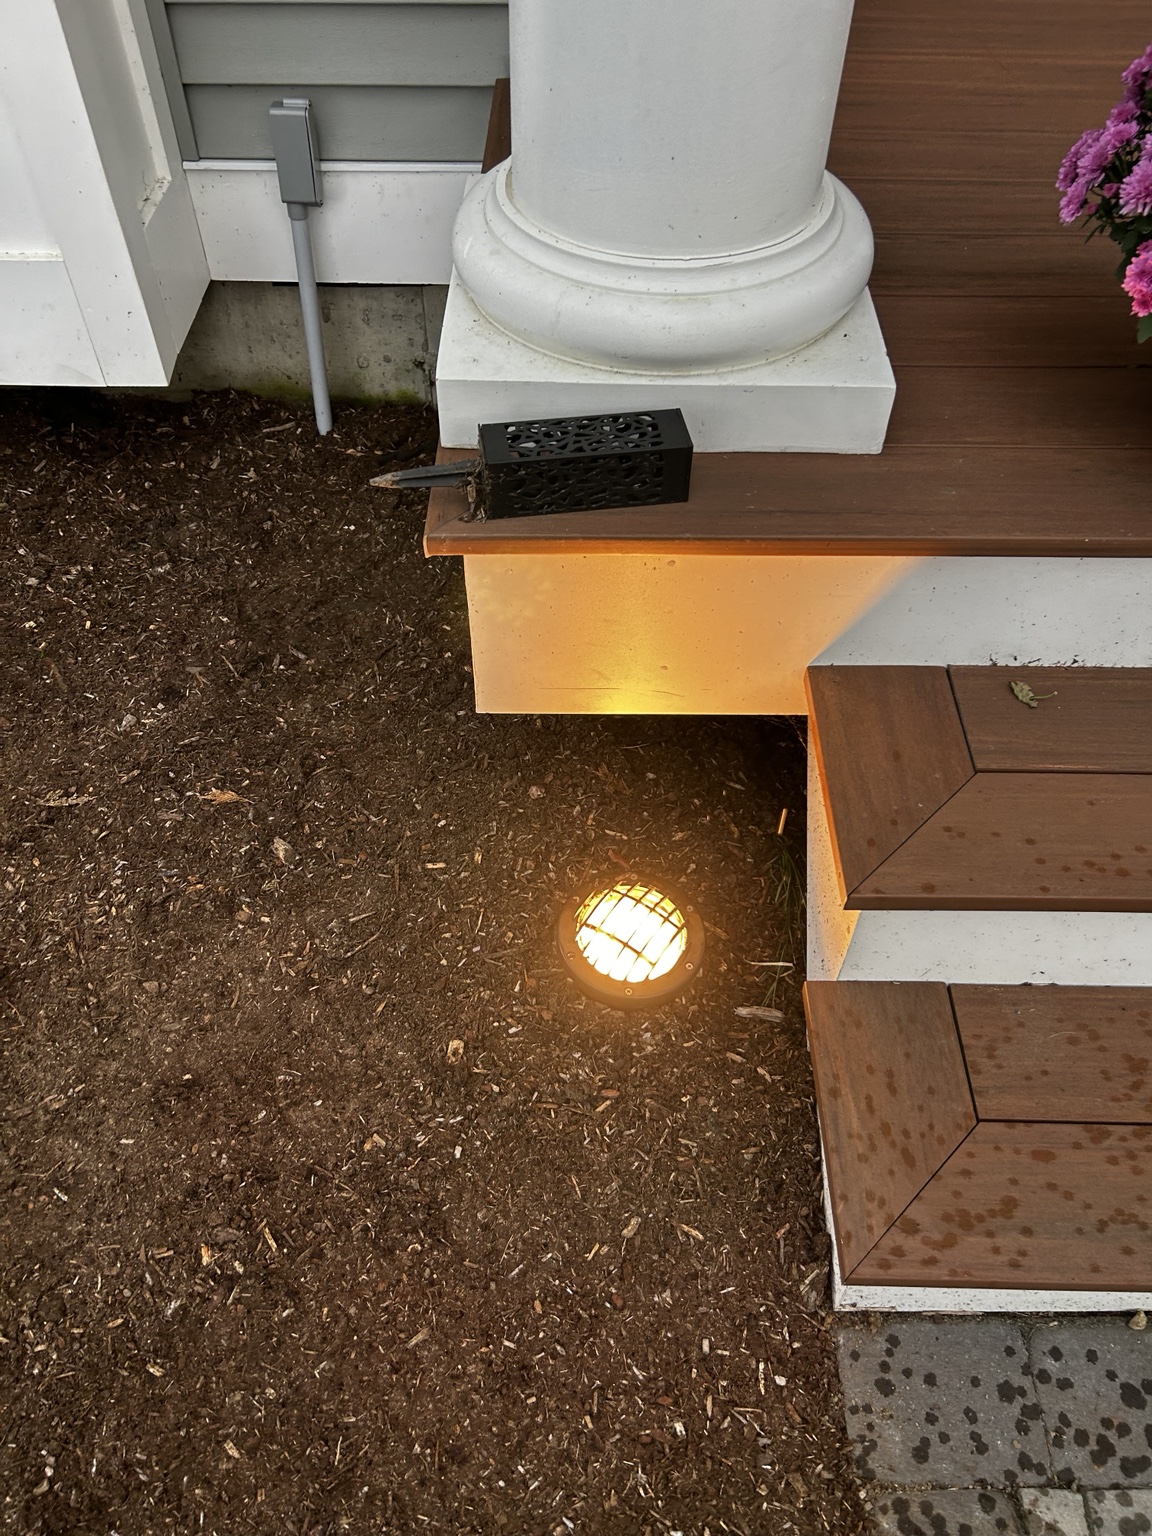
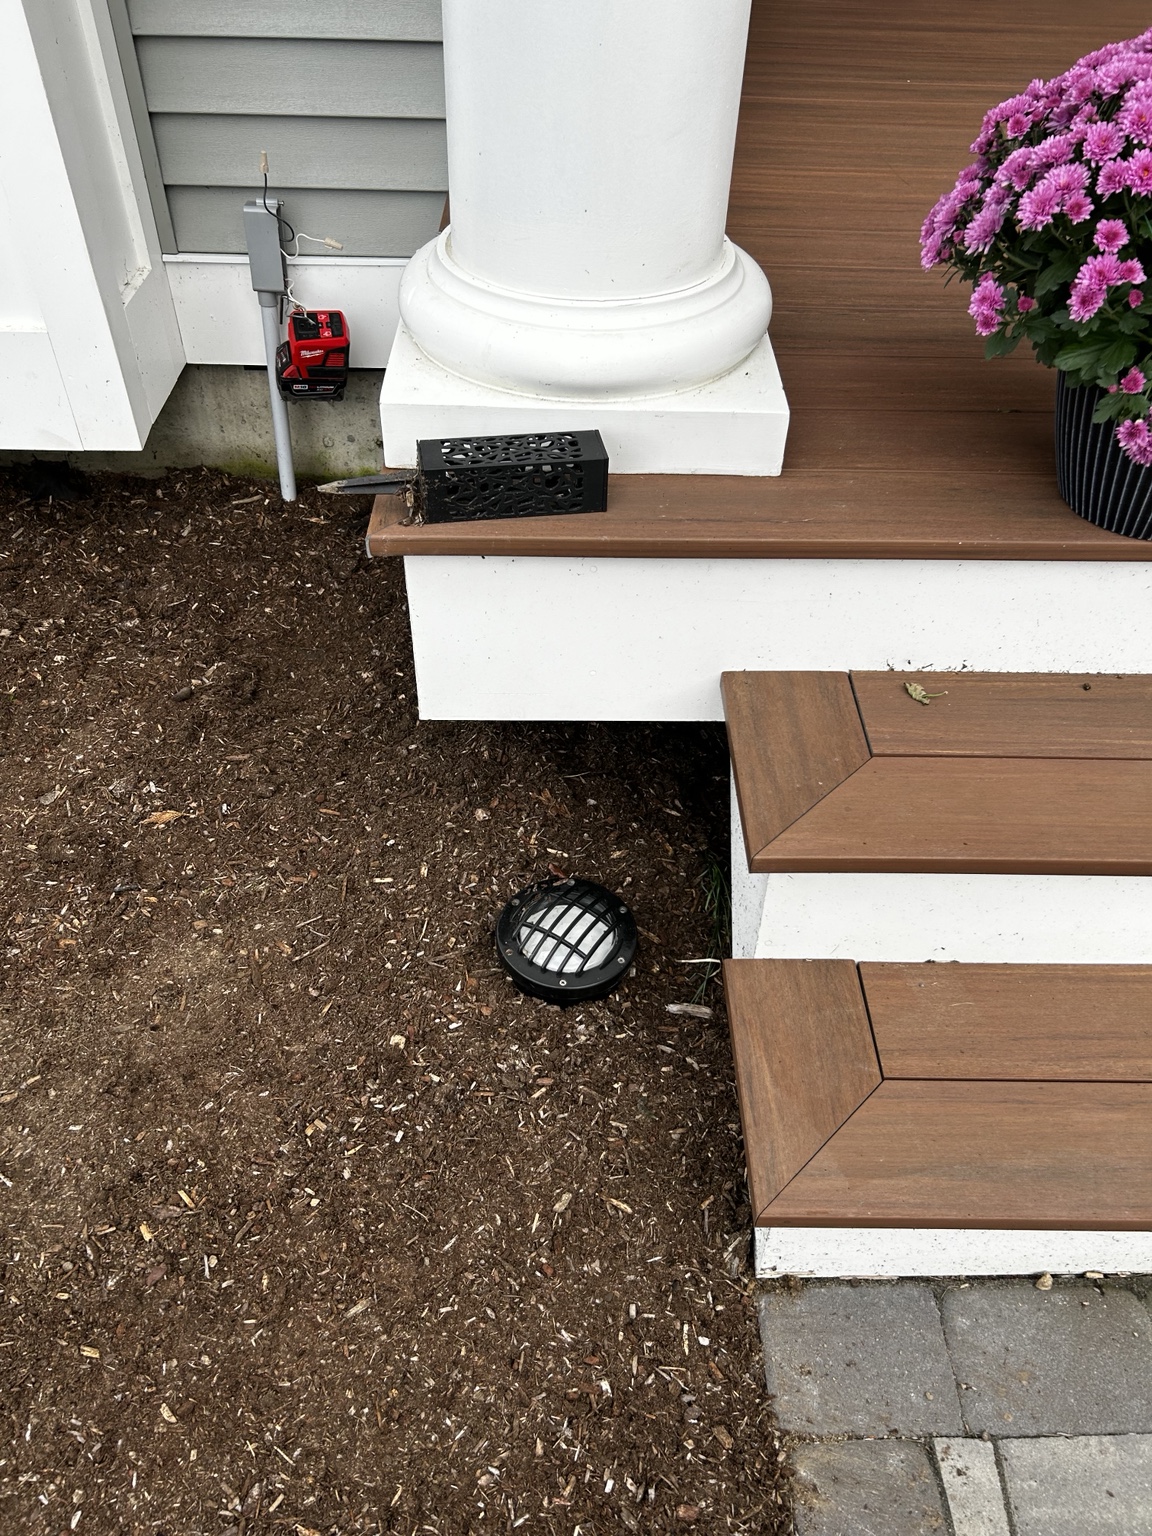
Planning goal: Light the entry and the edge of a step after dark without a bulky fixture in the daytime view.
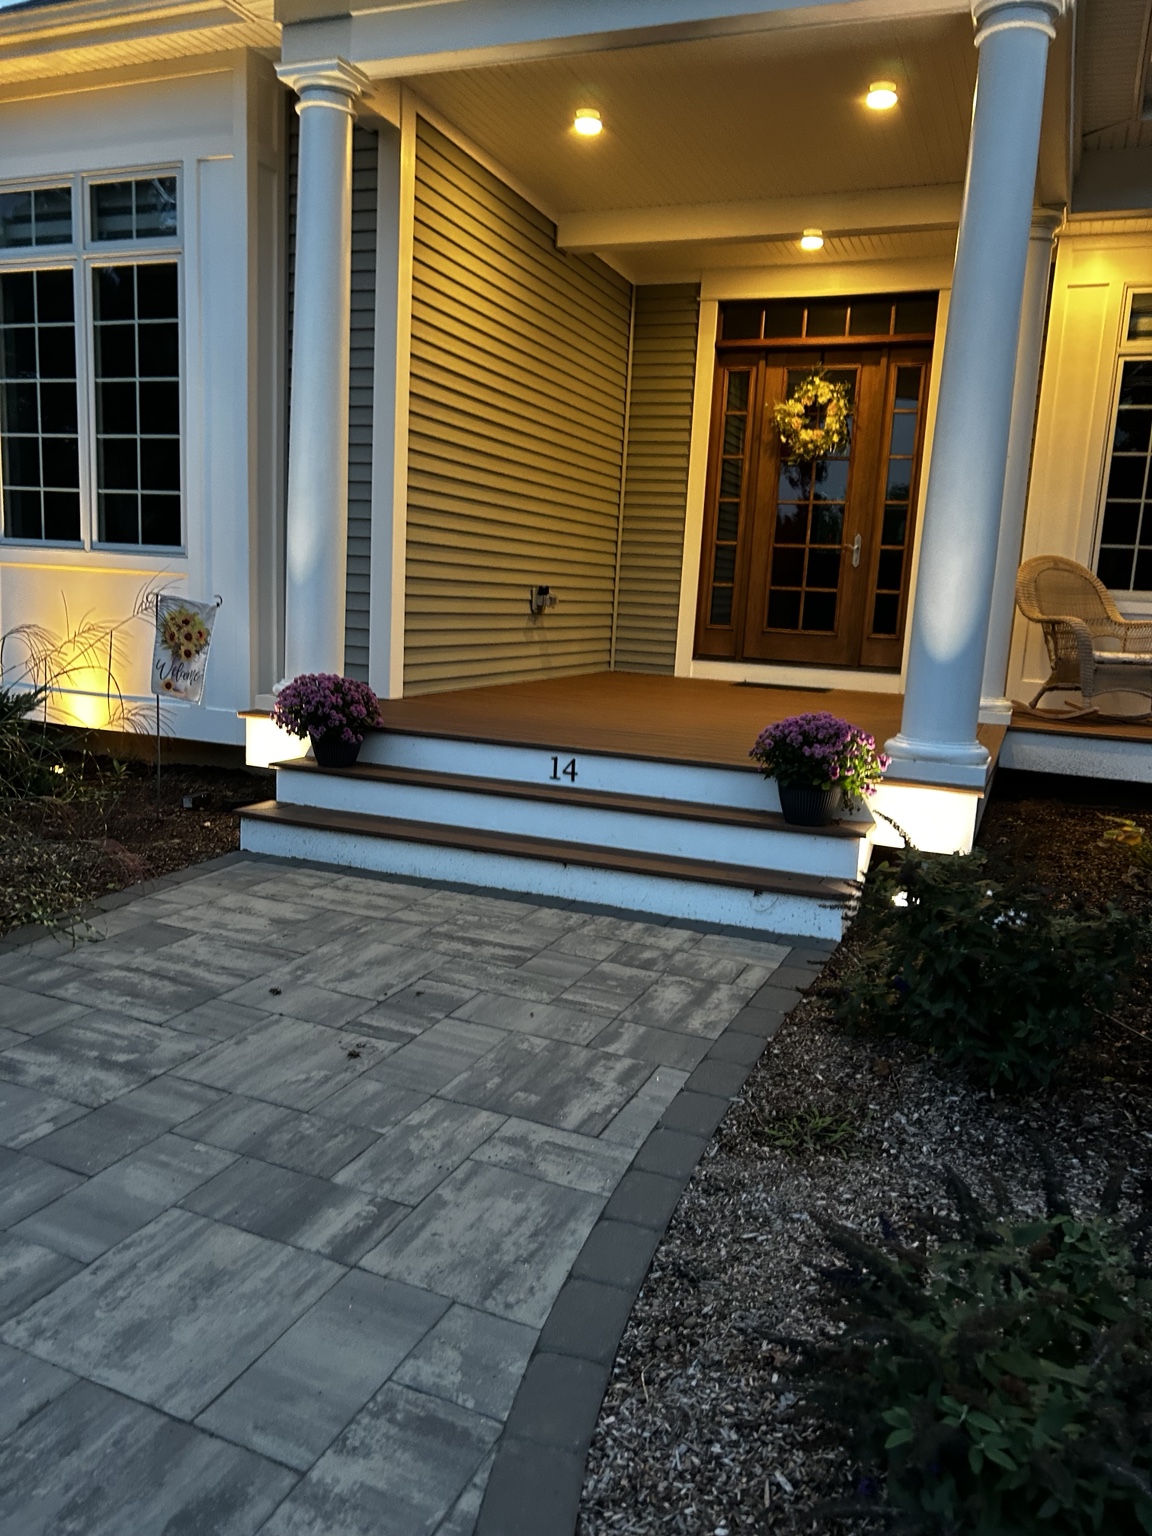
Work shown: The day-and-night photos show the same low-profile entry light off and on. The wider porch photo shows it alongside the ceiling lighting.
Practical benefit: Light can be placed where people approach the door and change levels, while the fixture stays visually unobtrusive.
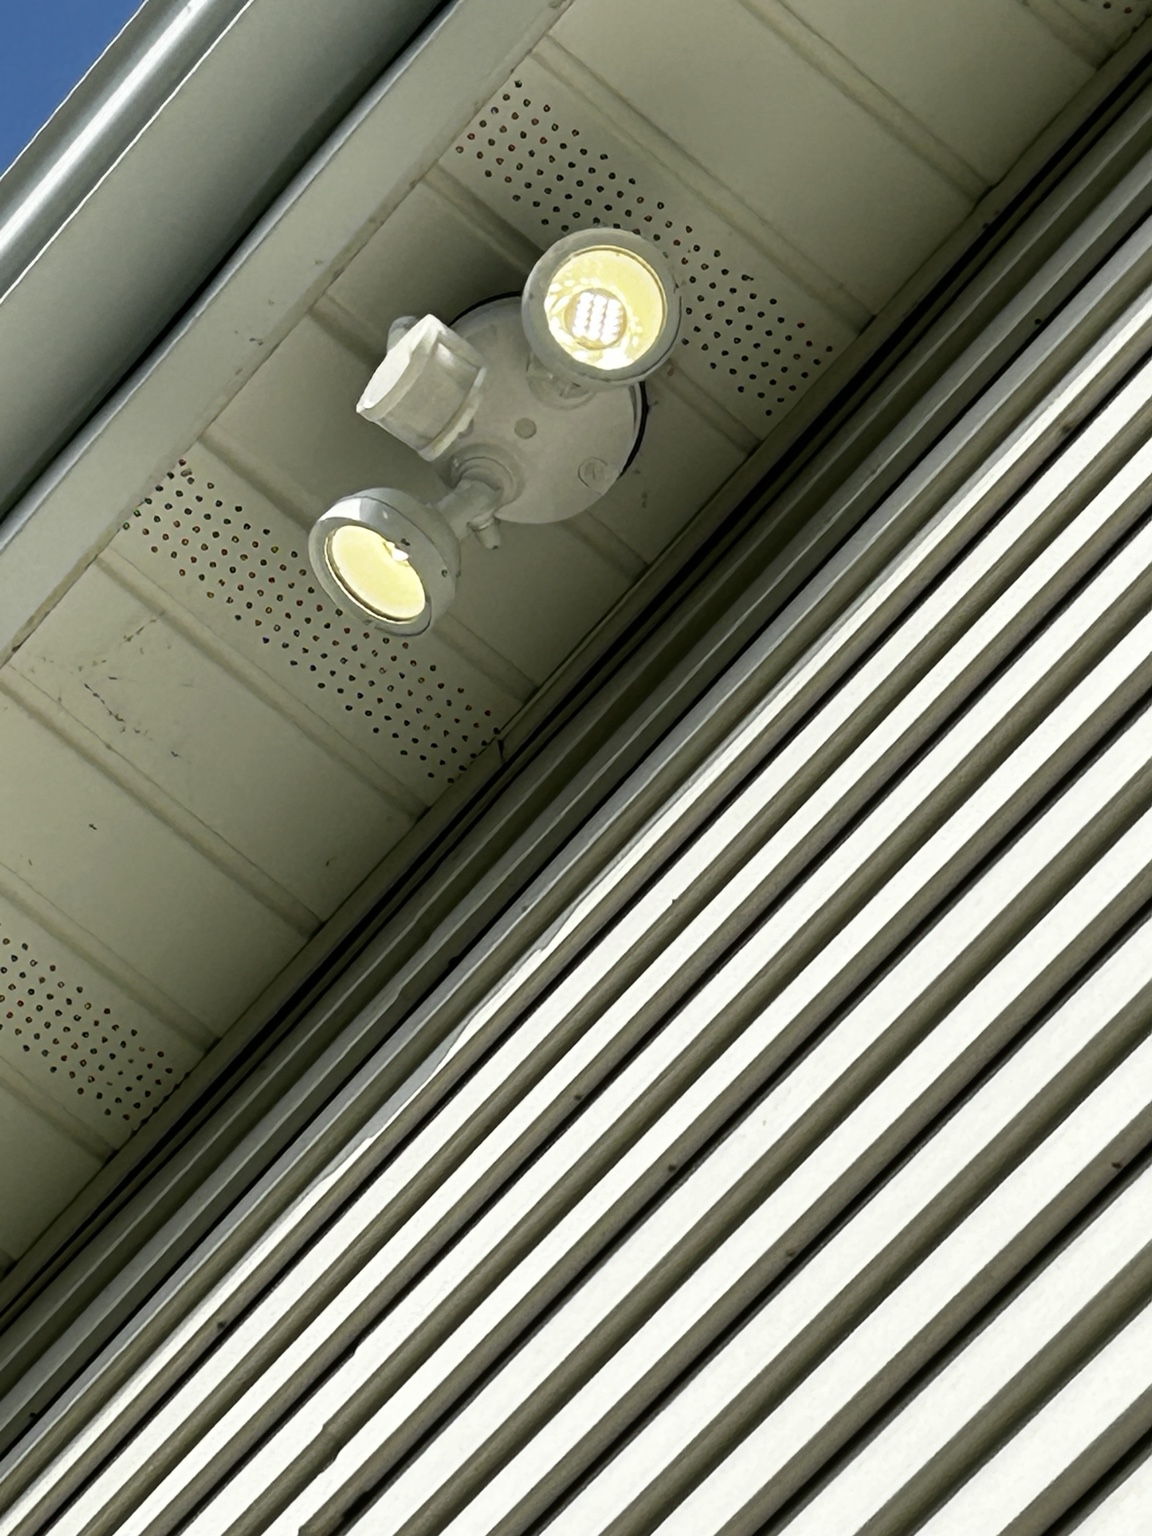
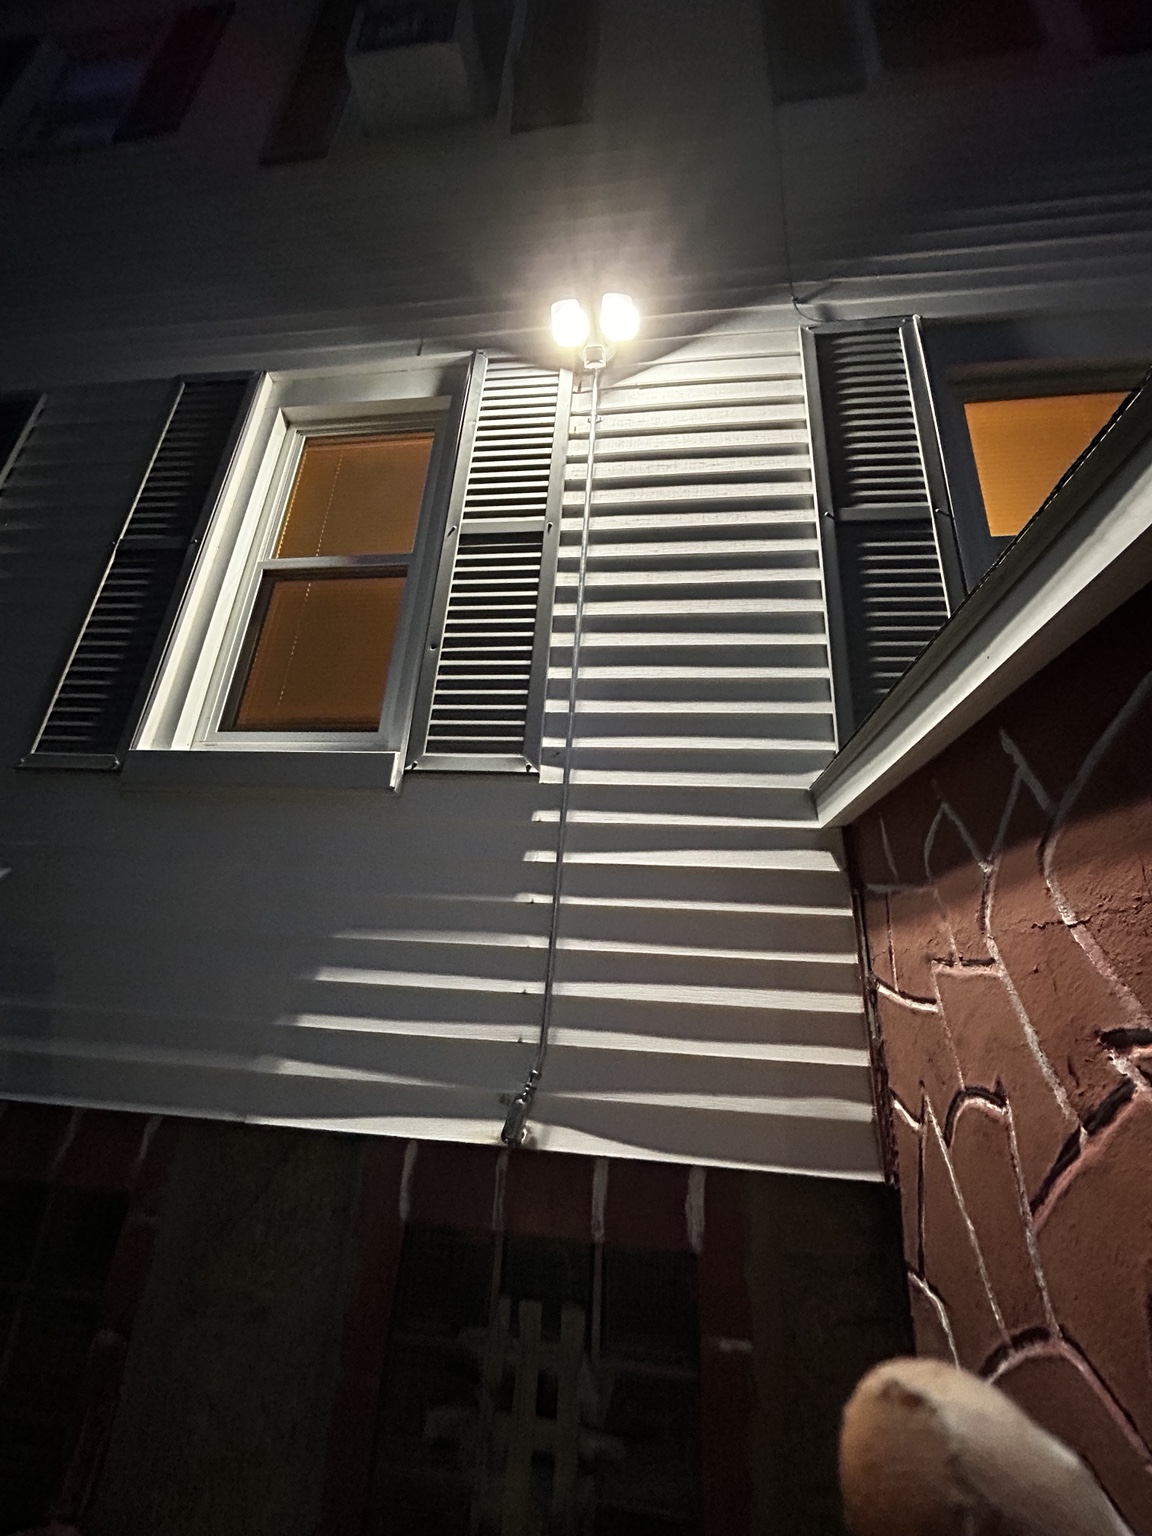
Covered entry lightsA pair of ceiling fixtures provides light under a sheltered entry. Location and switching should fit the way people approach the door.Exterior light at nightA wall-mounted exterior fixture lights the siding and nearby doorway after dark.Path light placementA small light in a planted area shows how placement affects the edge of a walking route.Entry detail by dayA low-profile fixture tucked beneath the entry column is unobtrusive during the day.Entry detail after darkThe same entry detail with the light on shows where it throws light at the step.The whole entry after darkA wide view shows the combination of porch, wall and low-level lighting around a residential entry.
Renovation stages
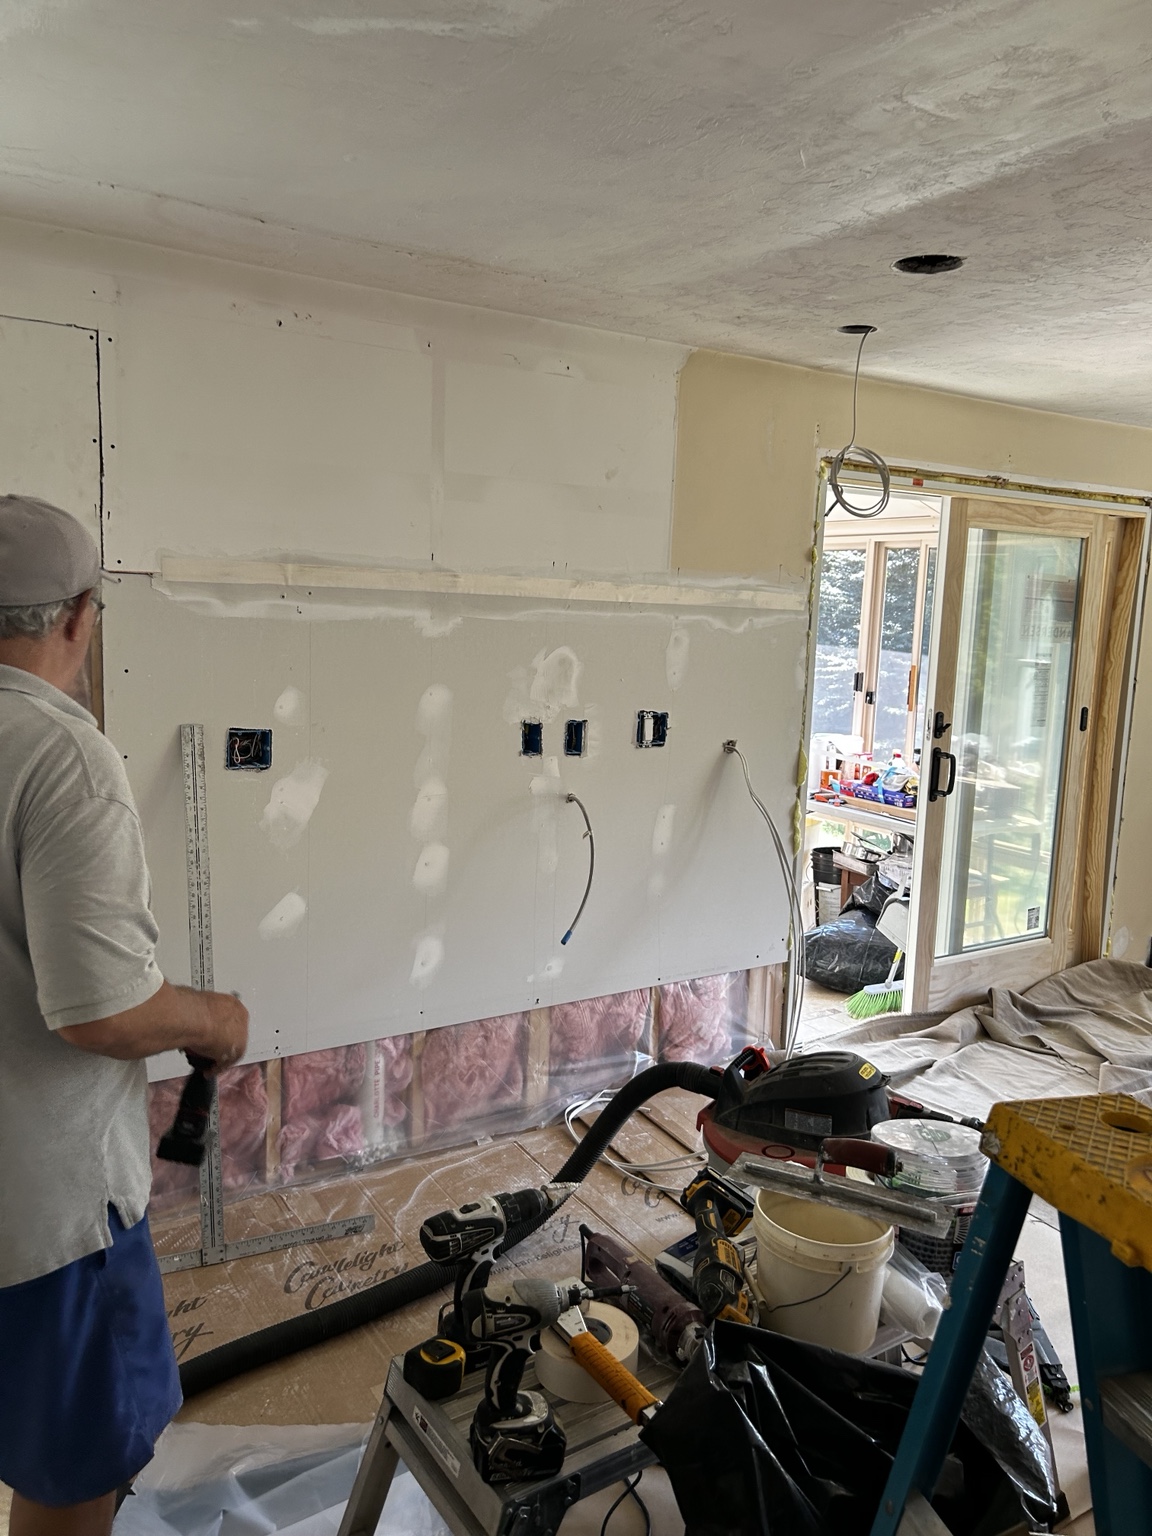
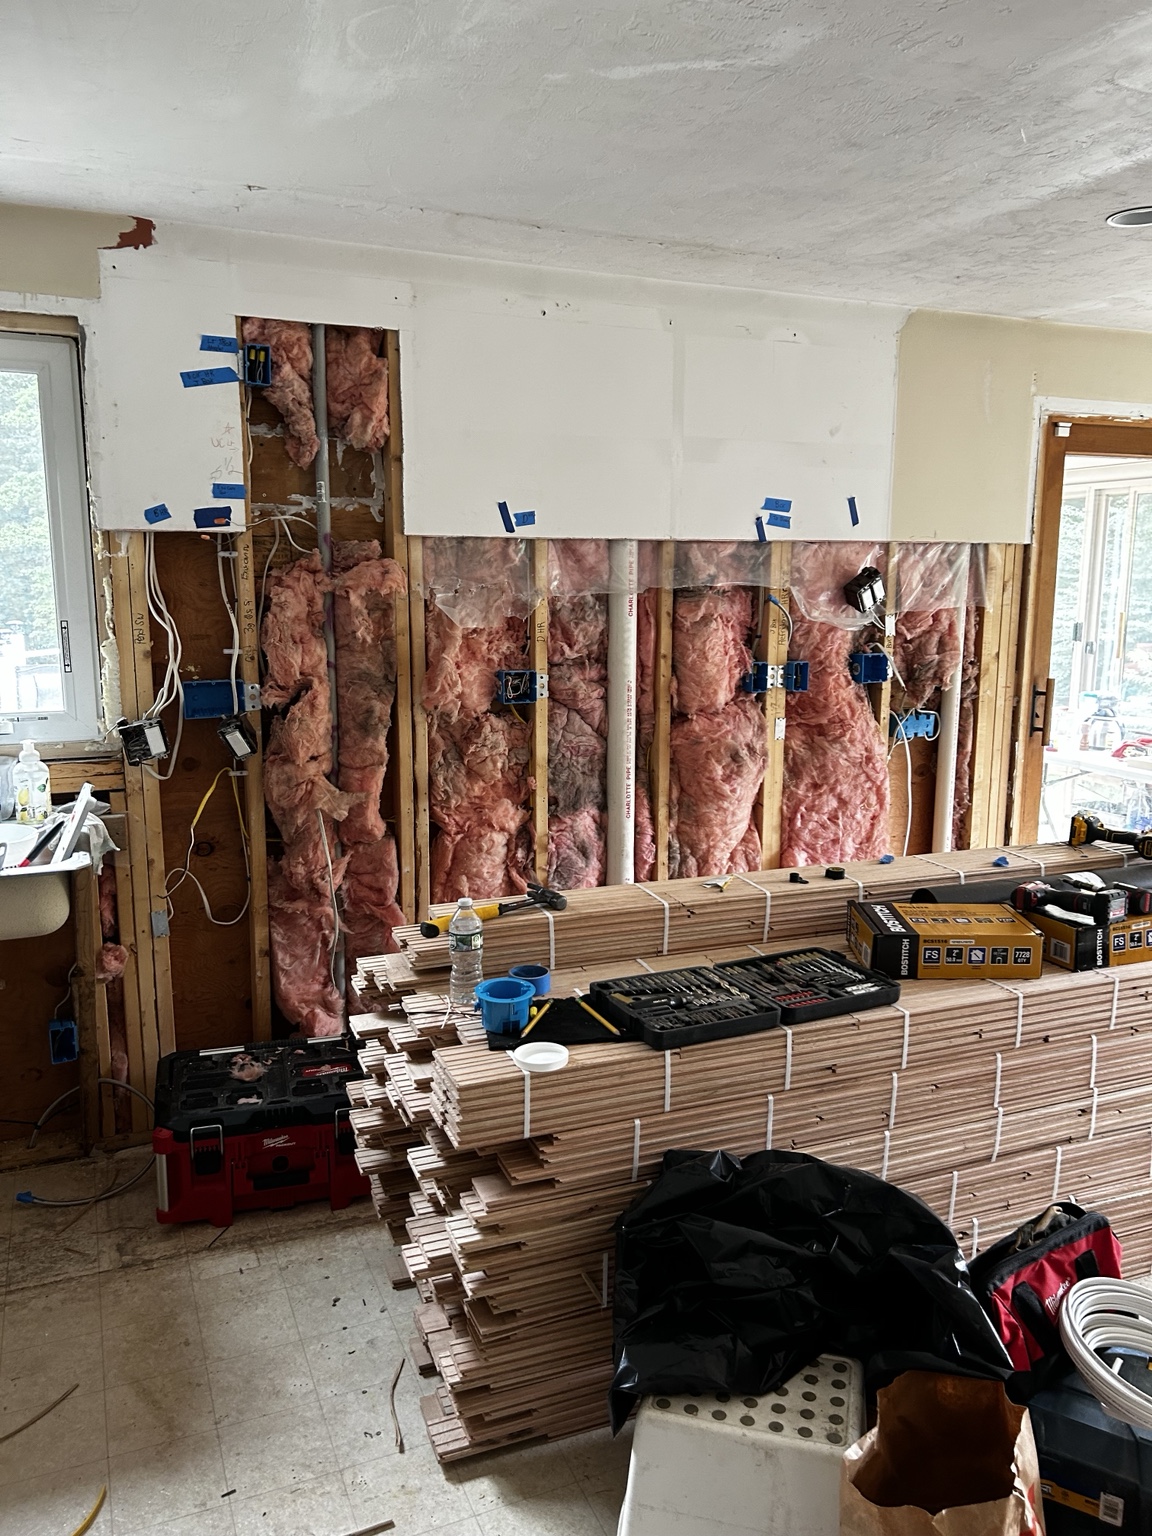
Planning goal: Coordinate electrical device locations with a changing kitchen layout while the walls are accessible.
Work shown: The kitchen photos document an open wall and the later drywall stage with electrical boxes and wiring still visible. This is a renovation-stage sequence, not a completed-kitchen photo.
Practical benefit: Planning before finishes are complete helps align device positions with cabinetry and reduces avoidable changes later.
Before the walls closeOpen framing provides a chance to locate outlets, switches and wiring paths while the room is still accessible.Kitchen walls openAn exposed kitchen wall shows when device locations and dedicated circuit needs can be coordinated with the cabinet plan.Kitchen taking shapeOnce the wall finish goes on, the visible electrical boxes show where planned devices will meet the finished kitchen.
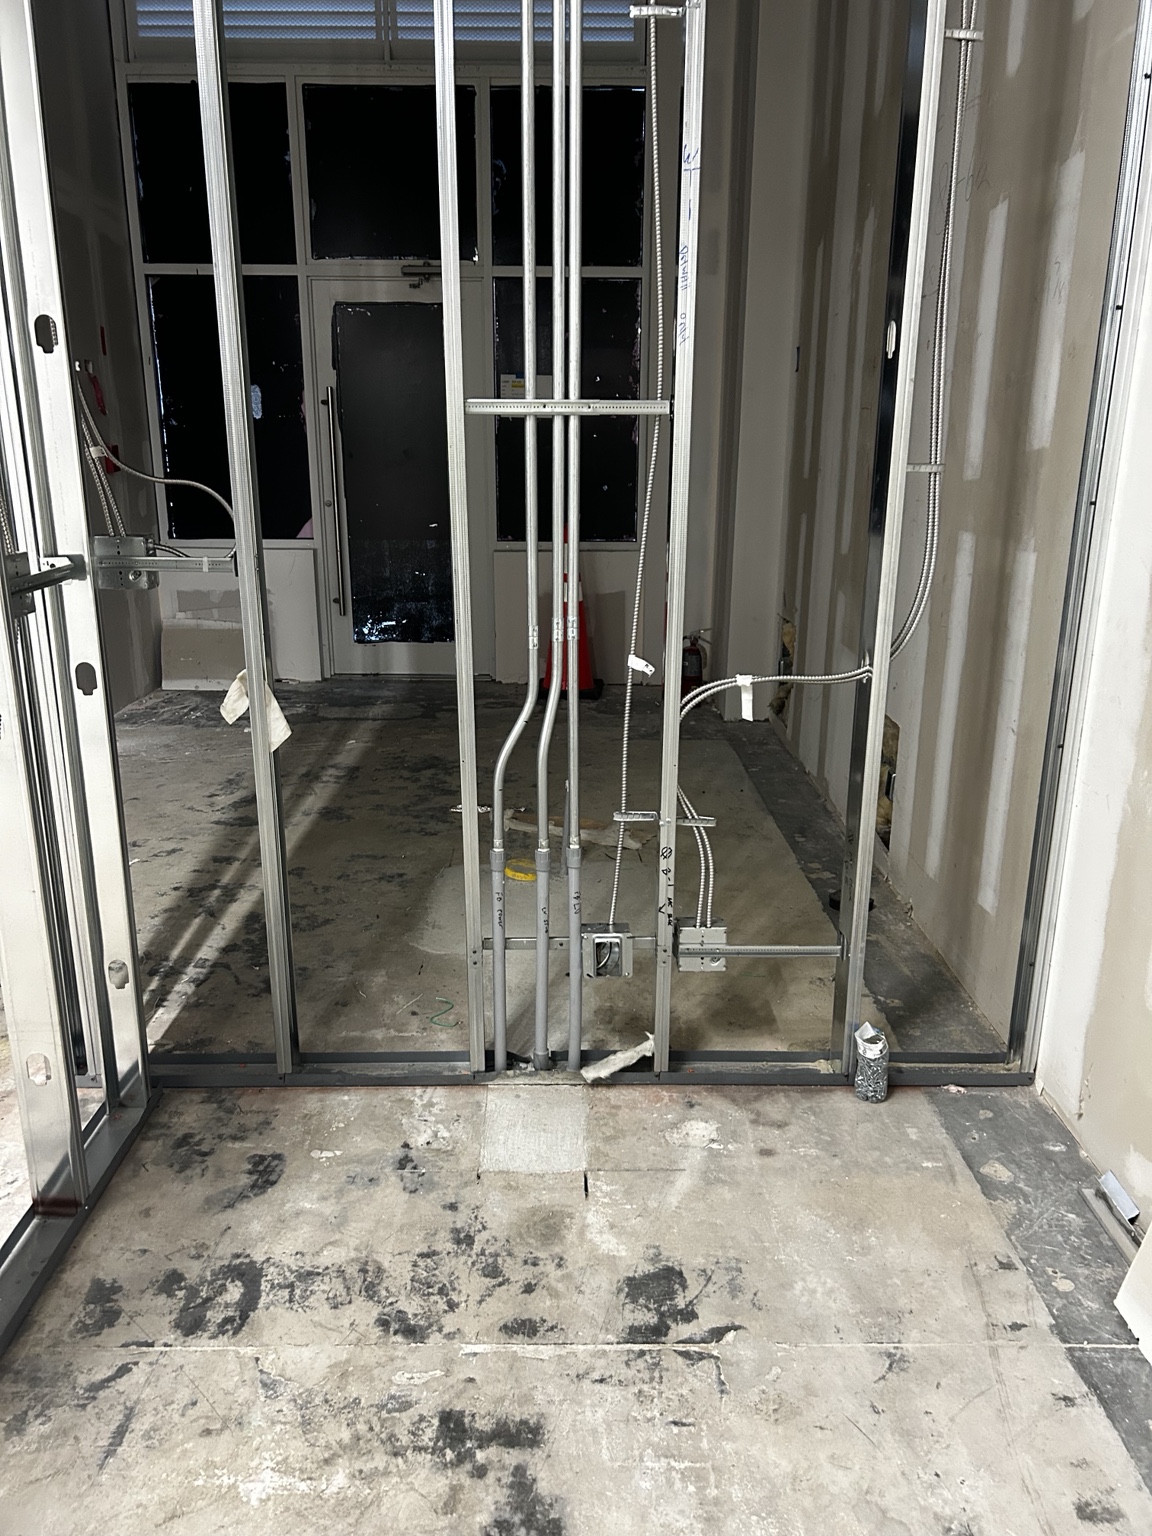
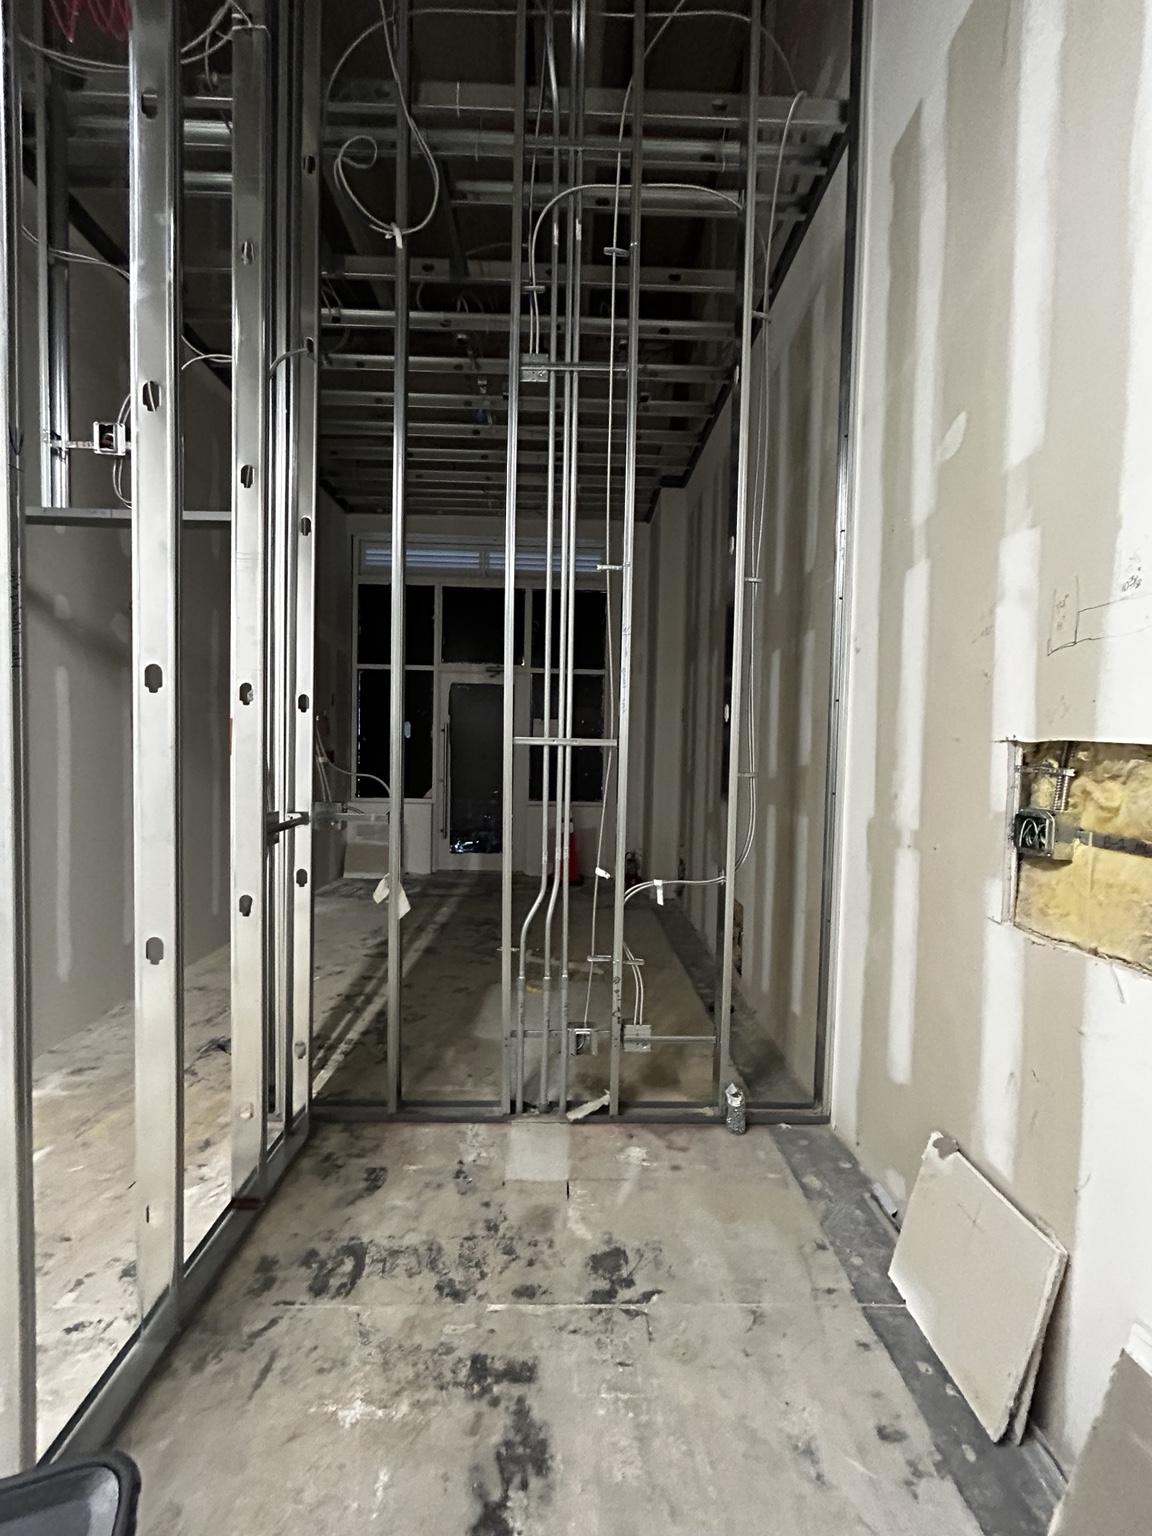
Commercial construction details
A look at the building stage before devices and finishes are installed.
Framing near the storefrontOpen metal framing at the front of a commercial space is the stage to coordinate power, lighting and control locations.Open commercial interiorThe corridor view shows available ceiling and wall space before electrical pathways and finishes are finalized.